Goal:
In this blob post, we will be diving into the world of Azure Development in C#.
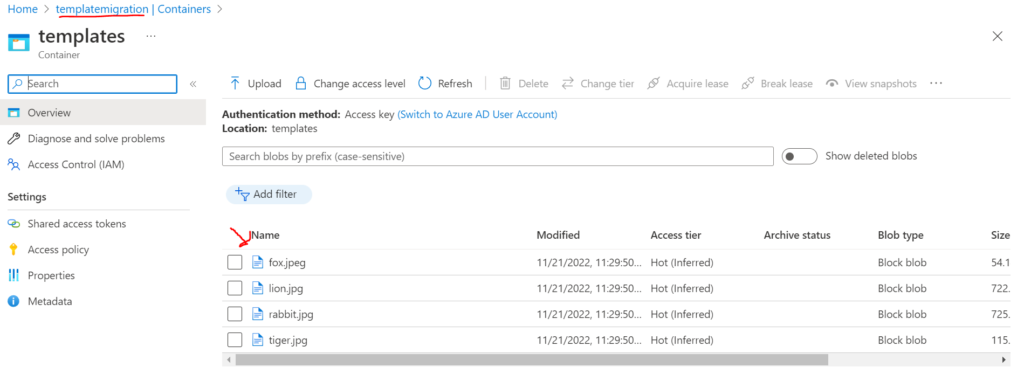
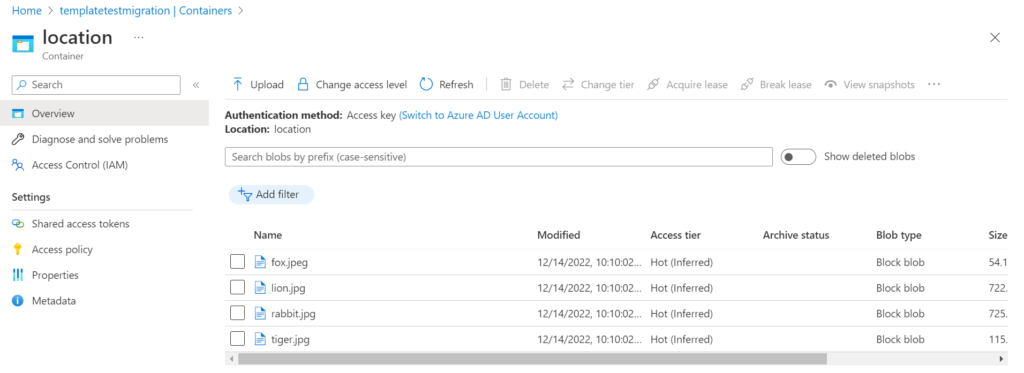
To get you used to using Azure’s C# but still keeping your in familiar territory, we will be implementing a quick program to Migrate blobs from one container to the another!
The goal of the blog is to get used to using Blob Storage API using a C# environment and introduce some good coding habits along the way. By the end of the blog, you will be able to initiate a blob transfer between two account via the use of a Console App!
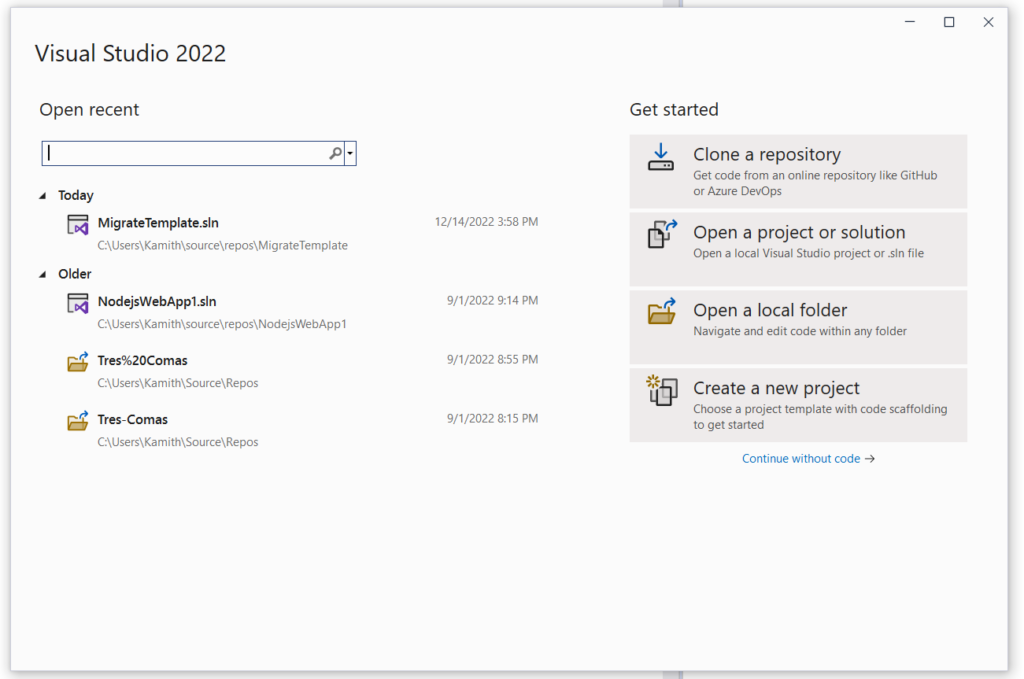
First step is to figure out our development environment! As most of you guys have already noticed by now, while convenient, development on the cloud is slow and clunky! That’s why we will be using Visual Studio 2022, a powerful tool developed especially for C#. Click on the link below to download it to your computer.
Installation Process:
Visual Studio 2022 Community Edition
Go through the installation process, default settings.
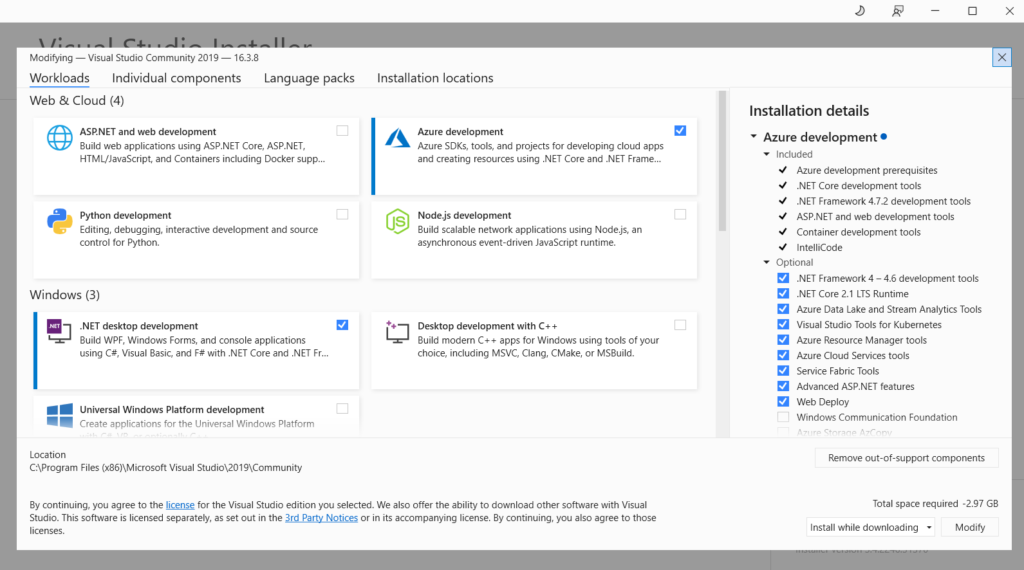
As for workloads, select Azure development and .NET desktop development
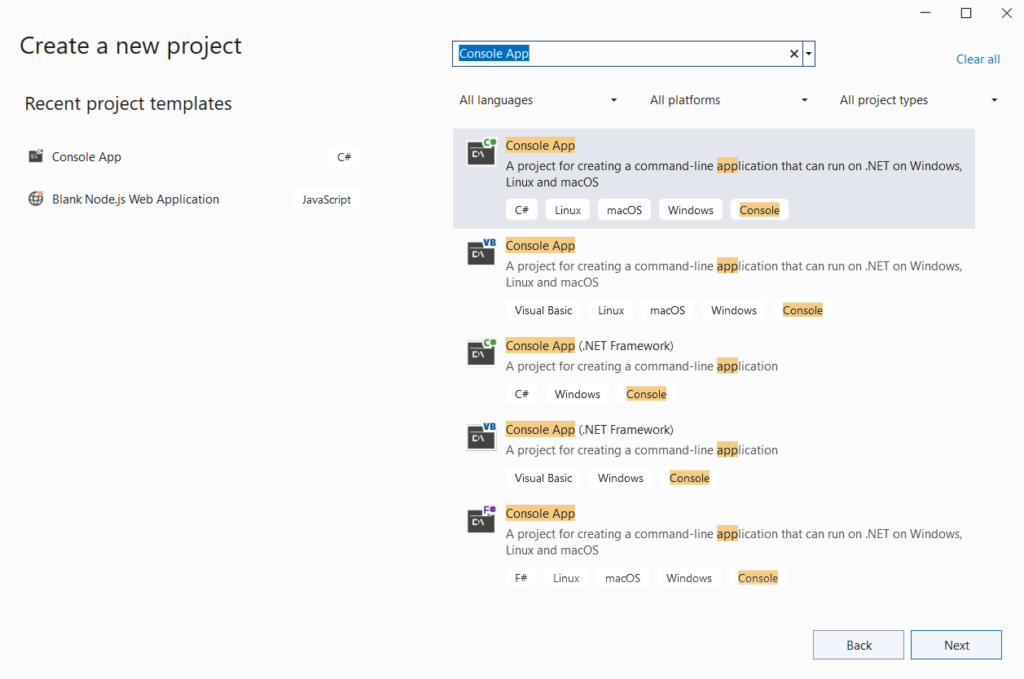
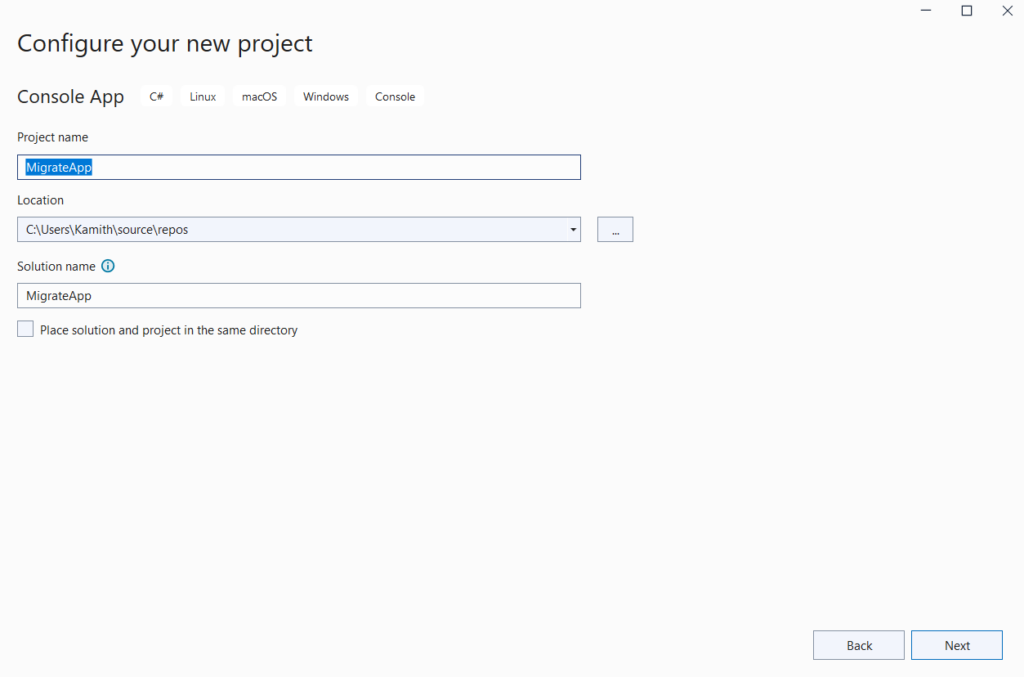
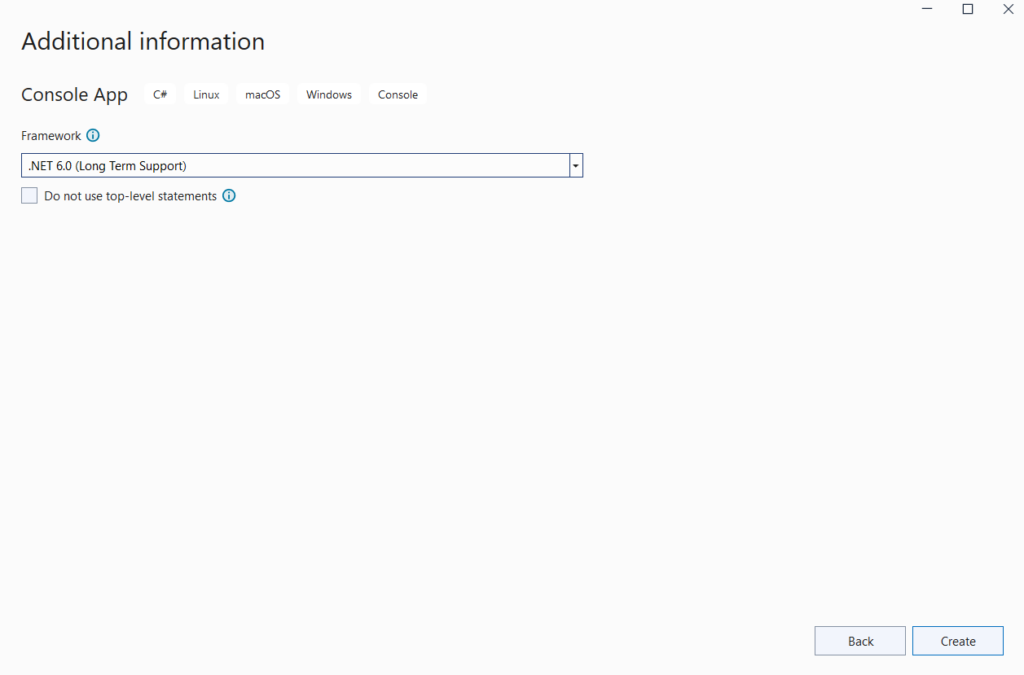
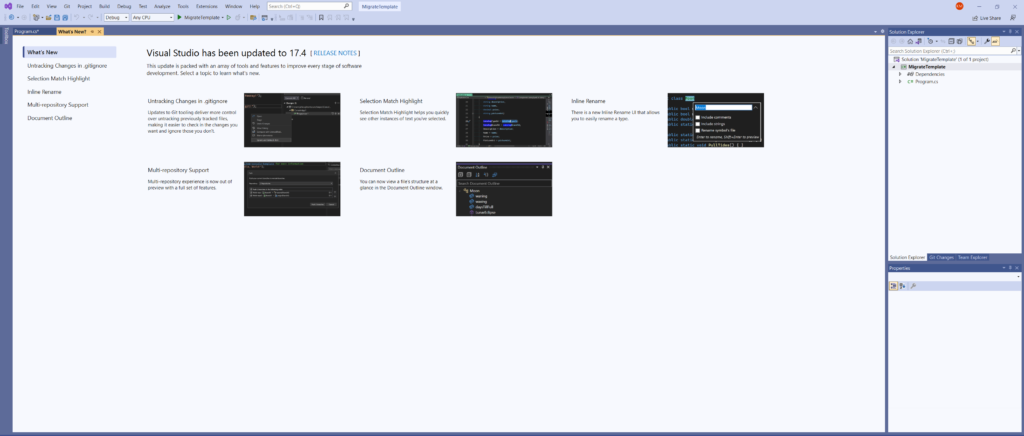


Code Break Down:
Setup: C#’s nomenclature is to use “using” to indicate any libraries it is including. Put this at the top of the file.
using Azure.Storage;
using Azure.Storage.Blobs;
Define your Blob Storage Account credentials for both target and source.
var source_myAccountKey = "<YOUR SOURCE - STORAGE ACCOUNT KEY>";
var source_myAccountName = "<YOUR SOURCE - STORAGE ACCOUNT NAME>";
var destination_myAccountKey = "<YOUR DESTINATION - STORAGE ACCOUNT KEY>";
var destination_myAccountName = "<YOUR DESTINATION - STORAGE ACCOUNT NAME>";
Create your source URL, Credentials and BlobClient
string source_blob_uri = "https://" + source_myAccountName + ".blob.core.windows.net";
StorageSharedKeyCredential source_creds = new StorageSharedKeyCredential(source_myAccountName, source_myAccountKey);
BlobServiceClient source_blobClient = new BlobServiceClient(new Uri(source_blob_uri), source_creds);
Create your target URL, Credentials and BlobClient
string destination_blob_uri = "https://" + destination_myAccountName + ".blob.core.windows.net";
StorageSharedKeyCredential destination_creds = new StorageSharedKeyCredential(destination_myAccountName, destination_myAccountKey);
BlobServiceClient destination_blobClient = new BlobServiceClient(new Uri(destination_blob_uri), destination_creds);
Once you have created the necessary connections to both the source and destination blob storage accounts, you have the credentials to interact with the blobs in both accounts.
BlobContainerClient source_blobContainerClient = source_blobClient.GetBlobContainerClient("templates");
var segment = source_blobContainerClient.GetBlobs();
The variable segment contains a list of all the structures in your container. Using a foreach loop, we will loop through the each of the blobs. Inside the for each loop, we grab a stream of data and upload it to the destination, one blob at a time.
foreach (var page in segment) //This looks at all the files inside each specific container folder
{
    BlobClient source_blobClients = source_blobContainerClient.GetBlobClient(page.Name);
    var ret = new MemoryStream();
    using (var stream = new MemoryStream())
    {
        source_blobClients.DownloadTo(stream);
        stream.Position = 0;
        destination_blobClient.GetBlobContainerClient("location").UploadBlob(page.Name, stream, default);
    }
    Console.WriteLine(page.Name);
}
Results:

