In this exercise, you use postman to hit the demo application(storefront) APIs which are written using the Python Django REST framework. For this exercise, I have used Azure Cloud Service and a similar methodology can be followed for AWS.
Prerequisites
You have to complete hop1 Azure and hop2 Azure
Why are we doing this?
This exercise gives you knowledge on how to provision your virtual machine so that you can access your application from your local browser. As we use postman for accessing the application data, you will learn what, how and when to use postman. It’s worth learning about postman as it makes the development process easy and interesting. By this you can also automate your tests, by this if your code is modified you can run postman and see whether code is working or not.
Overview
This topic has four steps
- We need to write a couple of inbound port rules to enable HTTP port 80 and custom port 8000, these rules enable to access the application from our local browser as well as postman
- In hop2 step 6 we have deployed storefront code to Azure cloud VM (link). we have to modify that code so that when we hit the application APIs using postman, the application accepts the request and sends the response back
- Downloading and installing postman, understanding the concepts used in the following project
- Writing postman collection, hitting the application APIs, and validating the response
Write Inbound Port Rules
This is step 1 of 4 in this exercise. In this step, you will write in bound port rules to your cloud VM. So that you will be able to make Http requests from your local browser.
Hint: To avoid unexpected issues, please stop your VM before doing the below instructions.
Follow these instructions
- From the Azure Portal, please do the following
- Navigate: Portal Home –> virtual Machines –> select virtual machine –> Networking.
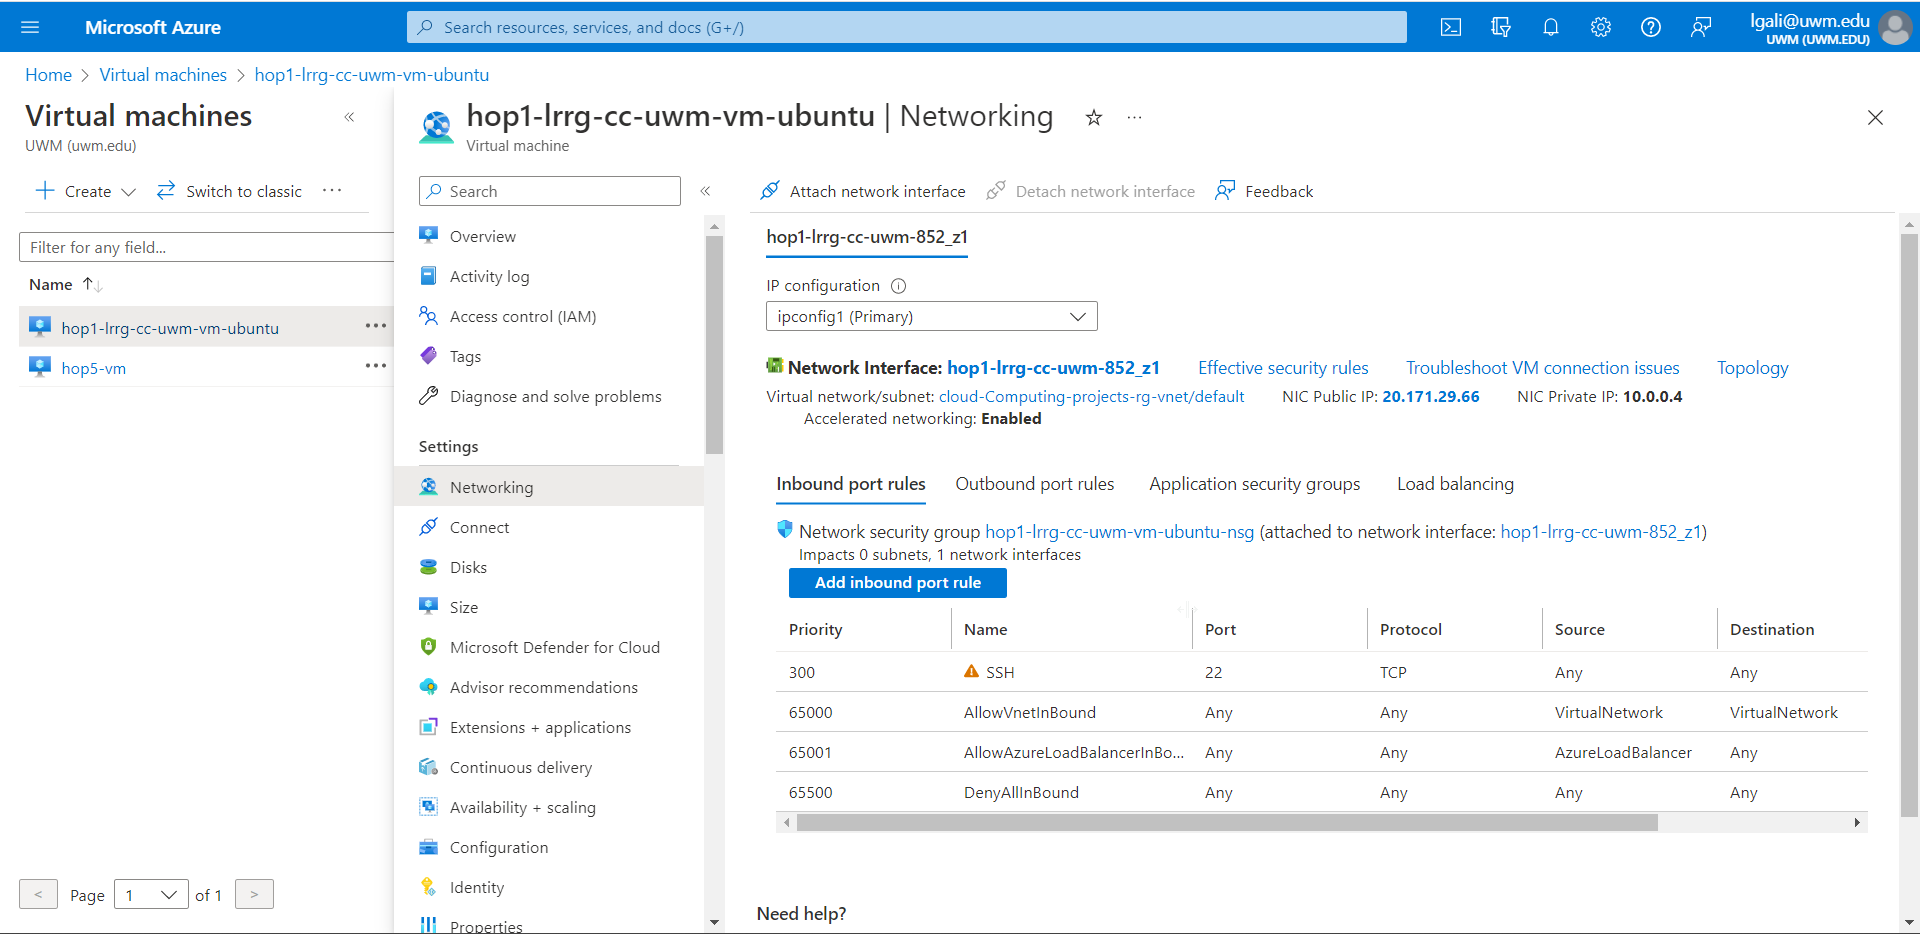
- The Networking page for this VM should be showing. Select Inbound Port rules, then Add inbound port rule
- For Service, select HTTP. This will fill in defaults for TCP, 80, and Allow.
- For Priority, enter a value that puts the rule near the top of the inbound port rules. Often, a priority of 310 will be automatically filled in, and this often puts the new rule right behind the rule for SSH (priority 300)
- Enter the name of HTTP. Suggested name AcceptHttpRequests
- Click Add to save the rule.

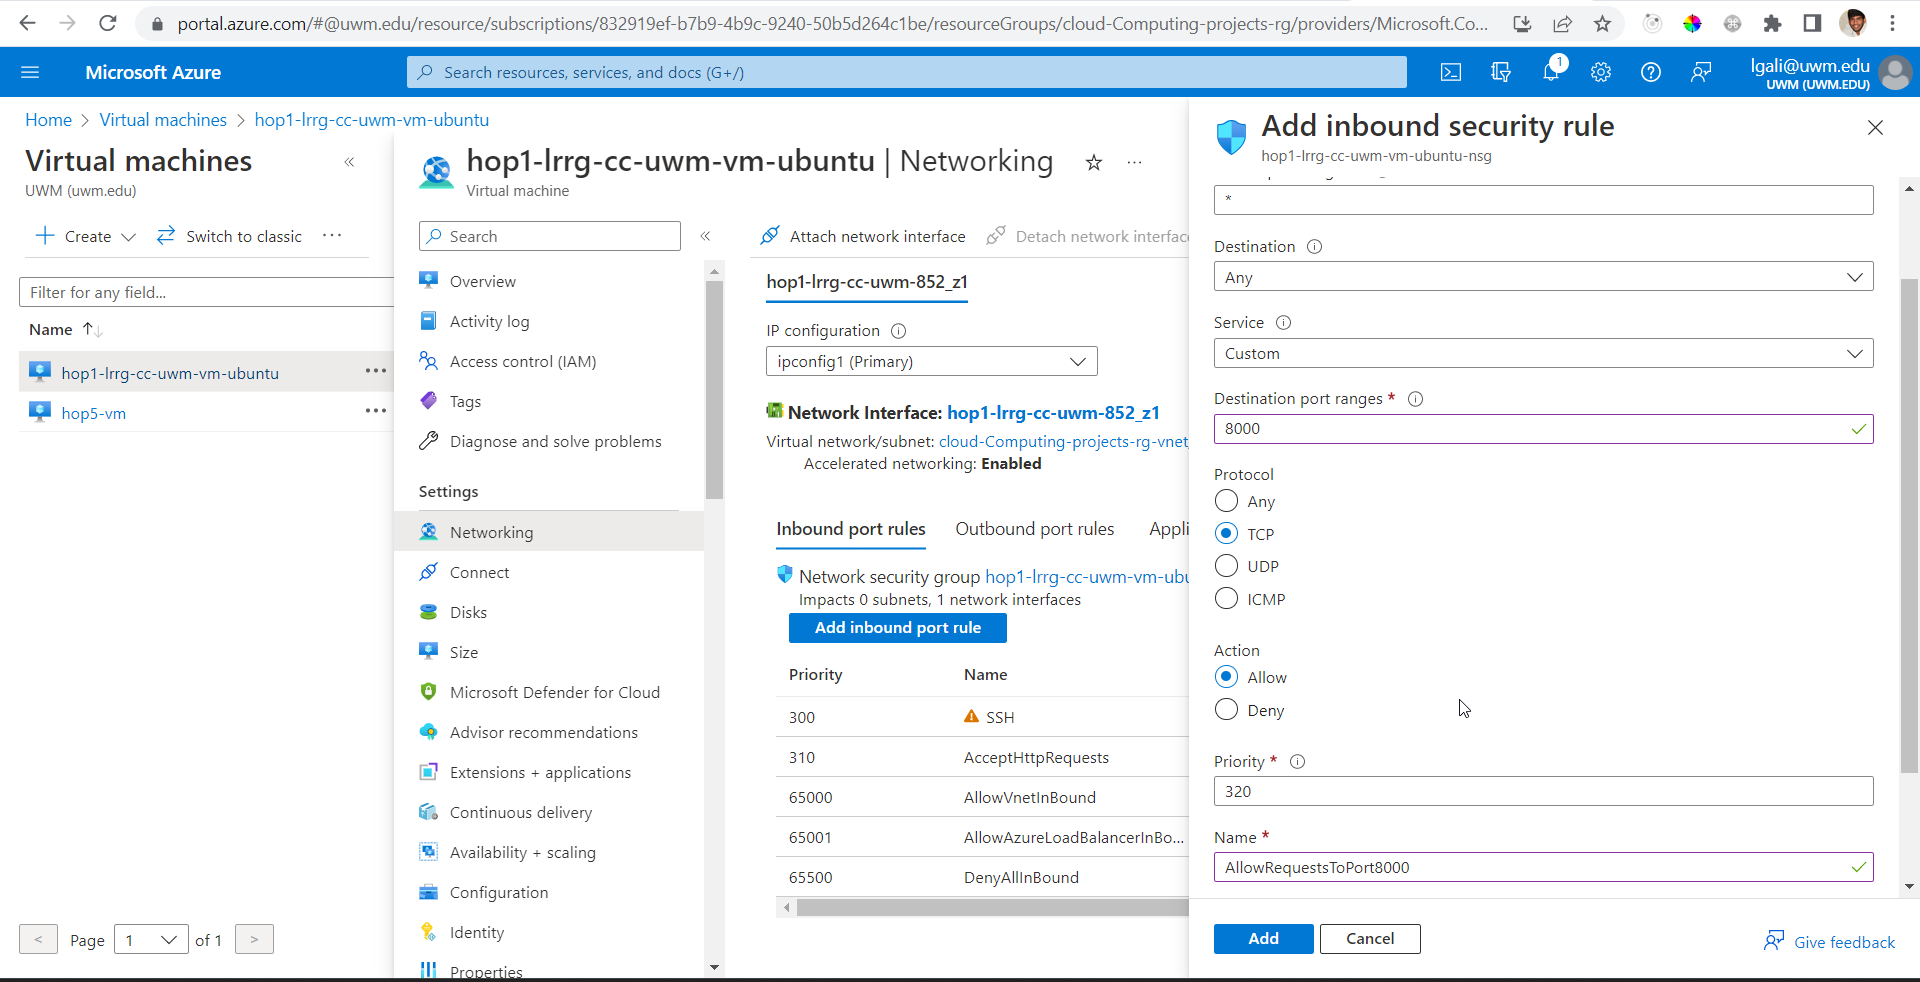
- In a similar fashion add another inbound port rule. Click on Add inbound port rule.
- For Service, select Custom.
- For Port fill 8000.
- For Protocol select TCP.
- For Action leave it to default Allow.
- For Priority leave it to default.
- For Name fill it with readable name. Suggested name AllowRequestsToPort8000
- Click Add to save the rule.
The myth behind enabling these ports are
- Port 80 allows us to make an HTTP call to the server.
- Port 8000 is enabled, as our demo application server will be running in the 8000 port.
Code alteration
This is step 2 of 4 in this exercise. In this step, you will make changes in the storefront code and start the server so that it accepts requests.
Follow these instructions
- From the Azure Portal, please do the following.
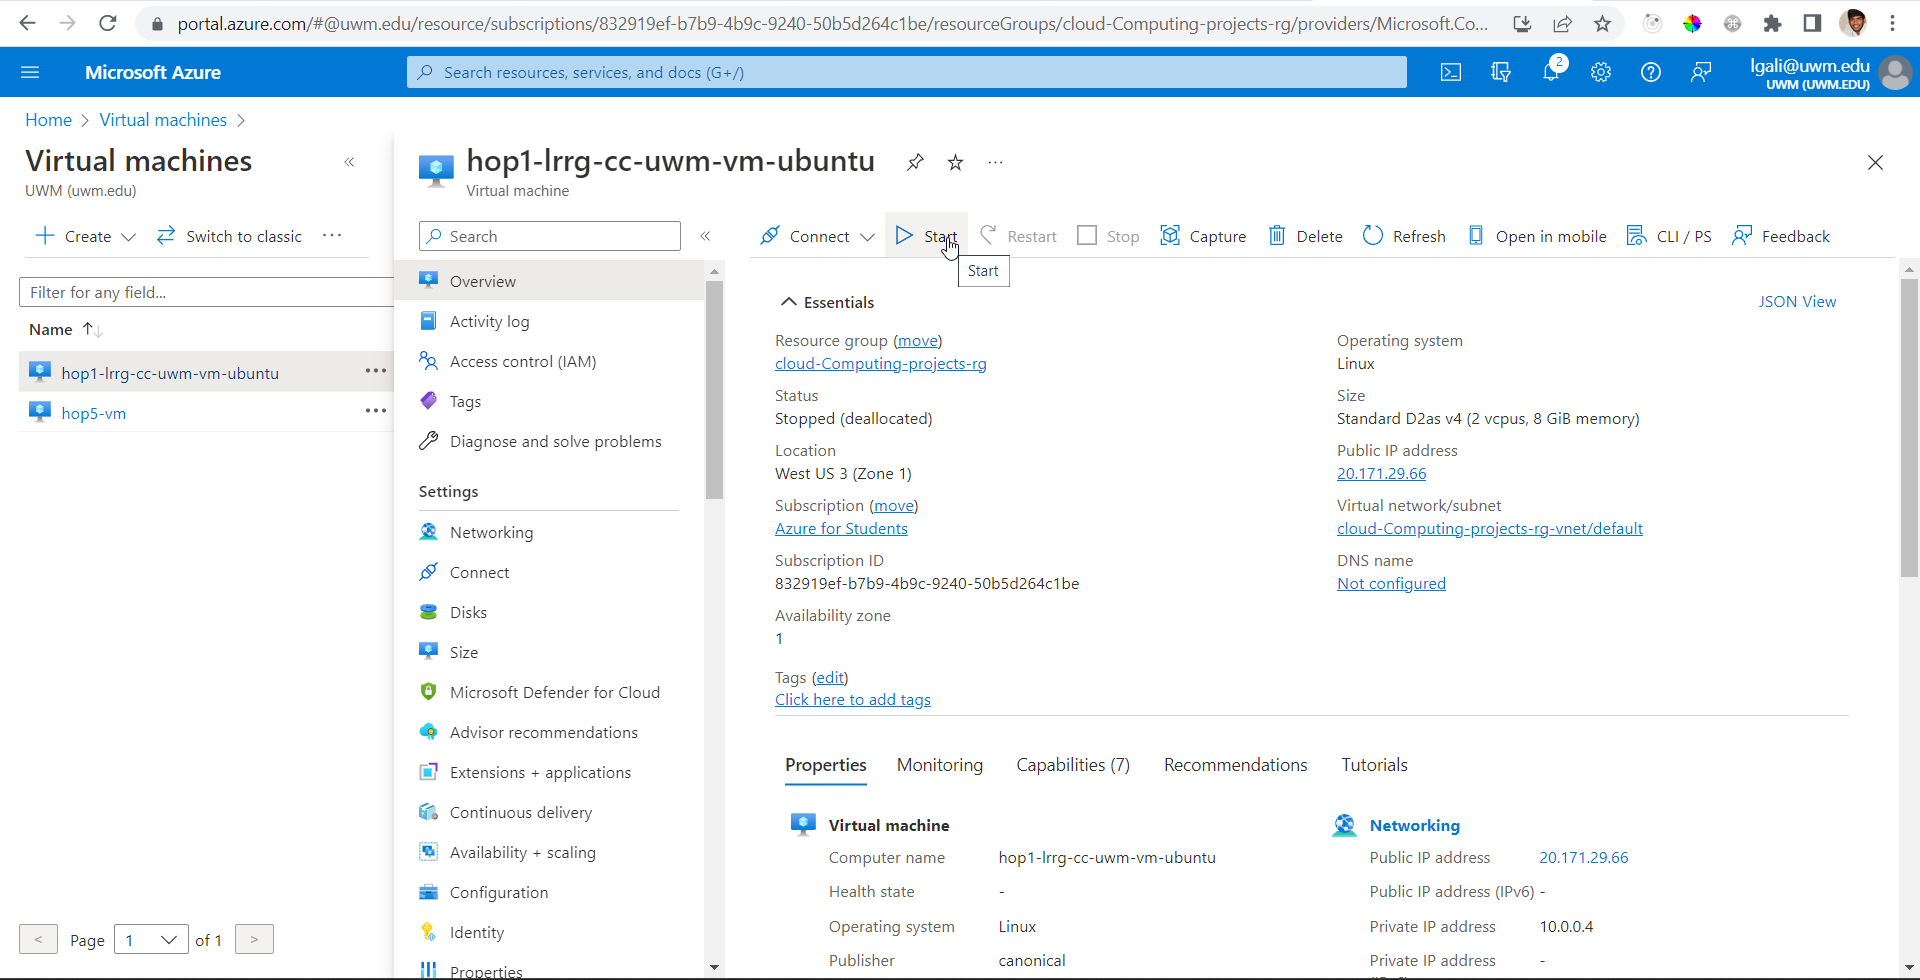
- Navigate: Portal Home –> virtual Machines –> select virtual machine –> Start.
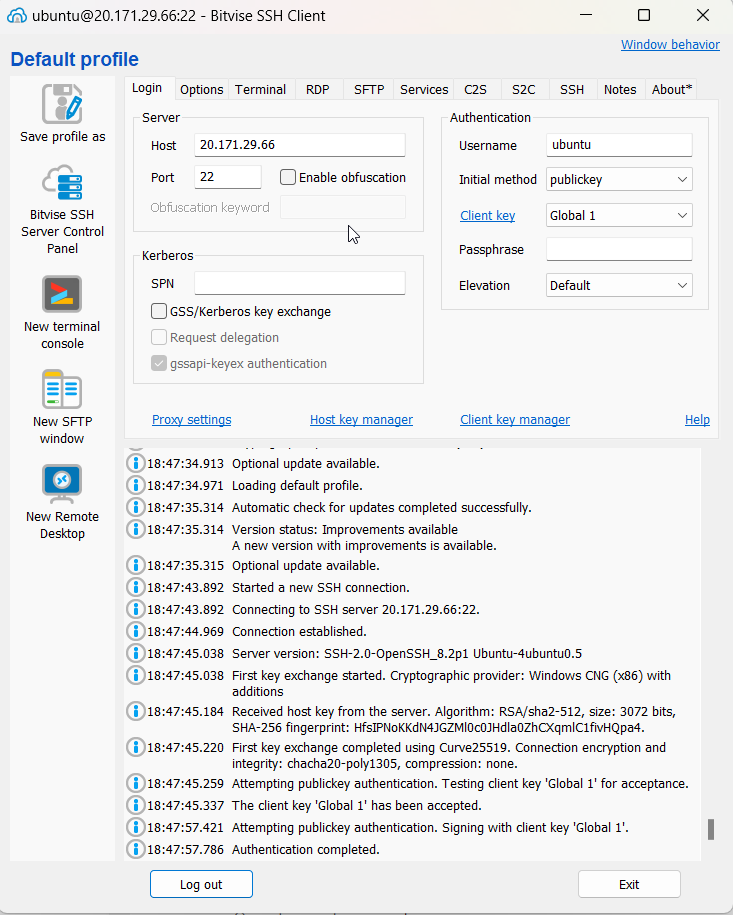
- Connect to your VM using the Bitwise SSH client.
- Open RDP.

- Startup VS Code to be able to view and edit the files in the application:
open your terminal and run the following commands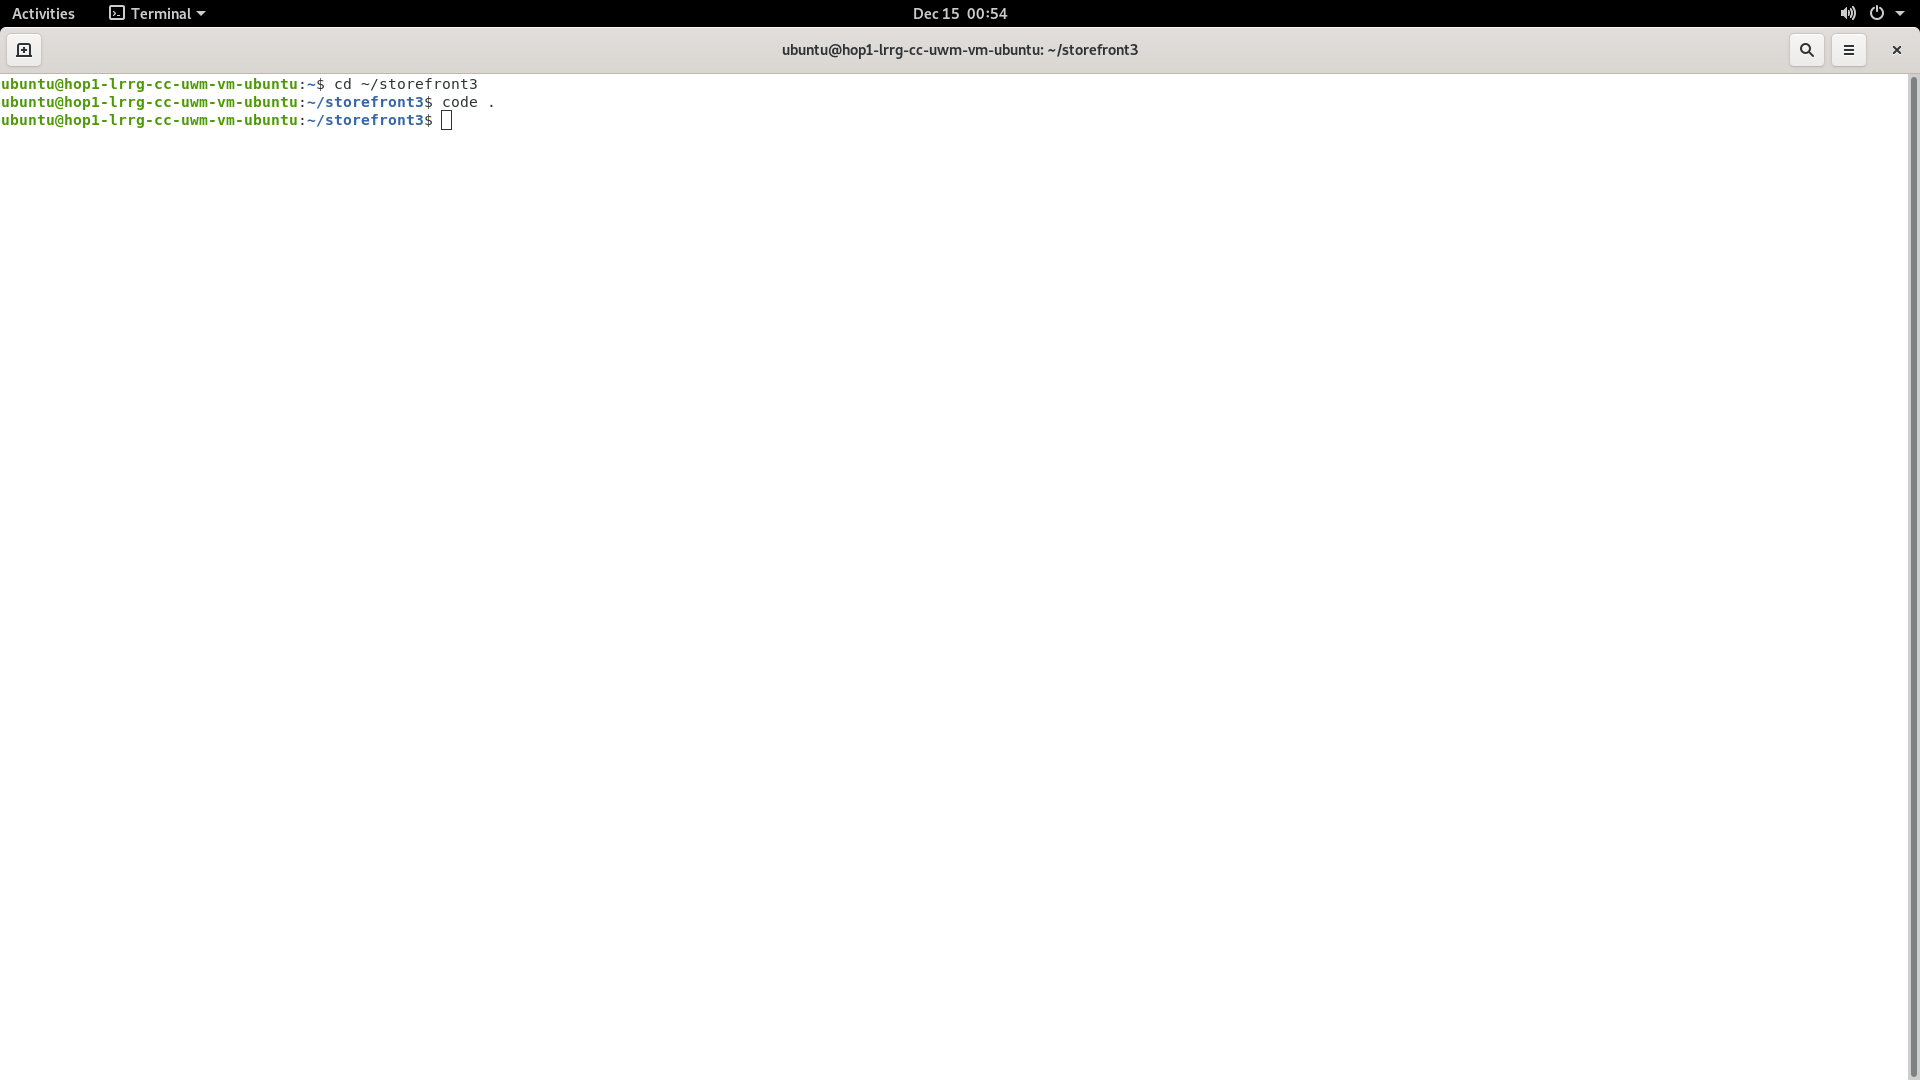
cd ~/storefront3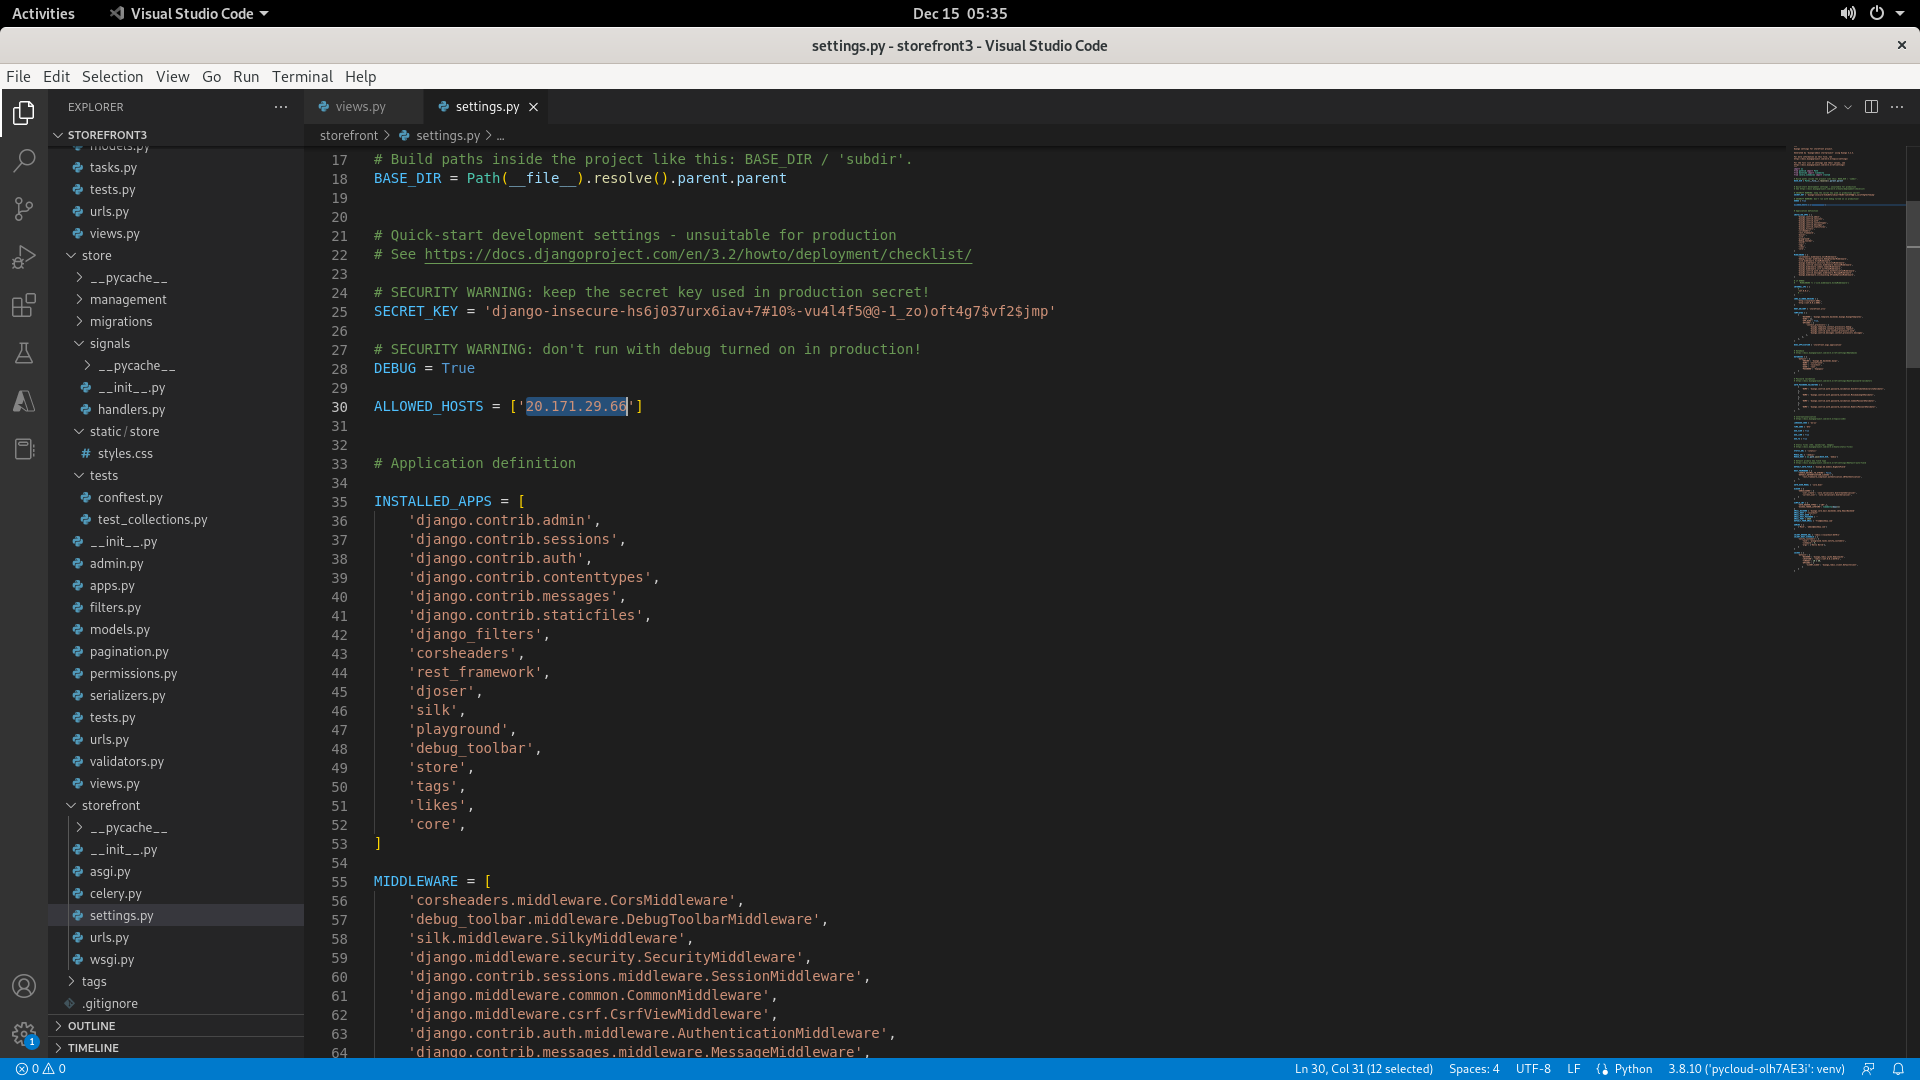
code .- In your settings.py you have an array variable declared and initialized called ALLOWED_HOSTS. You have to add a value to that array, the value is your VM’s public IP address. What does this addition do, it specifies to the application that this IP is a valid IP and whenever an API hitting with the specified address in the URL then that is a valid request.
- Open your VS code terminal and start the server using the following command
You can see that the test web server is running on port 8000. Here 0.0.0.0 plays a major role by opening the port public internet.
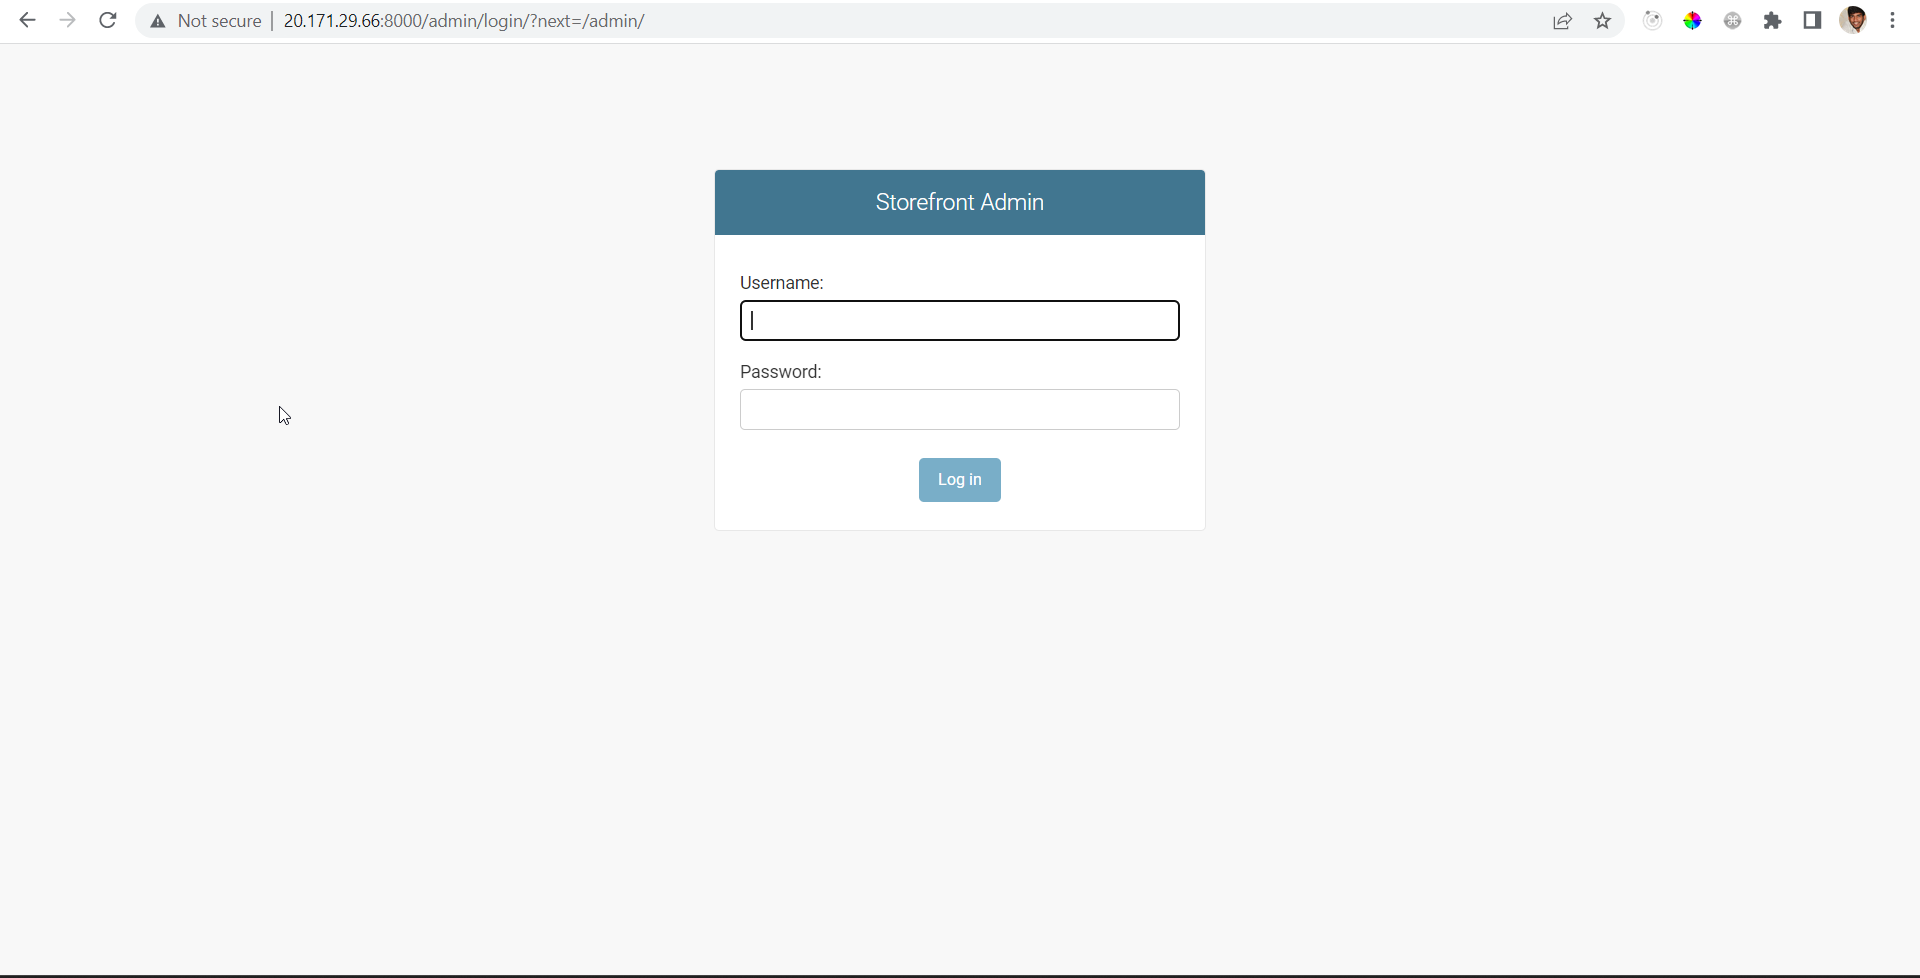
python manage.py runserver 0.0.0.0:8000- http://20.171.29.66:8000/admin/ open the following URL in your local browser, not in your VM browser, You should be able to see the admin page.
Learning Postman
This is step 3 of 4 in this exercise. In this step, you will get basic knowledge on the postman concepts used in this exercise.
Postman is an API platform for developers to design, build, test and iterate their APIs.
Installation
- You can download postman from the following link
- For updating the postman you can use the following link for reference and update your postman.
- After downloading, double-click on it for installation. Please leave all the values to default.
- If you are new to Postman, you can go through this blog to grasp some insights.
Concepts
I have briefly covered the concepts which are currently used for this exercise. For more information, you can refer to this link.
Collection:
In postman, a collection means a group of saved requests. A collection can be used to hit the API endpoints.
Variables:
Variables are used to store values which may be hardcoded or dynamic. The syntax to use variables in postman is <{{variable Name}}>. There are different types of variables
- Global Variables: When a global variable is declared you can access this in different collections. Their scope is throughout the workspace.
- Collection Variables: These variables’ scope is limited to that particular collection. You can access this variable in all the requests which are saved in that particular collection.
- Environment Variables: These variables are used when we have different environments like local, UAT, and Production. This variable’s scope is within the selected environment.
- Data Variables: These variables come from external CSV and JSON files to define data sets.
- Local Variables: This variable scope is limited to that particular request. It will be undefined after the execution of the request.
Tests:
Tests are used to validate whether the API is working as expected. It also has the ability to assign values to the variables. We will be using this concept in our exercise.
Implementing postman Collection
This is step 4 of 4 in this exercise. In this step, you will play with creating collection, requests, variables and get hands on experience with Postman
- Open postman which you have downloaded and installed in the previous step
- Go as a guest user
- Once you are on the home page click on the create collection(+ icon).
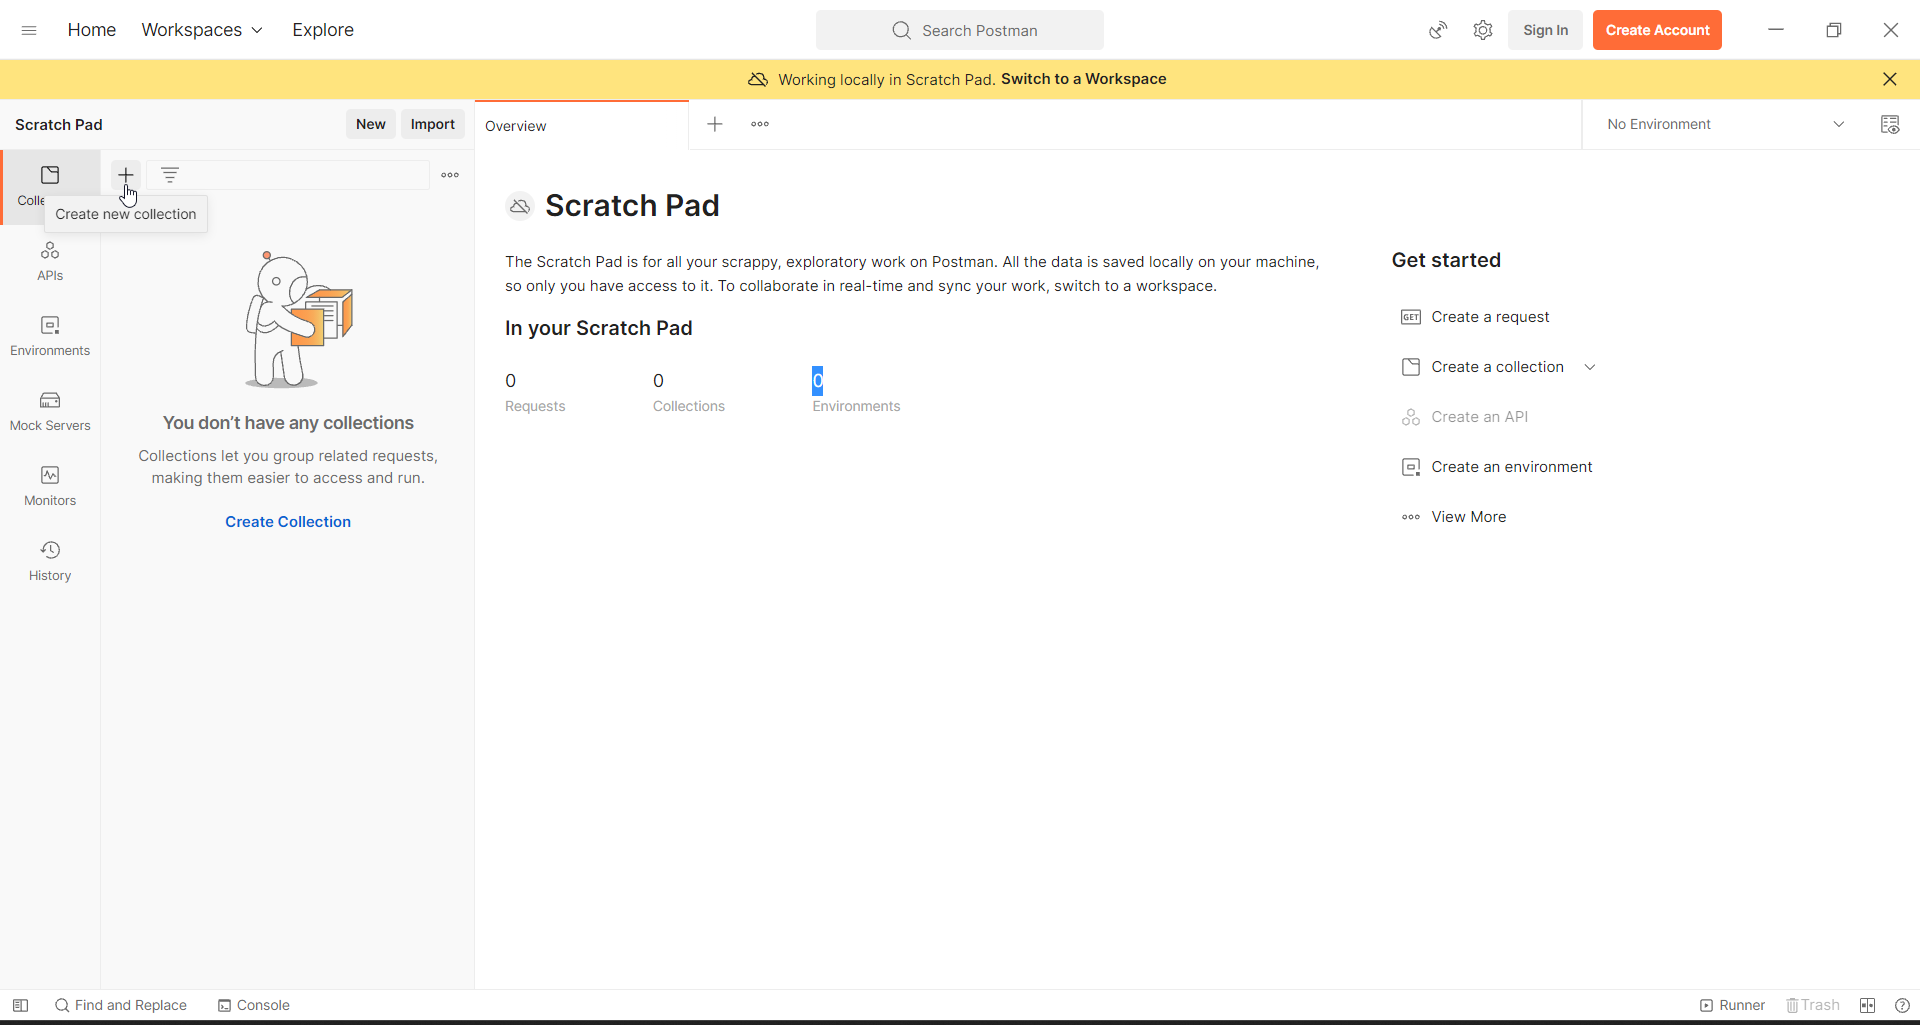
- Please give a valid name for the collection.
- In the authorization tab select type as API key, for the Key enter value as “Authorization”, for the value Key enter “JWT {{jwt_token}}”, for Add to leave it to the default “Header”.

- Switch to the variables tab and add a new variable called jwt_token. Leave other fields empty.
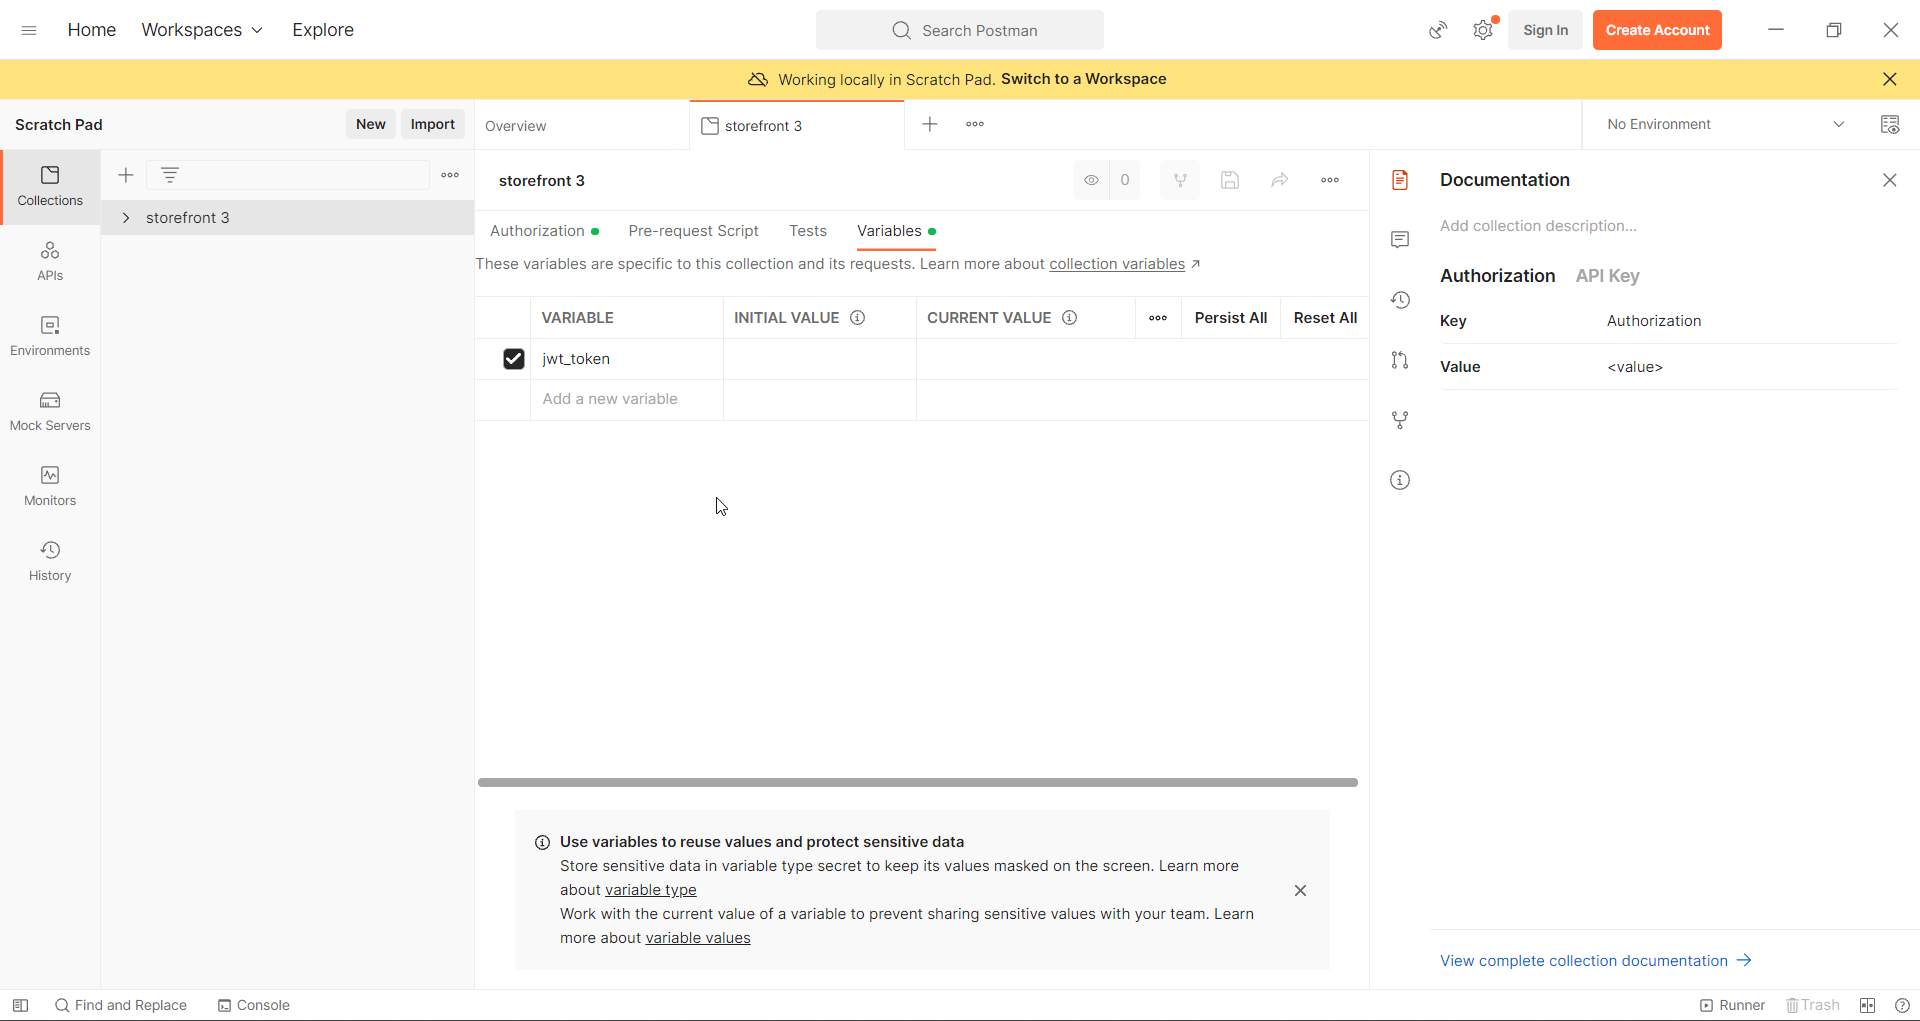
- In a similar fashion, add another variable called myAzureIp. In the CURRENT VALUE section enter the value as “<your Azure Ip>:8000”. In my case, the value is “20.171.29.66:8000”.

The manual way of creating Postman collection
Follow this article for manual way of creating the collection and storefront requests
Using exported JSON to create postman collection
Download this zip file unzip it and import the dot JSON file to postman
Importing downloaded json
- In the postman home page, you will see an import button on the top left
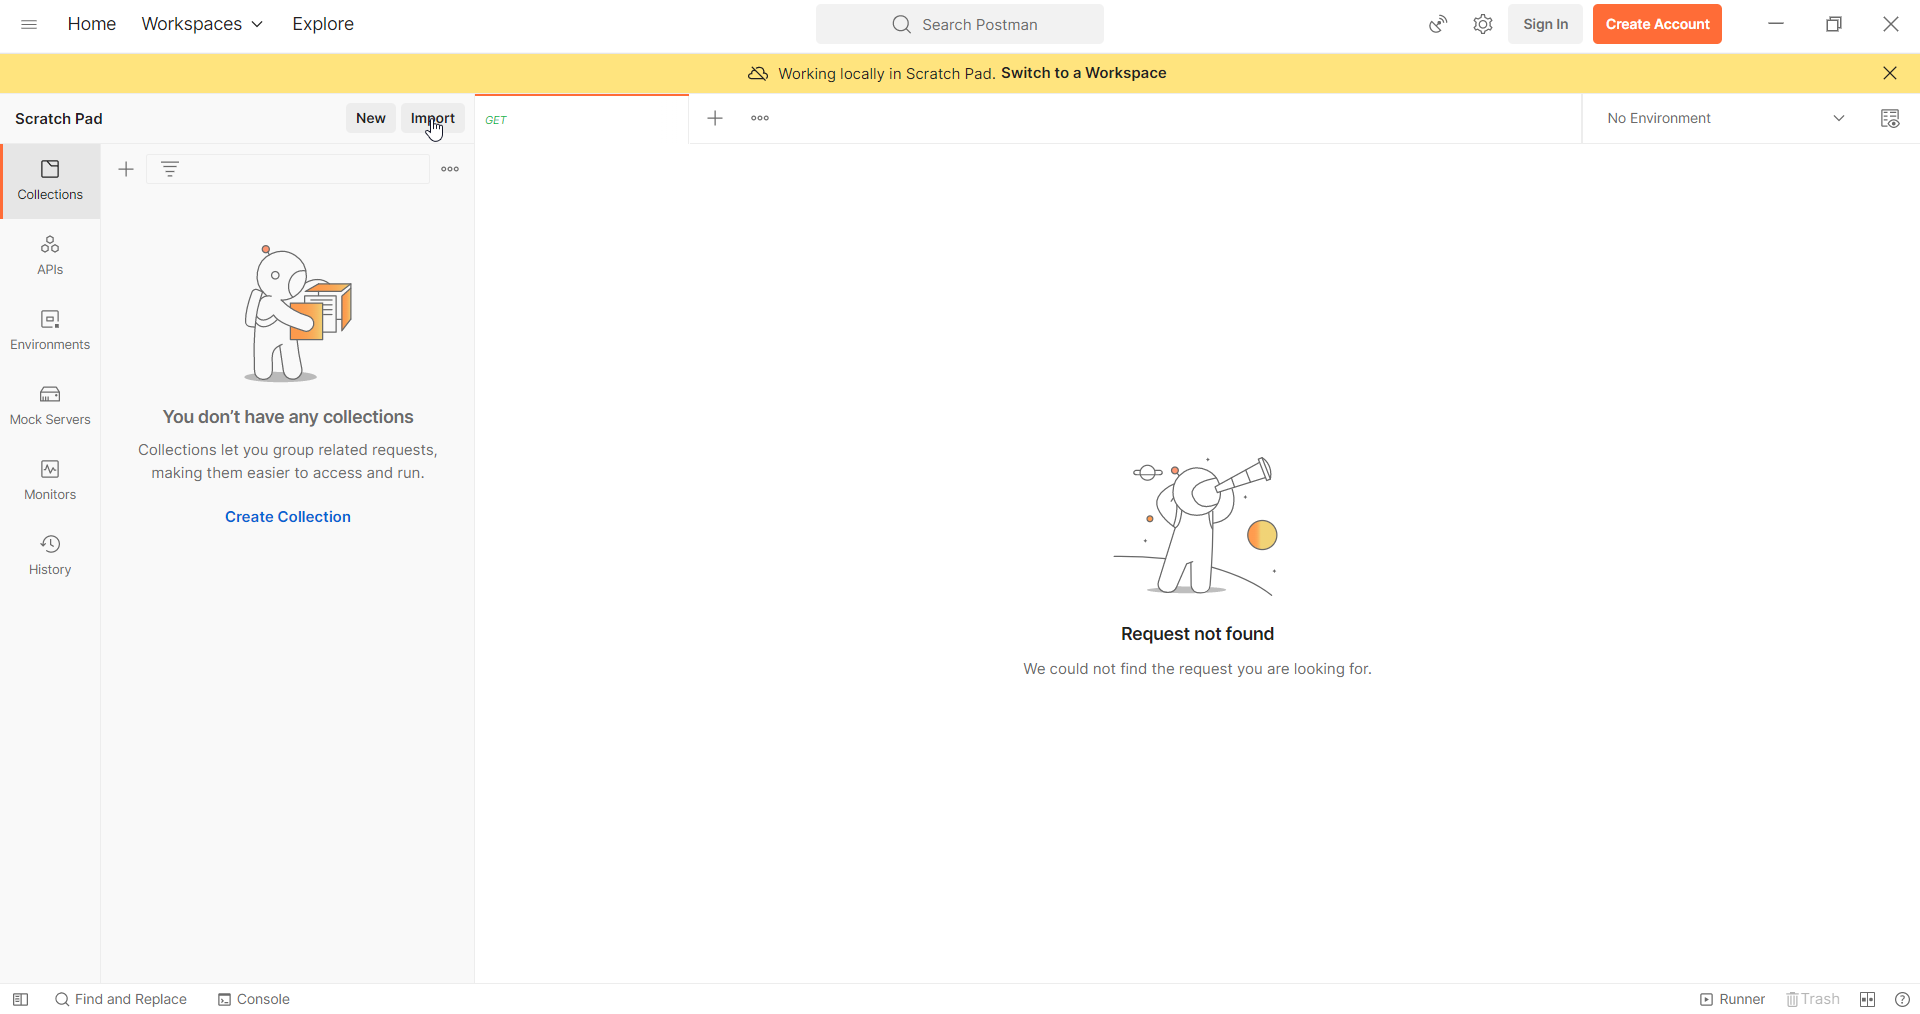
- Click on that button, you will see an upload Files option, upload the downloaded JSON, postman will automatically create the storefront3 collection for you.


- In create storefront3 jwt token API you will see an error if you have not changed the username and password. For reference see manual documentation of create storefront3 jwt token API.
- Open each request and start hitting the APIs one after the other in the same exact order as I mentioned below.
FYI: Hitting means sending(use send button to hit the API)
create storefront3 jwt token
Get store products
Get store products for page 2 filtered based on collection ID
Get store product
update products details
Create a cart
Get the newly created cart
add items to cart
add items to cart à if needed change values in body
Get the newly created cart
create new order
get the newly created order - You should be receiving all successful responses.