You will need an SSH client in order to access your virtual machine. We will be using the Bitvise SSH client. A significant advantage of this client is that it provides an SSH command window, a Secure File Transfer Protocol (SFTP) GUI to move files around, and a Remote Desktop Protocol (RDP) client all in one program. Bitvise does all of this by tunneling over a single SSH connection, which means that you can use all three client features with only TCP port 22 open to the public internet.
Download and Install the Bitvise SSH Client
You can download the Bitvise client from here:
https://www.bitvise.com/ssh-client-download
Import a Private Key into Bitvise
To use Bitvise to connect to a remote server using a key pair, you need to make the private key available to Bitvise. You can do this by importing a private key file. After installing, run the Bitvise client:
Click on Client key manager:
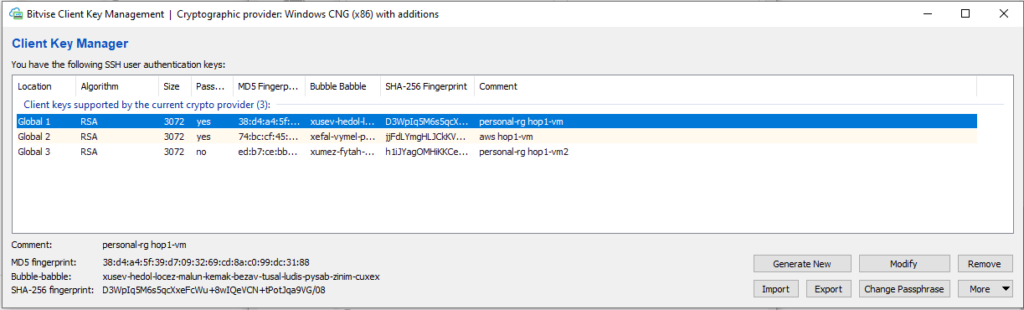
Import your private key as follows:
- Click Import.
- Locate your private key file and select it. You will most likely need to select All Files (*.*) in order for your private key file to appear.
- Enter the passphrase for your private key.
- In the Import Client Key dialog, make sure that you include a comment. If you did not provide a comment when you created the key, you can add it here.
- Click Import to complete the import, then close the Client Manager.
The imported key will be saved on your client computer. You can now connect to your virtual machine using Bitvise.
Connect to Your Virtual Machine
At long last, let’s connect to your virtual machine:
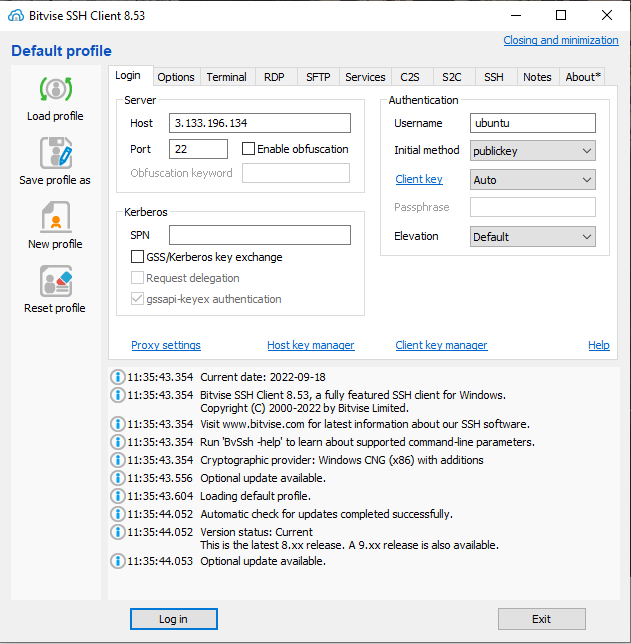
- From the Bitvise client main window, please do the following:
- Locate the public IP address of your VM from the Azure Portal or AWS Management Console and copy/paste it into the Host field.
- Enter your user name on your VM. This will be ubuntu (if you followed the conventions we are using) or whatever user name you entered when you created the virtual machine.
- For Initial method, use publickey.
- For Client key, select Auto. When you do this, Bitvise will try each of the private keys you have installed in turn until it finds a key that matches the given host. The alternative to doing this is to select a specific private key from the dropdown. The challenge with the latter is to identify the exact private key needed. The names shown are “Global X”, so it doesn’t tell you much about which key to use.
- Click Log In at the bottom. If this is your first connection to this server, you are prompted with a Host Key Verification dialog. Click accept and save.
- In the User Authentication dialog, enter the passphrase for the private key you are using.
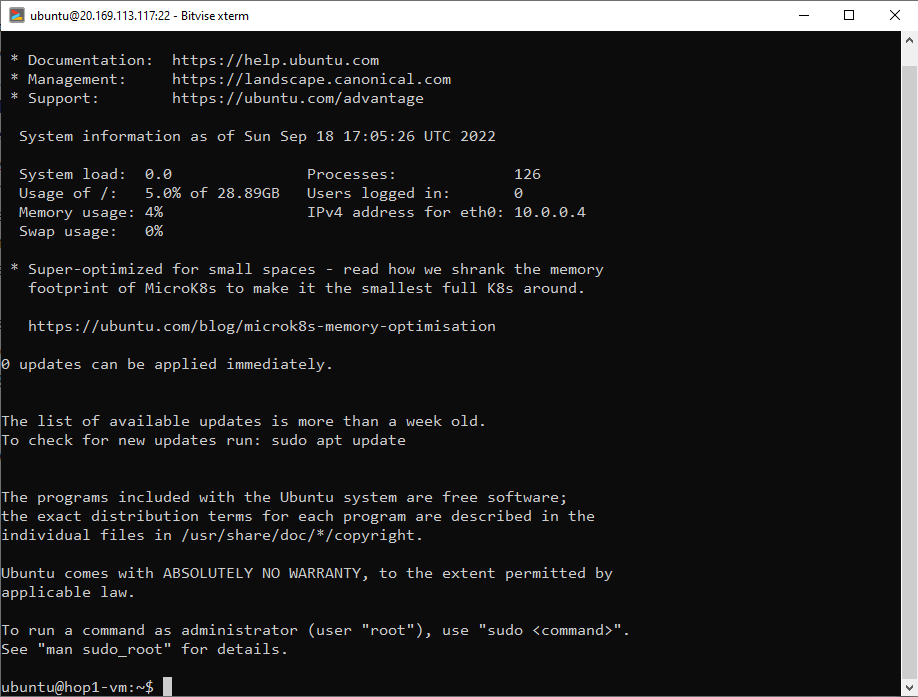
- After a successful login, you can click on New Terminal console at the left to open a terminal to the new server.
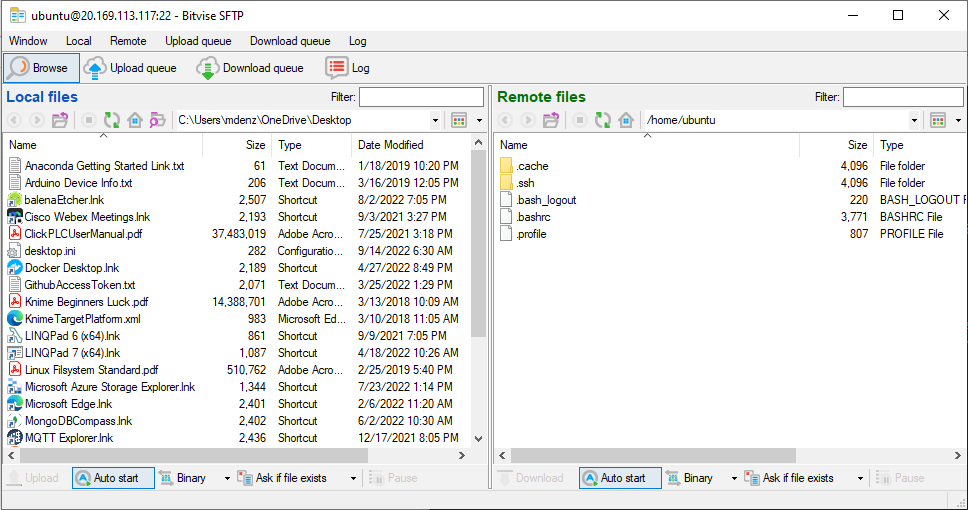
- You can also click on New SFTP Window at the left to bring up the SFTP user interface.