This is step 6 of 6 of Hands-On Project 2 for both Azure and AWS. In this step, you install a demo application written using the Python Django REST framework and get it up and running. The demo application will be used as the basis for doing a platform-as a service deployment in a later project.
This step assumes that you have completed steps 1 through 4 of the project. If you have not, please go Back to the Project and complete them before starting this step.
Why Are We Doing This?
It’s worth taking a minute to talk about why we are doing this kind of exercise, and where it fits in to our overall learning mission.
The main point is that software engineers working in the cloud are still software engineers. The cloud adds a new dimension to what they do, but they still produce all of the things that application developers produce when not using the cloud. They develop applications with a certain set of tools, and the result is a collection of code assets that needs to be managed over time in multiple environments: development, testing/QA and production.
The codebase that we will be working with is representative of what an application development team of which you are a member would produce. Even if you have a small role on the team, you will need to deal with the content of the application and be able to work with it on your own. Then, when it is time to deploy it in on cloud computers, you will need to be able to do that as well.
The demo application we have is written in Python using the Django REST framework. Because of this choice, the application is compact (with few lines of code given its functionality) and has features within it to assist with deployment. If you use different development tools, the specific code assets will be different but the issues will be the same: Can you move the application from one computer to another and have it still function correctly?
This exercise is all about taking an application that is fairly well-designed and implemented and gaining mastery over it on cloud servers (even though you were not involved in the initial development).
The E-Commerce Demo Application
The demo application implements a REST API for a simple ordering site, using a MySQL database back end. Find out more about its features and implementation here:
About the E-Commerce Demo Application
Install the Application Executables on Your Cloud PC
The application code is in a zip archive. To get started, download it to your local (Windows) computer, then upload it to your Cloud PC using BitVise’s SFTP GUI client. The code is here:
Within BitVise on your local computer, click on new SFTP Window, find the zip file in your Downloads folder, then drag the folder to your home folder on your cloud PC. Then use the Files application to extract the zip file to your home folder. The result looks like this when done:
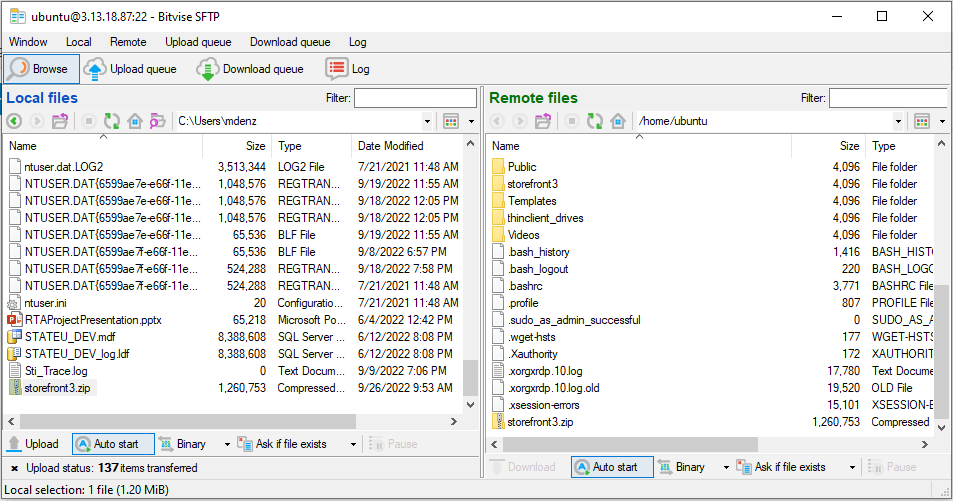
The files in storefont3.zip have been set up to make it simple to get the application up and running. Only a few short steps are needed to install and run the application. Please perform the following steps:
Start up VS Code to be able to view and edit the files in the application:
cd ~/storefront3
code .
When VS Code opens, you may be prompted about whether you trust the authors of the files in this folder. If so, click the button to trust the authors.
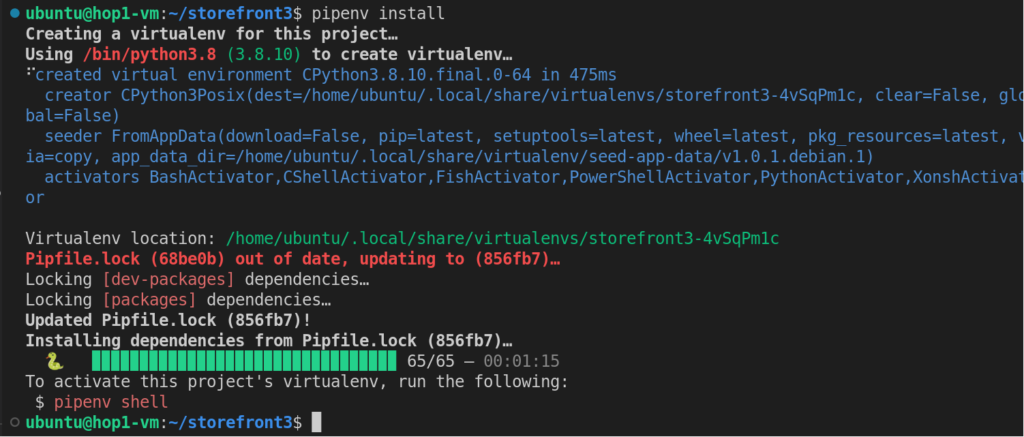
Open a terminal window in VS code and run this command to install the application:
pipenv installThis command takes a while to execute and does a ton of work:
- Creates a Python virtual environment for the current folder (~/storefront3)
- Installs all of the Python dependencies for the application. These dependencies are defined within the Pipfile file in the storefront3 folder. Pipfile belongs to the pipenv package manager.
- Updates the Pipfile.lock file with the details of all the dependencies installed for this application.
The results of the install command will look something like this:
Next, we need to configure the application to run with your root credentials against MySQL. Within VS code, find the storefront/Settings.py file. Within that file, find the DATABASES = section and configure the database userid and password.
	DATABASES = {
	    'default': {
	        'ENGINE': 'django.db.backends.mysql',
	        'NAME': 'storefront3',
	        'HOST': 'localhost',
	        'USER': 'root',
	        'PASSWORD': 'hop1pass'
	    }
	}
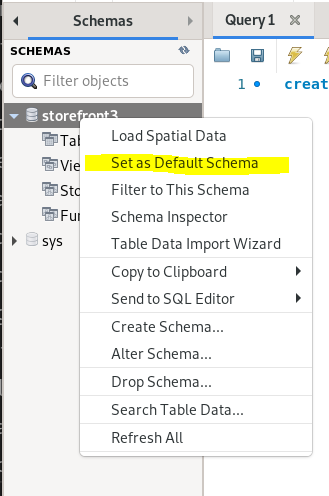
Next, we need to create a database within the MySQL database. Connect to MySQL Workbench and in a new query window run the following command:

The results of the command should say “Query Completed” in the lower left corner of the screen. After the database is created, you’ll want to make it the default schema in your Workbench session. Navigate to Schemas, refresh the display, then right click and select Set as Default Schema:
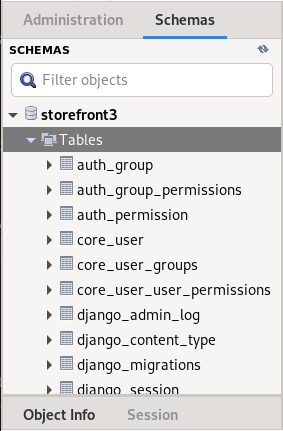
Now, we can run the Django framework’s database migration to create empty tables in the new database. Return to VS Code, and in a terminal window, run:
python manage.py migrateThe output will be lengthy, but at the end of it, there will be quite a few empty tables in the storefront3 database. You can see the tables from MySQL Workbench:
Next, we seed the database with a set of product collections and 1,000 product records. This gives us a starting point for running REST APIs to access the data. From MySQL Workbench, use File | Open SQL Script to open ~/storefront3/data/seed.sql. Take a minute to look at what data the script is inserting, then run the query:
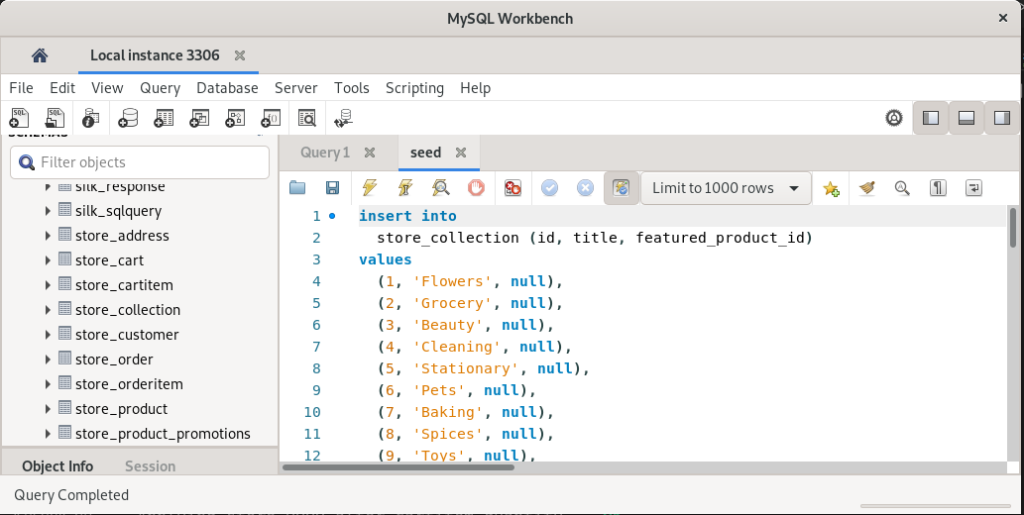
If you set your default schema to storefront3, the query will succeed, as evidenced by the Query Completed message in the lower left of the window.
Please use MySQL Workbench to run queries against the store_collection and store_product tables to inspect the data that were loaded. All the other tables are still empty.
There is one more thing to do to before you are completely ready to run the application. In order to login as an admin user to the application’s admin features, you must create a superuser account in the database. You can accomplish this from the VS Code terminal window:
python manage.py createsuperuserThis is a feature of the Django REST framework. You will be prompted for a user name, email address and password. When the command is complete, you have an administrative login to the application:

We are now ready to fire up the application!
Start the Test Web Server and Tour the Application
The Django REST framework comes with a built-in test web server that you can use for localhost testing. Once the application is installed, you can start the server from VS Code:
python manage.py runserverThe server will start, and you will initially see the results below. Notice that there is no command prompt. After you run the command. That is because the server is running and using this terminal window as its log. As you run the application, messages will be logged to this window:
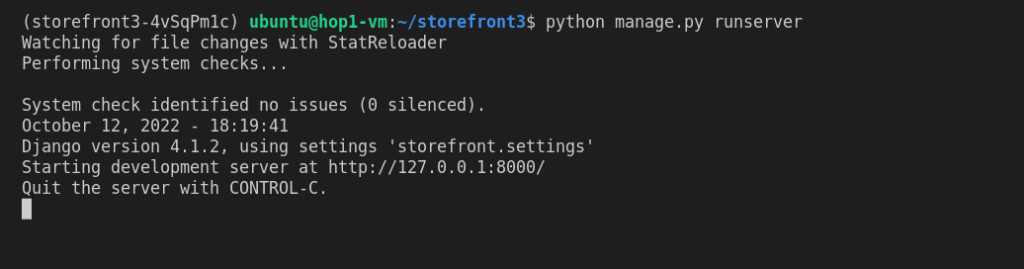
You can see that the test web server is running on port 8000. To get an initial tour of the application, open Firefox and access the following URLs:
- localhost:8000/admin. This will prompt you for your admin user name and password, and grant access to the administrative user interface. Please browse through the admin pages to see what it there. This is the Adminstrative User Interface described here.
- localhost:8000/store. This will present a web page with a list of links to other API URLs within the server. This is the API Testing User Interface described here.
- localhost:8000/store/collections. This runs the categories API and presents a list of collections that were seeded into the database with the seed.sql script.
- Try some of the other API links and see what is available.
Note that any of the APIs that you ran above, you ran without authenticating your user to the API. As a result, you were only show things that are available to all users, including unauthenticated ones. When you authenticate to the API, you are granted access to more of the functionality. So, to really exercise the API, let’s authenticate now.
Authenticate to the REST API
The demo application uses Java Web Tokens (JWT) to authenticate users. The JWT functionality is part of the Django REST framework and is built into the application. To make use of this feature without having to write a client application, we will install a Firefox browser plug-in that allows us to enter HTTP request headers, obtain a token from the REST API, and set the Authorization request header to be able to access the API. Let’s step through this now.
First, let’s install the browser plug-in. The plug-in is called ModHeader, and it’s available from:
https://addons.mozilla.org/en-US/firefox/addon/modheader-firefox/
From that page, click the Add to Firefox button to install the plug-in.
Allow the plug-in to be installed. When complete, you will get a confirmation at the upper right of your browser:
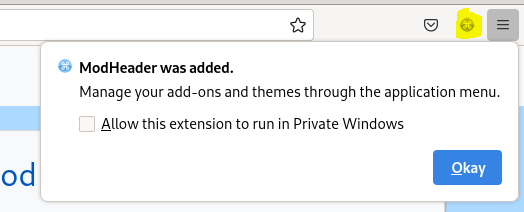
The icon highlighted in yellow above is the one you will click on to access the plug-in. Now, let’s obtain a token for the REST API. Use firefox to access localhost:8000/auth/jwt/create. Scroll to the bottom and enter your admin user name and password. Then click the Post button. You will get a response like this:
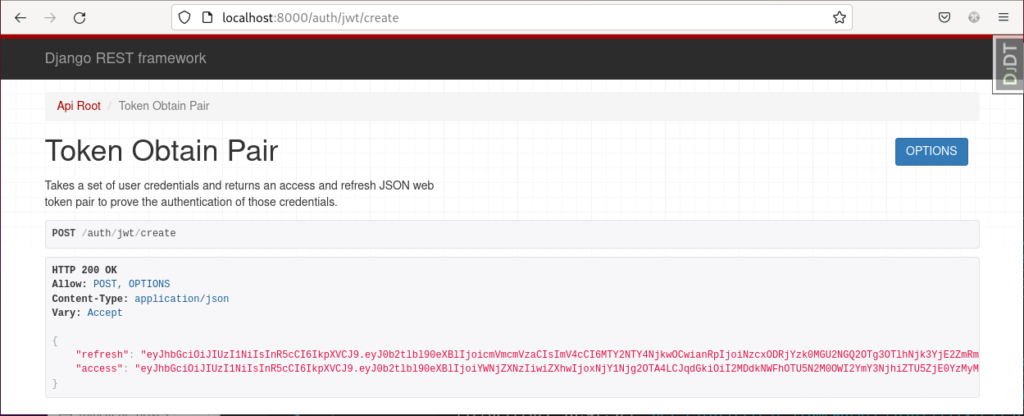
Within the response are two tokens: an access token which you can use to access the API, and a refresh token that you can use with /auth/jwt/refresh to obtain a new access token without having to re-enter user credentials. We will be using the access token to authenticate to the API.
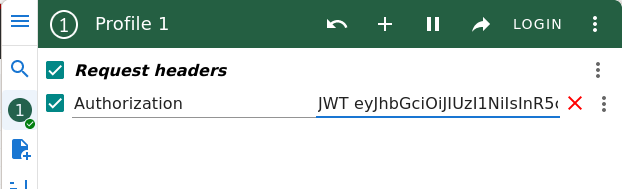
Highlight and copy the access token – without the quotes – to the clipboard. Then click the ModHeader icon at the top right of your browser and open the ModHeader dialog. In the ModHeader dialog, click the + button (if necessary) and add a request header. Name the header Authorization. For the value, type in JWT followed by a space, then paste in the access token from the clipboard. The result looks like this:
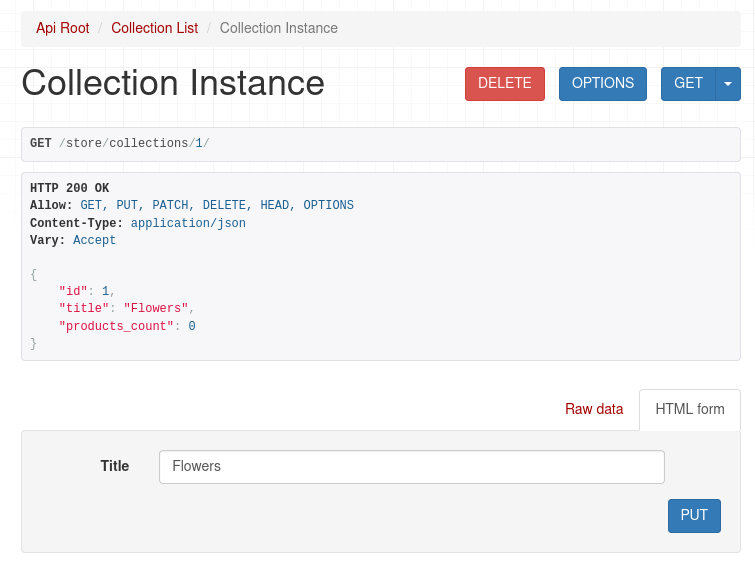
If you have done all of this correctly, you can now access APIs that require authentication from your browser. To check whether all is well, point your browser at localhost:8000/store/collections/1. This will return data for collection 1 and if you are authenticated, you will see buttons for updating the data, such as DELETE and PUT:
Exercise the REST API
Now that we are fully authenticated, we can run through the REST API and make sure we understand how to use it. The API Testing User Interface is fairly intuitive to use. It contains buttons and forms for running through each of the API functions. For this section, we will be less structured with the presentation and allow you to use your intuition to complete the steps below. Note that after you complete each step that updates the system, you can optionally confirm the results by running SQL queries in MySQL Workbench. For your complete understanding, please complete the following steps: