This is step 5 of 6 of Hands-On Project 4 for Azure. In this step, you do final configuration of the Azure AppService web server and the application, then deploy the application.
Update Django ALLOWED_HOSTS
The Django web framework requires that we identify the host names from which the application will accept web requests. This is done in the settings file with the ALLOWED_HOSTS variable. In development, we allowed access from localhost because we were running the development web server only on localhost. In production, we need to provide a host name to allow the application to accept requests from the public URL of the application.
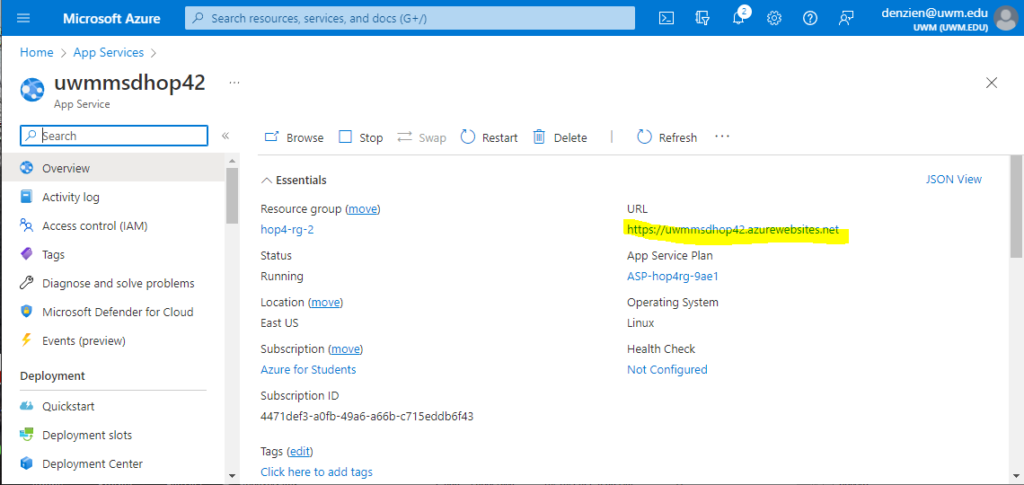
Note that we could not do this settings change until we knew the public hostname for our web server. Now that our Azure App Service has been created, we can just look it up. In the portal, navigate to the App Services service, then select your production webapp. The hostname needed for ALLOWED_HOSTS is the application URL minus the https://:
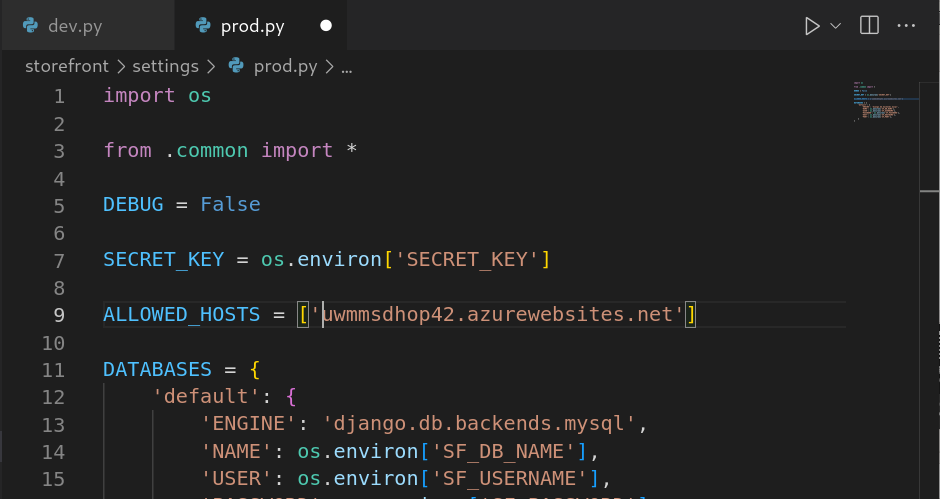
Open the /storefront4/settings/prod.py file and enter the hostname for the production application:
Configure Environment Variables
The configuration files in our Django application use the environment variable DJANGO_SETTINGS_MODULE to determine whether to use the development or production configuration at run time. In development, we never provided a value for DJANGO_SETTINGS_MODULE, which caused the application code to default to using the development configuration. In production, we must provide a value, otherwise the production system will also try to use the development settings.
Also, when the application codebase was updated, all secrets (passwords, secret keys, etc.) were removed from the production configuration and in their place, the app was set up to reference environment variables at runtime. To run the production system, we must provide environment variables for these secrets.
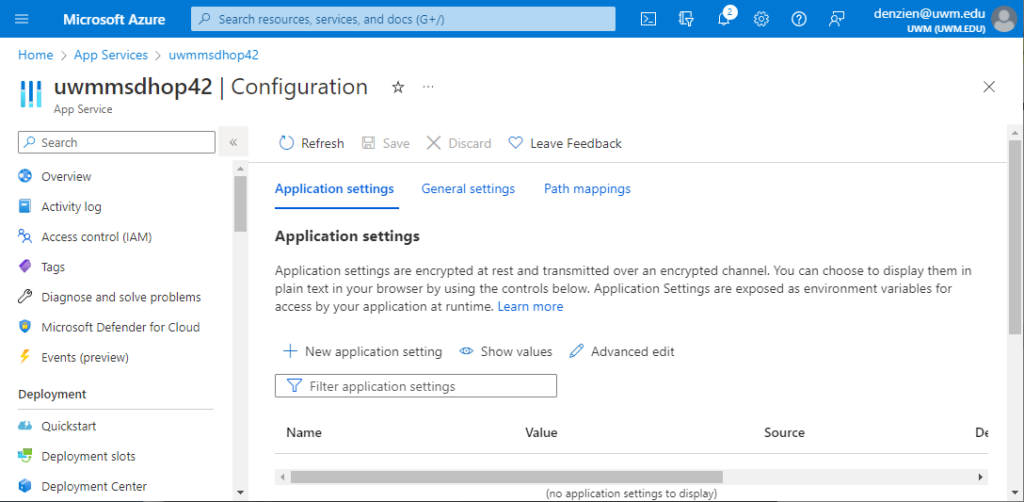
We configure App Service environment variables on the Application Settings tab within the Configuration section for our App Service:
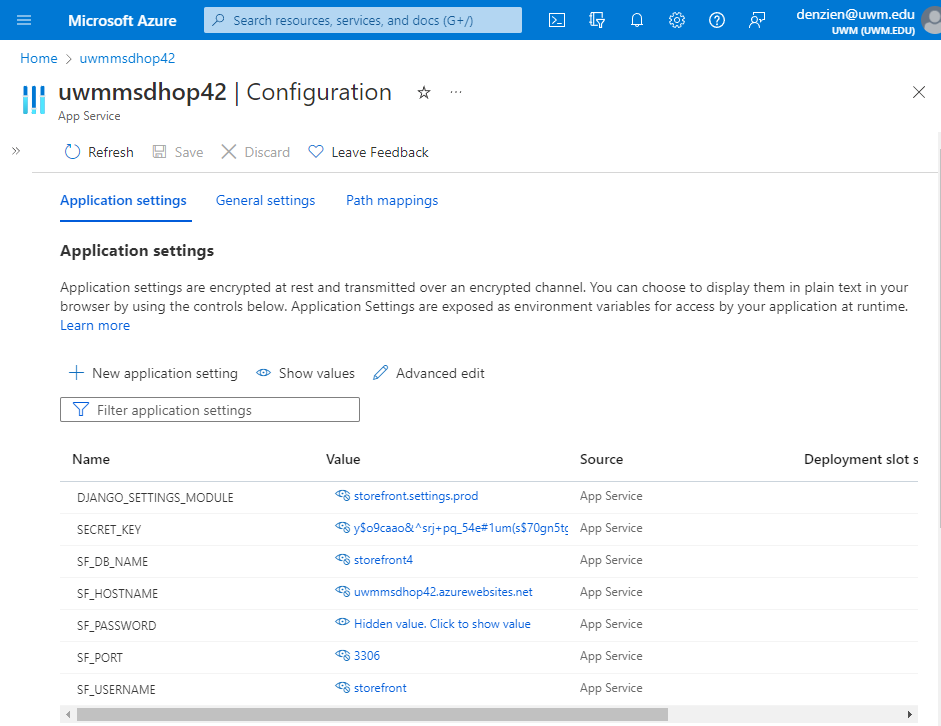
Click New application setting to create each environment variable. Create environment variables as shown in the following table:
Here is what the Application settings section looks like when complete (minus the production password):
Click Save to save the application settings. This will restart your production web server. No worries: we are still running the sample application that was deployed when we created the App Service.
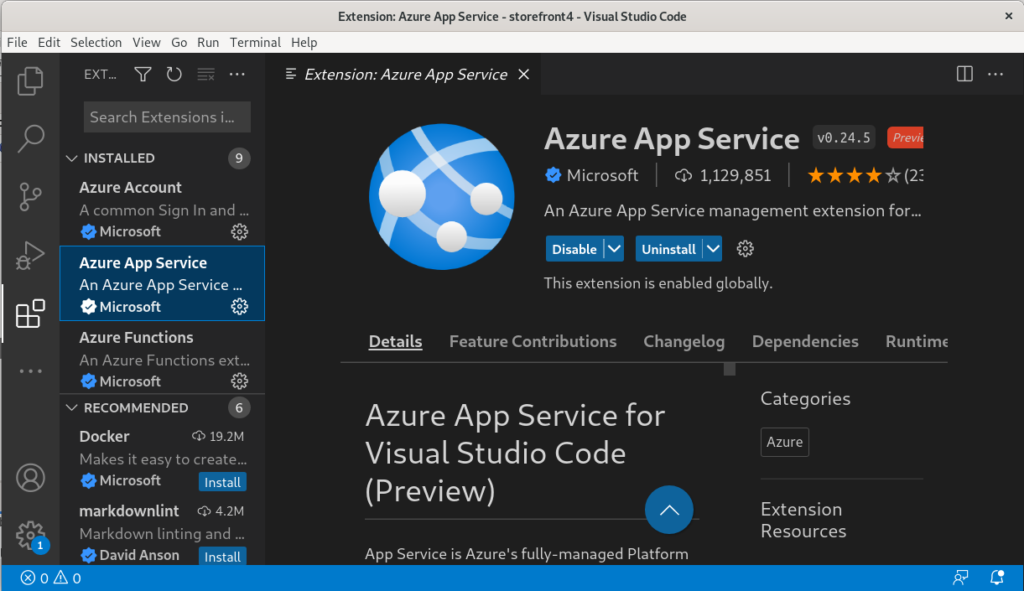
Install the Azure App Service Extension Into VS Code
To complete the deployment, we will be using the Azure App Service extension for VS Code. Go to the Extensions section in VS Code on your cloud PC and install the extension:
Deploy the Application
To deploy the application, please perform the following steps:
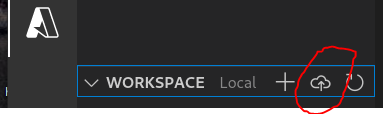
- In VS Code on your cloud PC, click on the Azure icon at the left.
- Within Workspace Local, click on the cloud icon:
- Click on Deploy to Webapp…
- Select the storefront4 folder, then select the target App Service instance.
- You will be prompted whether to overwrite the existing deployment.
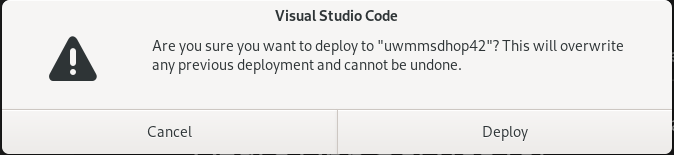
Click on Deploy.
After starting deployment, you can follow the prompt to display the output window for the deployment. Here is an example of that window:
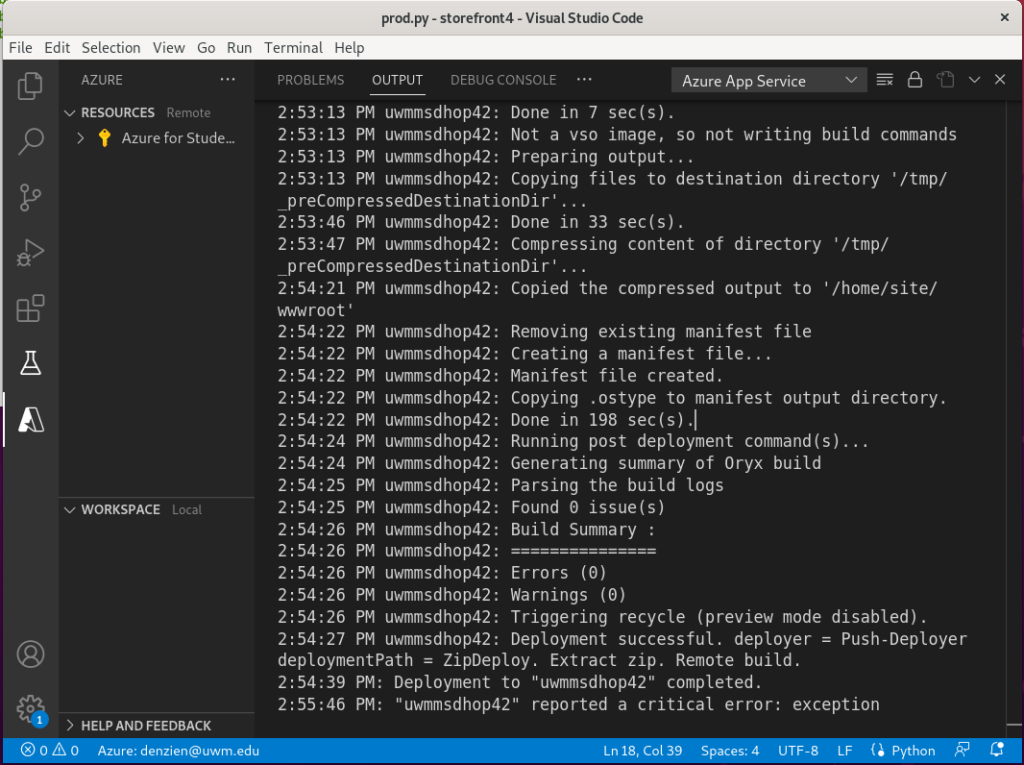
Note that the deployment completed successfully but a few seconds later, a message appeared indicating that there was a critical error. This may or may not be a critical error – it could be that site site is functioning but there is a minor configuration problem.
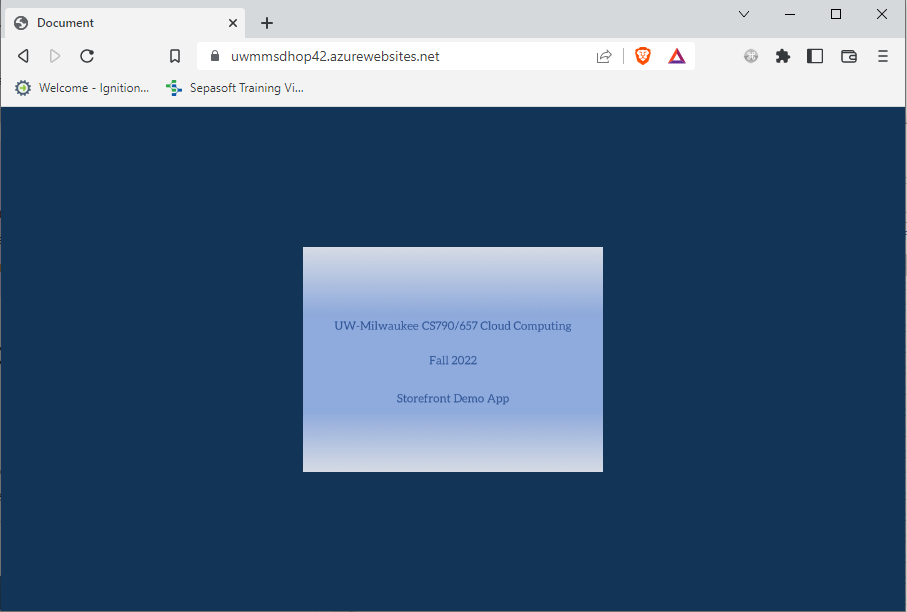
To check whether the site is accessible, point your browser to the home page. If the home page appears, the site is at least serving pages:
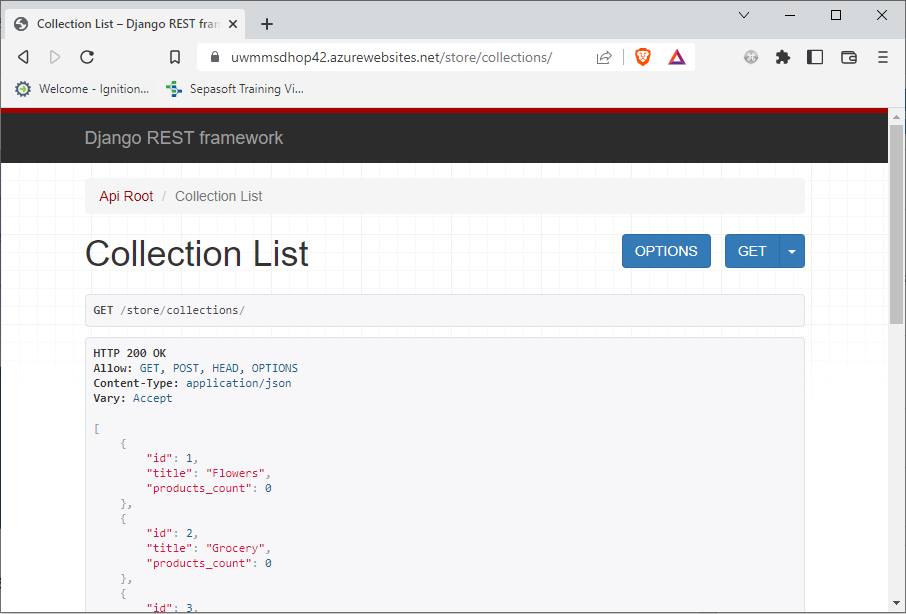
It is possible that the site is up but it is unable to access the database. To verify database access, try one of the unsecured APIs in the application:
The Application is in Production
Congratulations! Your deployment is complete. Or, maybe it’s not working correctly. In the next and final project section, we will talk about troubleshooting your deployment.