This is step 1 of 5 of Hands-On Project 4 for Amazon Web Services. In this step, you create an Elastic Beanstalk environment to host our e-commerce demo application in production.
Create Elastic Beanstalk Application
Within Elastic Beanstalk, there is a separate setup for each application. Within an application, you create one or more environments. An environment is a collection of resources which work together to support application execution. Usually, you will create multiple environments with the application, to keep development, QA testing and production separate.
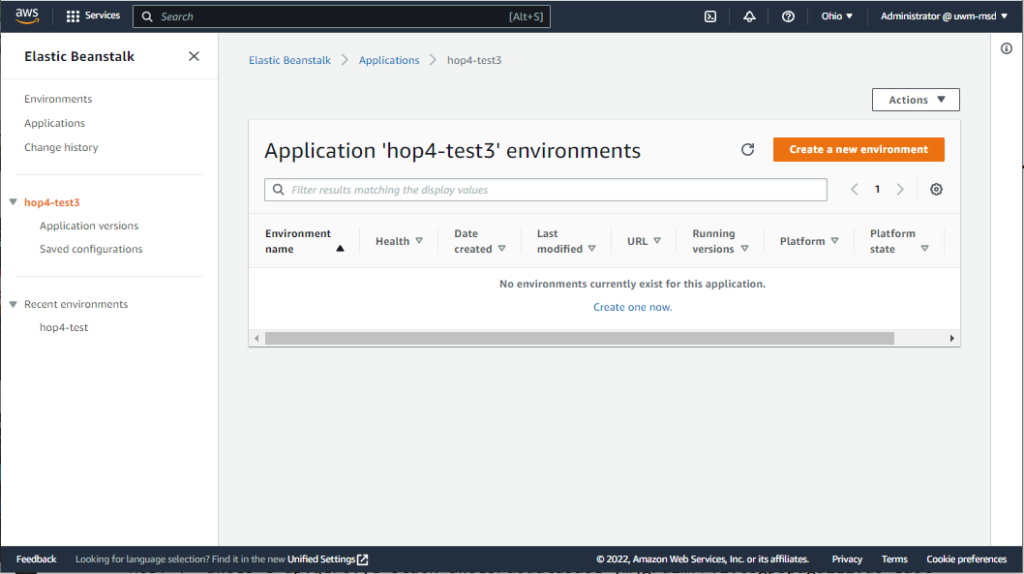
Let’s begin by creating an Elastic Beanstalk Application and our first environment. In the AWS Management Console, navigate to Elastic Beanstalk and select Create Application. Enter an application name and click Create to create the application. The Environments page for the new application will be shown next:
Create a Production Environment
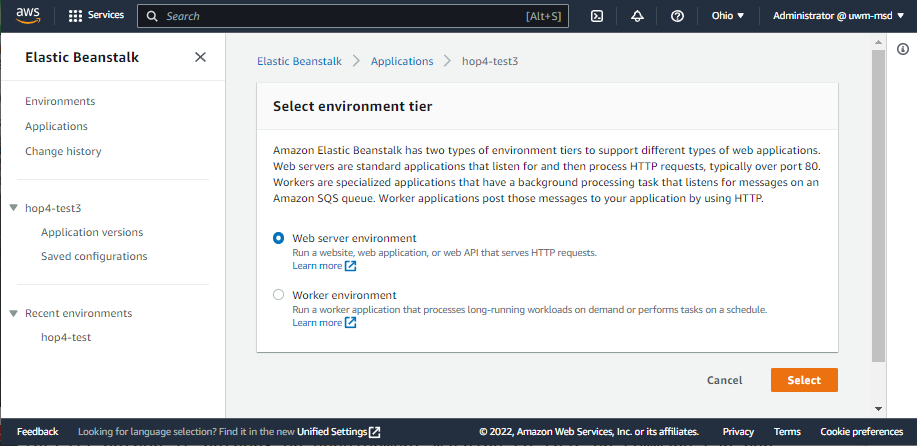
Click on Create a new environment, and choose Web server environment:
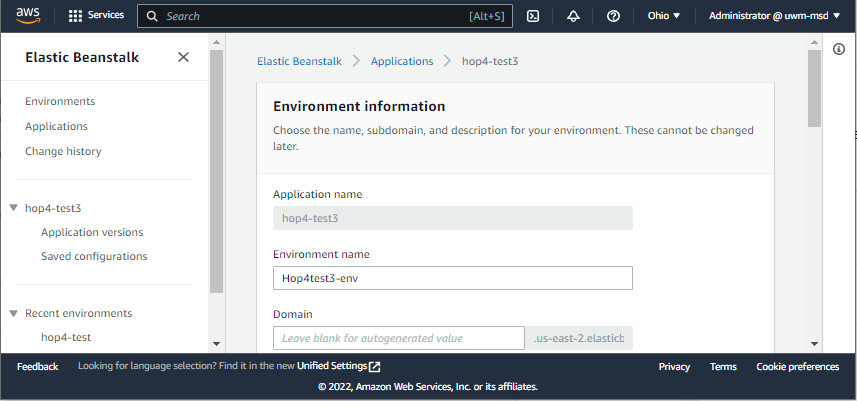
The series of entries and pages we are about to follow has a huge impact on what resources get created for you, so please take care in doing the following:
- You can accept the pre-generated environment name or choose a different one. This is mainly for you to distinguish among the different application environments you have. The simpler the better.
- You will want to choose a definite domain name. Choose a name you would want your end users to see.
- For Platform, select Python and choose the branch for Python 3.8. (Python 3.8 matches the development environment we used on our Ubuntu 20.04 cloud PCs.)
- Leave Application Code set as sample application. This will deploy a simple sample application so that we can verify that our web server is running when we first create the environment. DON’T CLICK CREATE ENVIRONMENT YET.
- Select Configure more options. Leaving the defaults for everything else not mentioned, make the following customizations:
- For Software, click Edit and make the following changes: a) S3 log storage enabled, b) Instance log streaming to Cloudwatch Logs enabled, 7 days retention, delete logs upon termination. Click Save.
- For Security, click Edit and make the following change: select an EC2 key pair. Best practice is to create a new key pair for your production environment. You can generate the key pair in the normal fashion, then use the EC2 service to import the key pair before selecting it on this page. When done, click Save.
- For Database, click Edit and make the following changes: a) Database engine is MySQL, b) Engine version 8.0.31, c) select a master user name and password for the database. Make sure you write this down – the application will use these credentials to connect to the production database. d) Database retention policy = delete. This makes it easier to clean up your resources if you need to terminate the environment. When done, click Save.
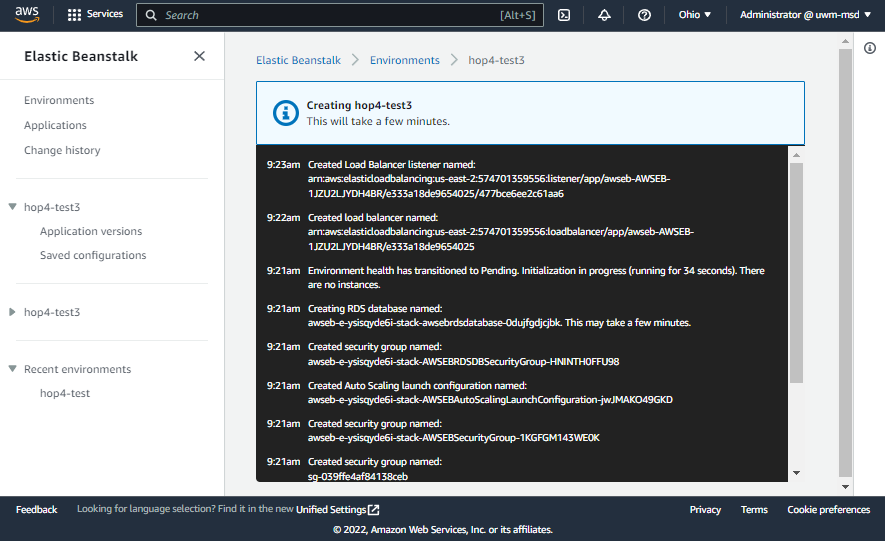
- After all the above are completed, click Create environment. This step can take quite awhile, perhaps up to 10 minutes or a bit more. As it is running, log messages will be displayed showing progress made toward creating resources in the environment.
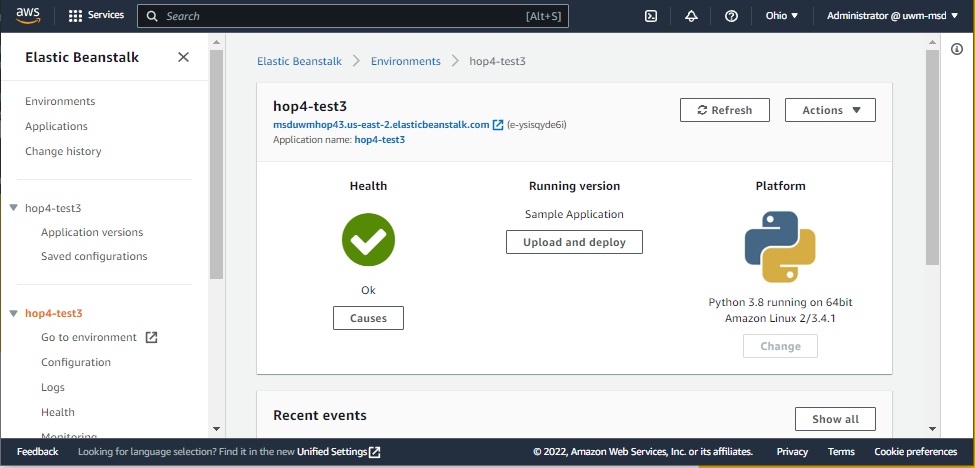
After the above is completed, the Management Console will display a temporary page while the environment is being created, then the landing page for the new environment:
What Got Created?
Though we only went through a few simple pages, all of the following resources got created with the new environment:
Although these resources were created using Elastic Beanstalk, they are the same as any resources created outside of EB. As a result, you can browse to each of the services using the standard service names in the Management Console, such as EC2, RDS, and so on.
The table above noted that a reverse proxy server was installed on the EC2 instance. For a brief explanation of what a reverse proxy server does, click here.
Explore the Production Environment
From the dashboard page for the environment you just created, please follow these links to get familiar with your new environment:
- Go to Environment. Displays the home page for your web app (which is currently the sample application we selected at setup time.)
- Configuration. Displays the current environment configuration and allows changes to it.
- Logs. Allows you to download and view recent logs from your environment.
- Health. Displays recent environment health events and allows you to take actions against EC2 instances in the environment.
- Monitoring. Displays recent performance monitoring data for your environment.
- Events. Displays a log of recent events that occurred in your environment.
Pausing an Elastic Beanstalk Environment
We set up our Elastic Beanstalk environment to make it easy to clean up resources when we are done with it. This included deleting the database server. For this reason, we don’t want to terminate (delete) our environment until we are well and truly done with it. Still, we would like to limit the costs of having the environment around. Elastic Beanstalk does not provide an option for stopping and restarting an environment. However, the following link explains a technique that uses time-based scaling that can be used to pause your environment without terminating it:
https://jun711.github.io/aws/how-to-pause-or-stop-elastic-beanstalk-environment-from-running/
To reduce the cost of completing this project, use the link above to configure time-based scaling to pause and restart your Elastic Beanstalk environment.