This is step 2 of 7 of Hands-On Project 2 for Amazon Web Services. In this step, you create a Simple Storage Service (s3) bucket that you can use as cloud-based personal storage, and learn to access your storage account with the free S3 Browser client.
S3 is a general purpose storage service within AWS. It has many features. Here is a three-minute introduction:
Let’s create an S3 Bucket for your personal use and get access to it:
Create an S3 Bucket
- From the AWS Management Console, please do the following:
- Navigate: Console Home –> S3 –> Create Bucket.
- Enter a bucket name. Bucket names must be unique across all AWS accounts in all the AWS Regions within a partition. A partition is a grouping of Regions. Because of this uniqueness requirement, it is a good idea to use “domain name-like” names for your buckets. For example. if I create a bucket to stage files for this blog site, I might name it cloudblog.mdenzien.com. This is very likely to be unique.
- Select Region. To maintain locality of reference of all your AWS resources, put it in the same region you are using for your other AWS resources.
- Take the defaults for everything else.
- Scroll to the bottom –> Create Bucket.
Start Using Your S3 Bucket
The most immediate way to access your S3 bucket is to use the AWS Management Console. After creating the bucket, simply click on the bucket name and you will be taken to a page that allows you to upload, download, get file URLs and more.
- Please do the following:
- Upload a few files using the Management Console and get comfortable using it.
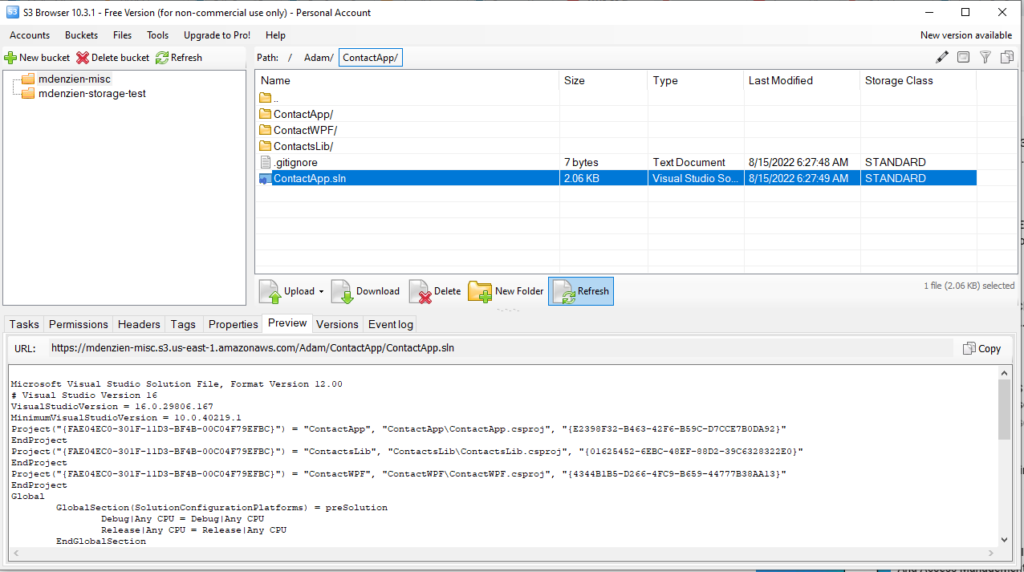
A second way to access your S3 data is using a dedicated desktop client program. You might find that a program like this has advantages over using the Management Console, such as giving faster navigation among buckets, files and folders within a single account, fast switching between multiple accounts, and an overall faster and better user experience. I use the S3 Browser program for this purpose. Here is a screen shot of S3 Browser:
Let’s install S3 Browser and try it out:.
- Please do the following:
- Download and install the free version of S3 Browser. https://s3browser.com/
- Using S3 Browser requires API access to your AWS account. This is done via an access key that you create using the AWS IAM service. If you do not already have an access key, create one using the instructions here: https://www.youtube.com/watch?v=JvtmmS9_tfU. Make sure to download the Access Key ID and Secret Access Key, save them securely, and have them available.
- Run S3 Browser and set up a new account: Accounts menu –> Add New Account –> Fill in Display Name –> Account Type = Amazon S3 Storage –> paste in Access Key ID and Secret Access Key –> Select Encrypt Access Keys with a Password –> Enter a password –> Use SSL/TLS –> Create Account.
- The user interface is pretty intuitive and has many features. (Hint: One of more of the S3 Browser features might make a good blog article.) Upload and and work with a few files to get acquainted with it.
More About S3
We will learn more about the S3 service later. If you “just gotta know more” now, here is an excellent 45-minute S3 tutorial with more details: