Topics covered in the article
- What is an EC2 Task Scheduler?
- Advantages of EC2 Task Scheduler.
- How does the EC2 Task Scheduler work?
- Steps to launch EC2 Task Scheduler?
- How to delete the EC2 Task Scheduler?
- Pricing of EC2 Task Scheduler.
When it comes to cloud computing and storage, AWS has a wide range of options. With a strong internet connection, practically anywhere, we can access it. But the EC2 Task scheduler comes into play when it comes to how an instance can be started/stopped without human interaction.
What is an EC2 Task Scheduler?
The EC2 task scheduler is a solution that enables customers to easily configure custom start and stop schedules for their Amazon EC2 and Amazon RDS instances. The solution is easy to deploy and can help reduce operational costs for both development and production environments, By setting up start and stop schedules for your Amazon Elastic Compute Cloud (Amazon EC2) and Amazon Relational Database Service (Amazon RDS) instances, the Instance Scheduler on AWS solution enables you to manage your AWS resource cost.
Turning off resources that are not in use and turning them on when capacity is required, also contributes to lowering operational expenses. Instance Scheduler on AWS, for instance, can be used in a production site by a business to routinely shutdown instances after hours. This method may lead to a reduction in instance utilization, which, depending on the schedules configured, will lead to a reduction in overall cost if you leave all of your instances running at full capacity .
For Example, if a UAT environment is only required during business hours, we can utilize the EC2 instance scheduler to designate the time frame during which it should be launched or stopped. Which can reduce the AWS operational cost by 70%.
Advantages of EC2 Task Scheduler :-
- Cross account instance scheduling : We have a template (instance-scheduler-remote) that really produces AWS Identity and Management roles when the EC2 Task Scheduler is created. The ability to establish and stop EC2 instances in secondary accounts is granted by this job.
- Automated Tagging : For every instance, it starts or ends, the instance scheduler has the ability to automatically assign tags. In the parameters for started tags and stopped tags, you can specify a list of tag names or tagname = tagvalue pairs. The solution also includes macros that allow you to add variable information to the tags.
- Configure Schedules or periods using Scheduler CLI : The solution includes a command line interface (CLI) that provides commands for configuring schedules and periods. The CLI allows customers to estimate cost savings for a given schedule. The cost estimates provided by the schedule CLI are for approximation purposes only.
- Configure schedules or periods using the SSM maintenance window: For EC2 instances, the Instance Scheduler on AWS can use SSM maintenance windows defined in the same Region as the instances and start and stop the instances for the maintenance window.
How does the EC2 Task Scheduler work?
1. The AWS CloudFormation template creates an Amazon CloudWatch event at a time period specified by the user. This event launches the AWS Lambda function for the instance scheduler. The user configures the AWS Regions, Accounts, and a custom tag that will be used by Instance Scheduler on AWS to link schedules to the appropriate Amazon EC2 and Amazon RDS instances.
2. Every time the Lambda function is called, these values are retrieved from Amazon DynamoDB, where they are kept. The custom tag can then be used on relevant instances.
3.The tag key you’ll use to identify relevant Amazon EC2, and Amazon RDS instances are defined during the Instance Scheduler’s initial configuration. When a schedule is created, the name that you provide is used as the tag value to identify the schedule that should be applied to the tagged resource.
The Amazon Simple Notification Service (Amazon SNS topic) and Dynamo DB tables are encrypted using the AWS Key Management System (AWS KMS), which is also used by the Lambda function to determine authorization needs for your resources. Every time the solution’s Lambda function executes, it compares the current state of each appropriately tagged instance to the targeted state (specified by one or more periods in a schedule in the instance tag) in the associated schedule and then performs the necessary start or stop actions, as needed.
Diagram-1 :
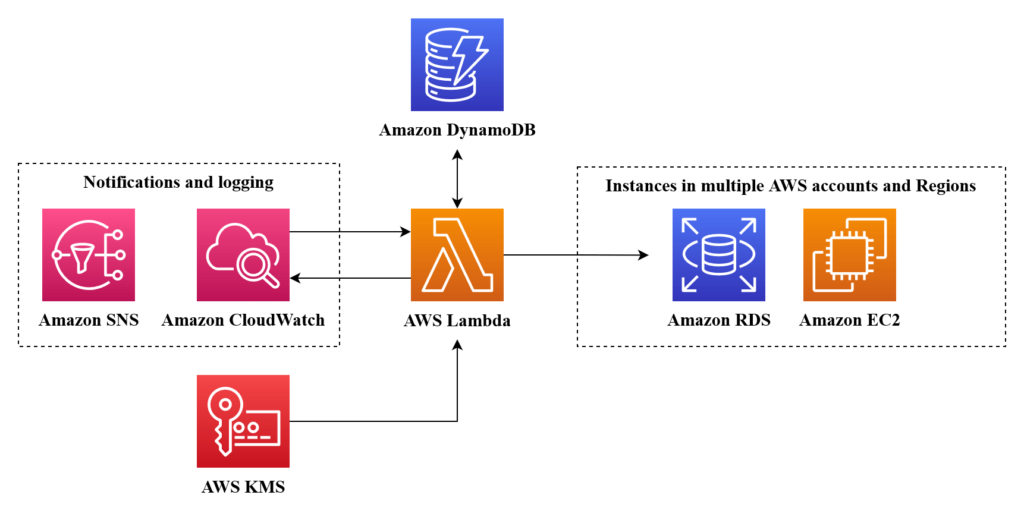
Architecture Diagram
Steps to launch EC2 Task Scheduler
To get one example of how to launch an EC2 task scheduler, let’s start with this 12-minute video tutorial:
Steps:
- From the AWS console home, please do the following.
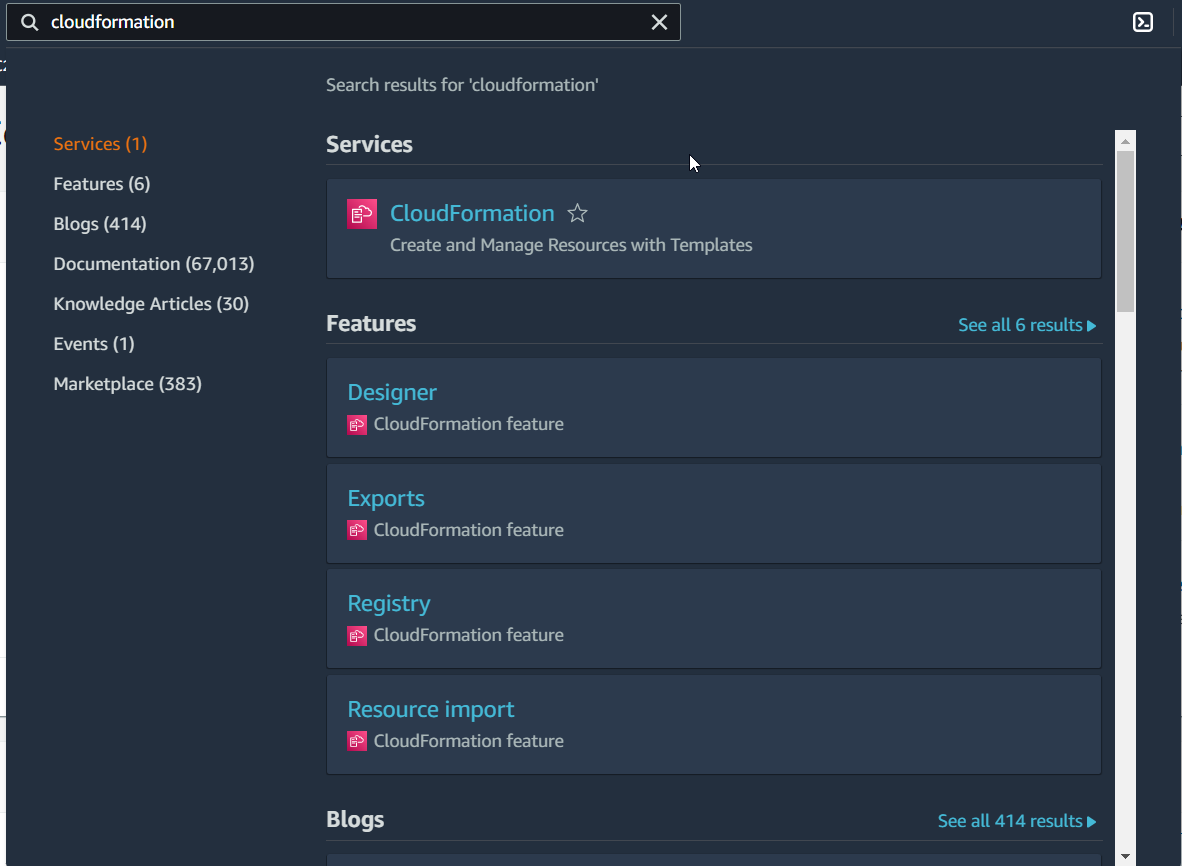
- In the search tab search for CloudFormation and click on it.
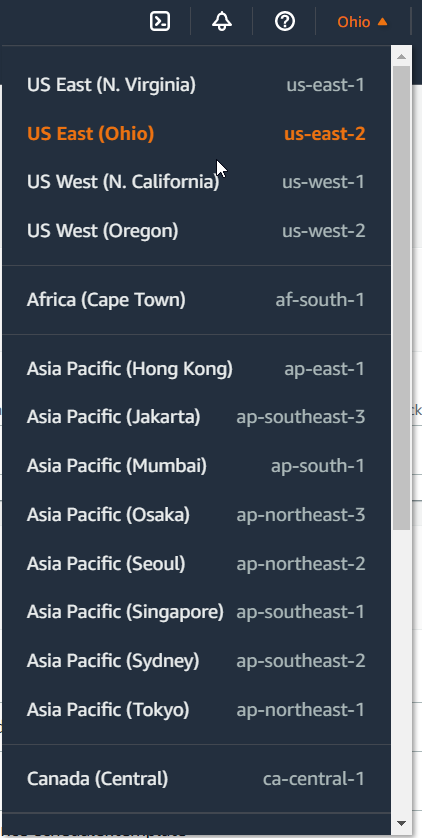
- Chose the region for the deployment of this stack from the top navigation bar.
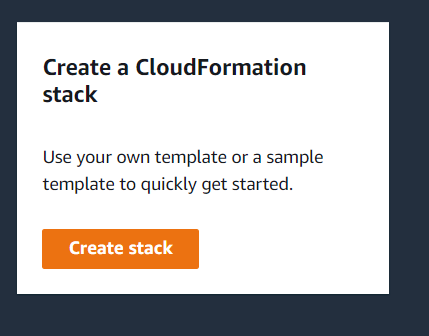
- Click on create stack.
- For prepare template and Template source leave the value to default (Template is ready and Amazon S3 URL). Every stack is based on a template. A template is a JSON or YAML file that contains configuration information about the AWS resources you want to include in the stack.

- In Amazon S3 URL fill with this https://s3.amazonaws.com/solutions-reference/aws-instance-scheduler/latest/aws-instance-scheduler.template
This S3 URL leads to the latest official instance scheduler template from AWS.
- Click Next.
- Set Stack name, for example:”My-scheduler”. A stack is a group of AWS resources that you can control individually. In other words, by constructing, updating, or removing stacks, you can create, update, or destroy a collection of resources.

- Fill-in or select following details in the “Parameters” section.
- Instance Scheduler tag name: Leave the default value as “Schedule”
- Service(s) to schedule: Select “EC2”.
- Leave Schedule Aurora Clusters, Create RDS instance snapshot, Scheduling enabled values to default i.e. No
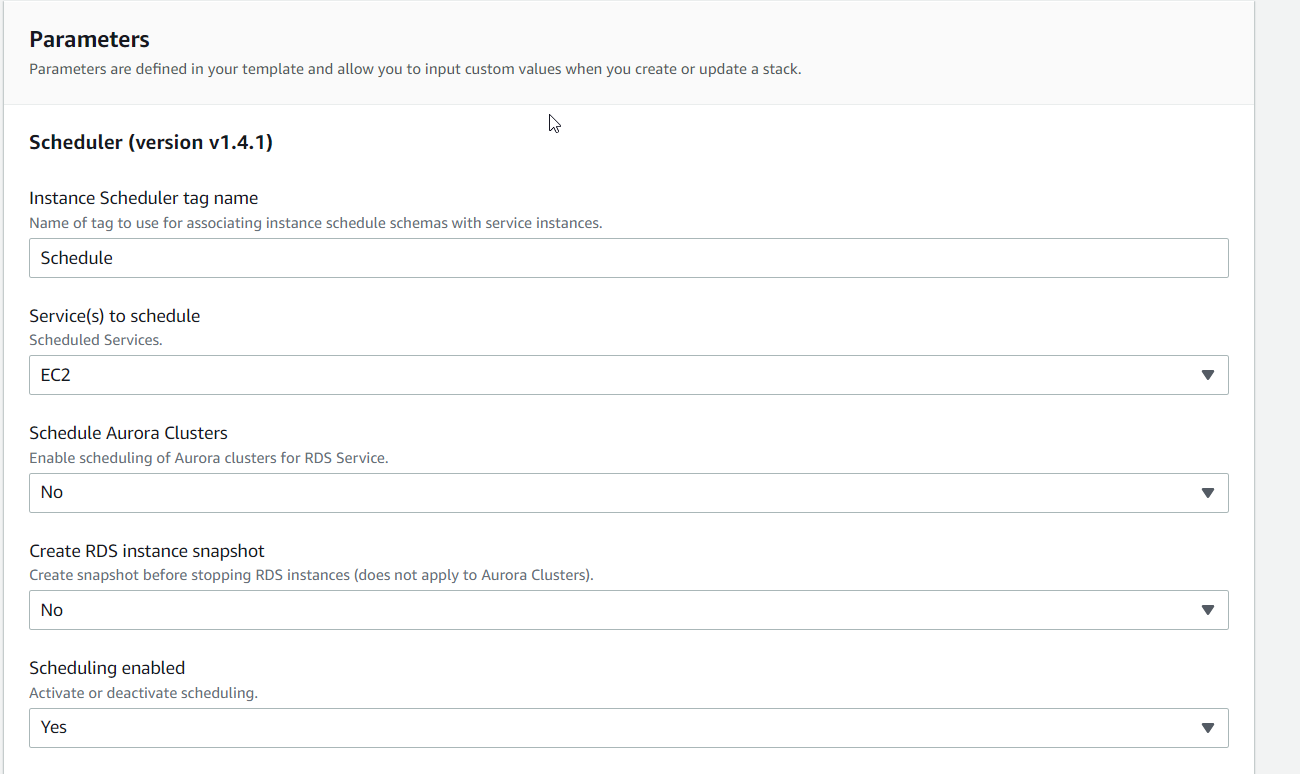
- Region(s): You can specify all the regions in which your instances are created in my case I have my instances only in the “US East(Ohio)” region, as my stack is also in the same region I am leaving it to blank.
- Default time zone: I have selected “America/Chicago” as the default time zone in my case. Select your time zone.
- Leave Cross-account roles, This account values to default.
- Frequency: This actually is the time for how many minutes your lambda should be triggered. Leave it to default i.e. 5.
Note: Based on this frequency pricing varies.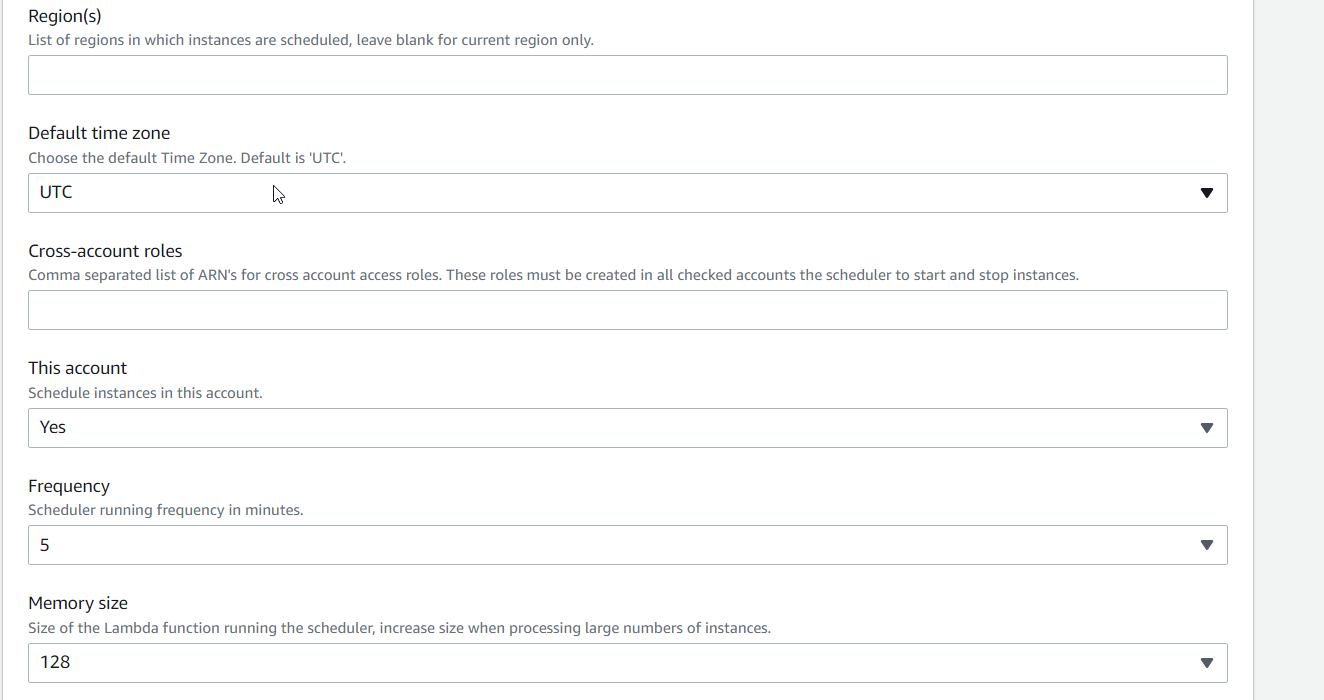
- Leave all other values to default.

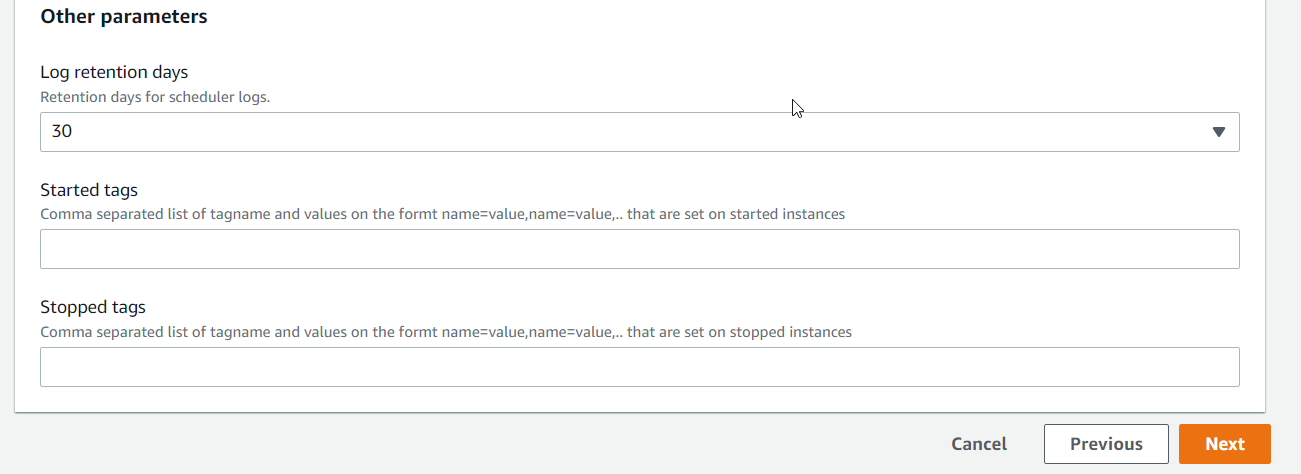
- Click Next.
- In configure stack options step leave all the values to default.
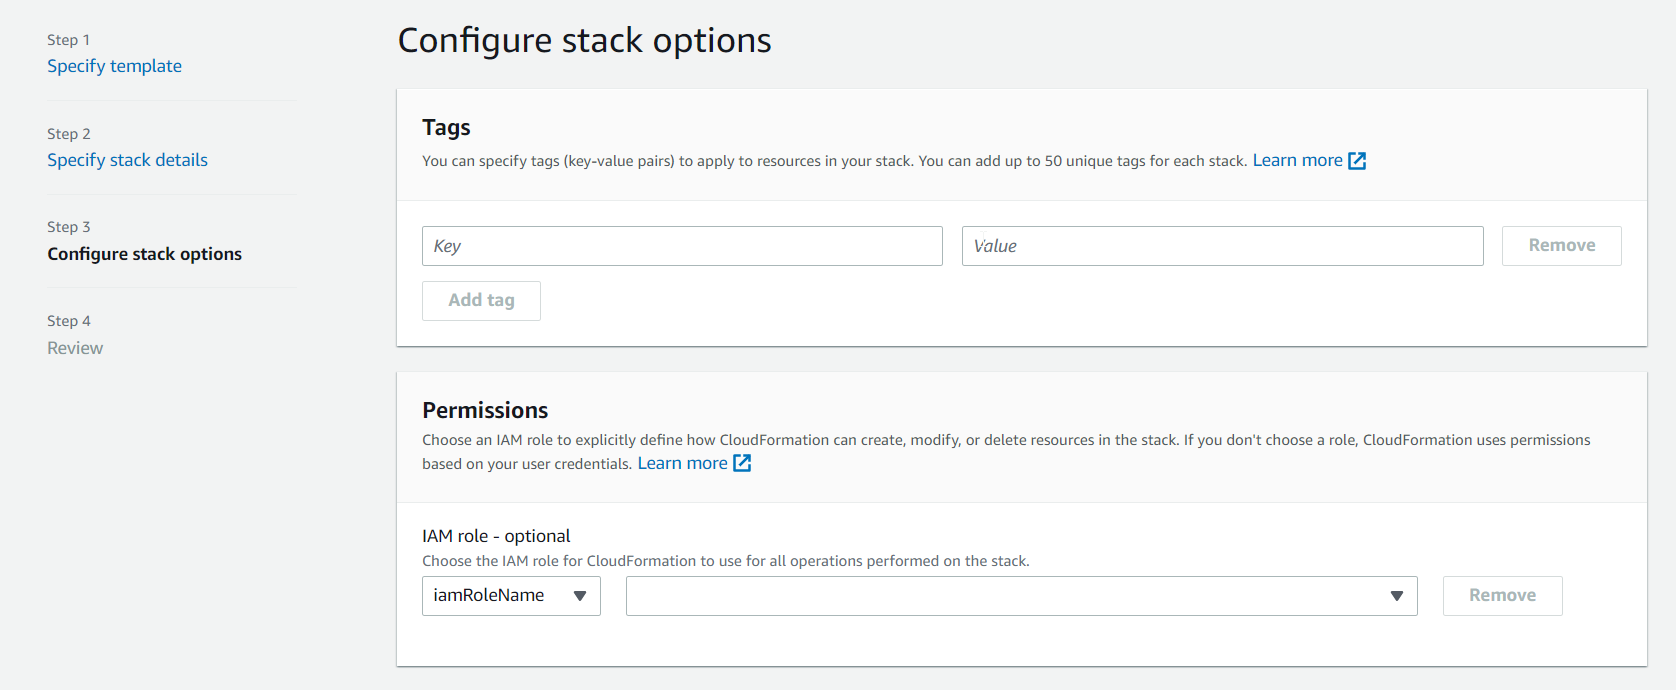

- Click Next.
- In the Review step Verify all your values and check the acknowledge checkbox.

- Click Create Stack.
Wait for couple of minutes so that stack creation is completed. This creation will actually create couple of tables in DynamoDB.

How to configure your new AWS instance schedule
- From the AWS console home, please do the following.
- In the search tab search for DynamoDB and click on it.
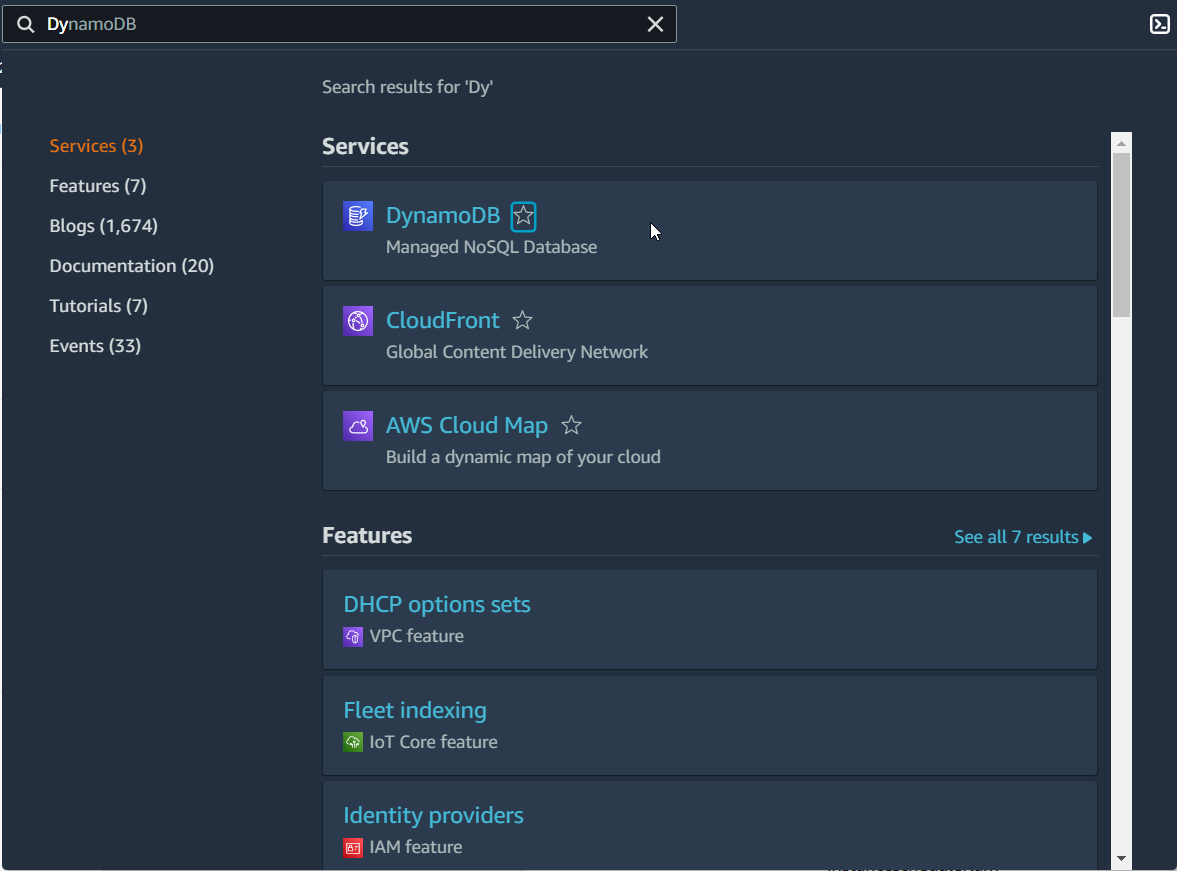
- Click on Tables you will see couple of tables created. The names of the tables created during this process all begin with the stack name you provided.

- Click on My-scheduler-ConfigTable-<some random key>.
- Click on Explore table items.
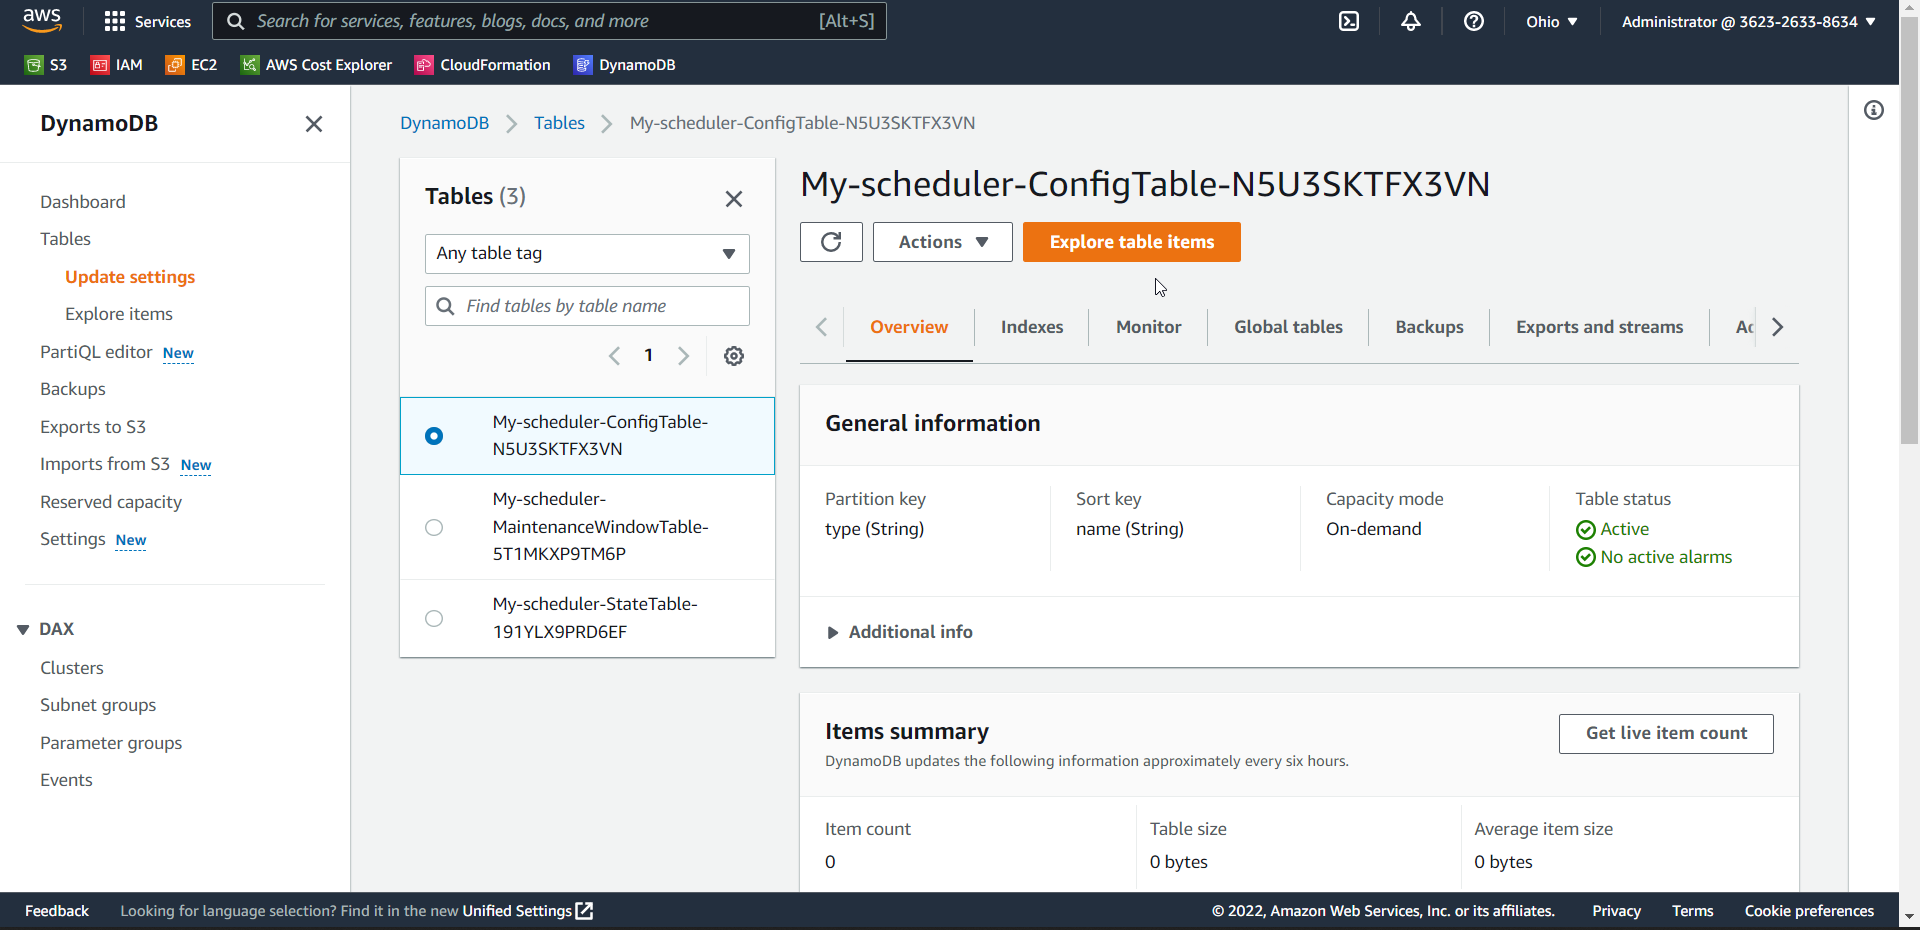
- You can change the schedule by adding/editing the fields in the table.
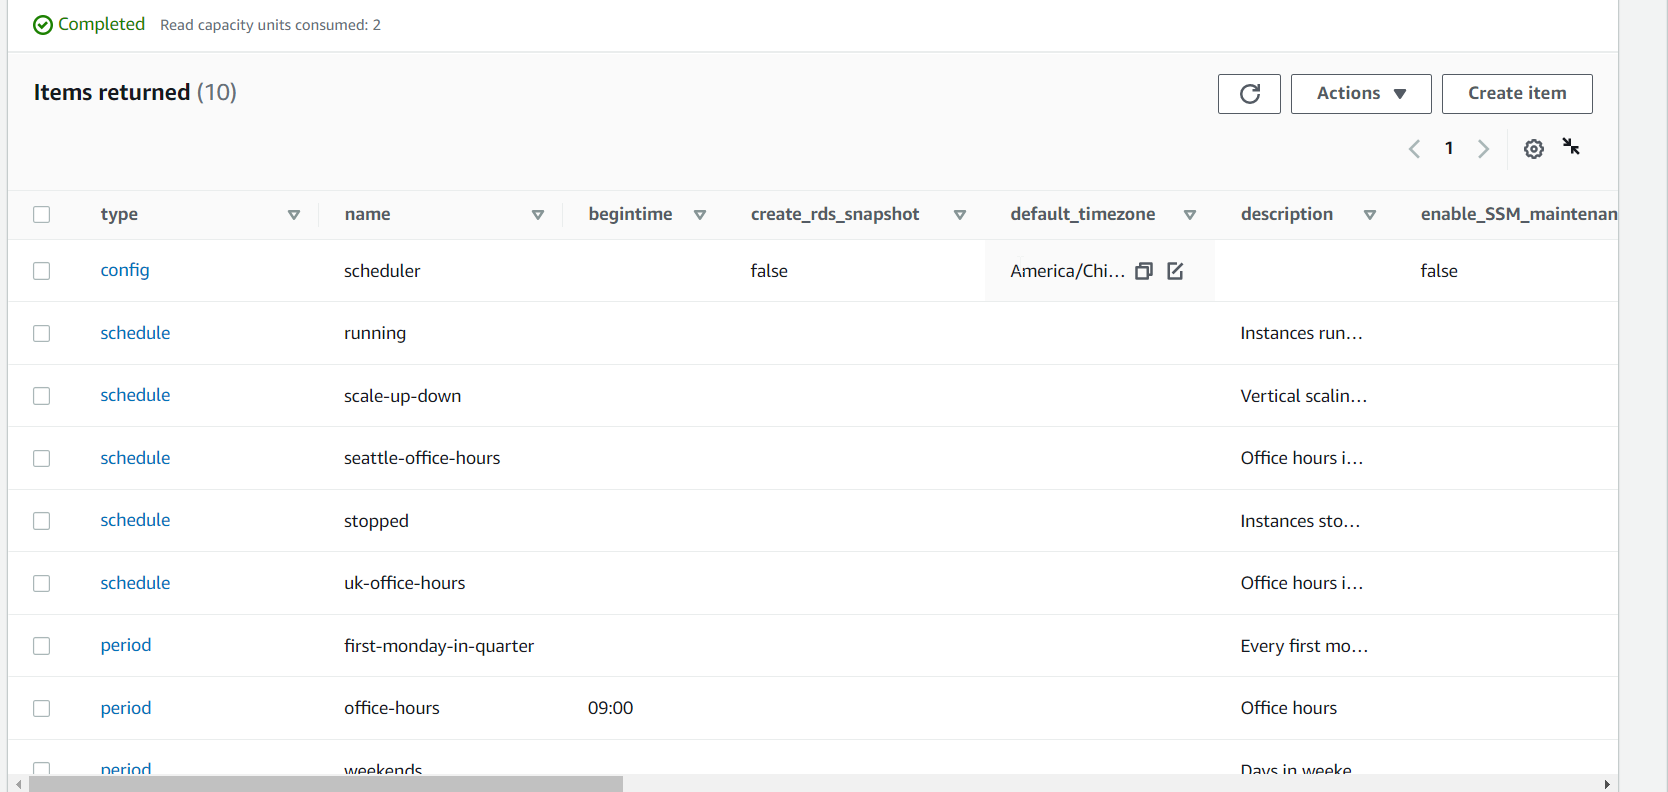
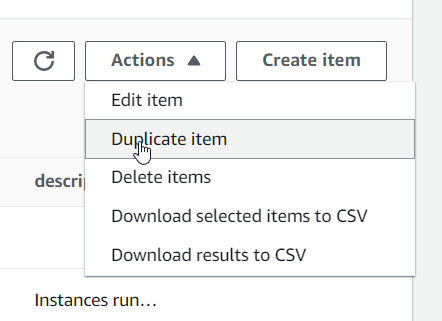
To give you an idea on how to edit these values, look at the actions I took.- Click on the Seattle-office-hours schedule.

- Click on Actions.
- Select the Duplicate item.
- Change the name to chicago-office-hours.
- Change the value of the timezone to America/Chicago.
Here is the list of values accepted for the time zone.
https://en.wikipedia.org/wiki/List_of_tz_database_time_zones - Click Create item.
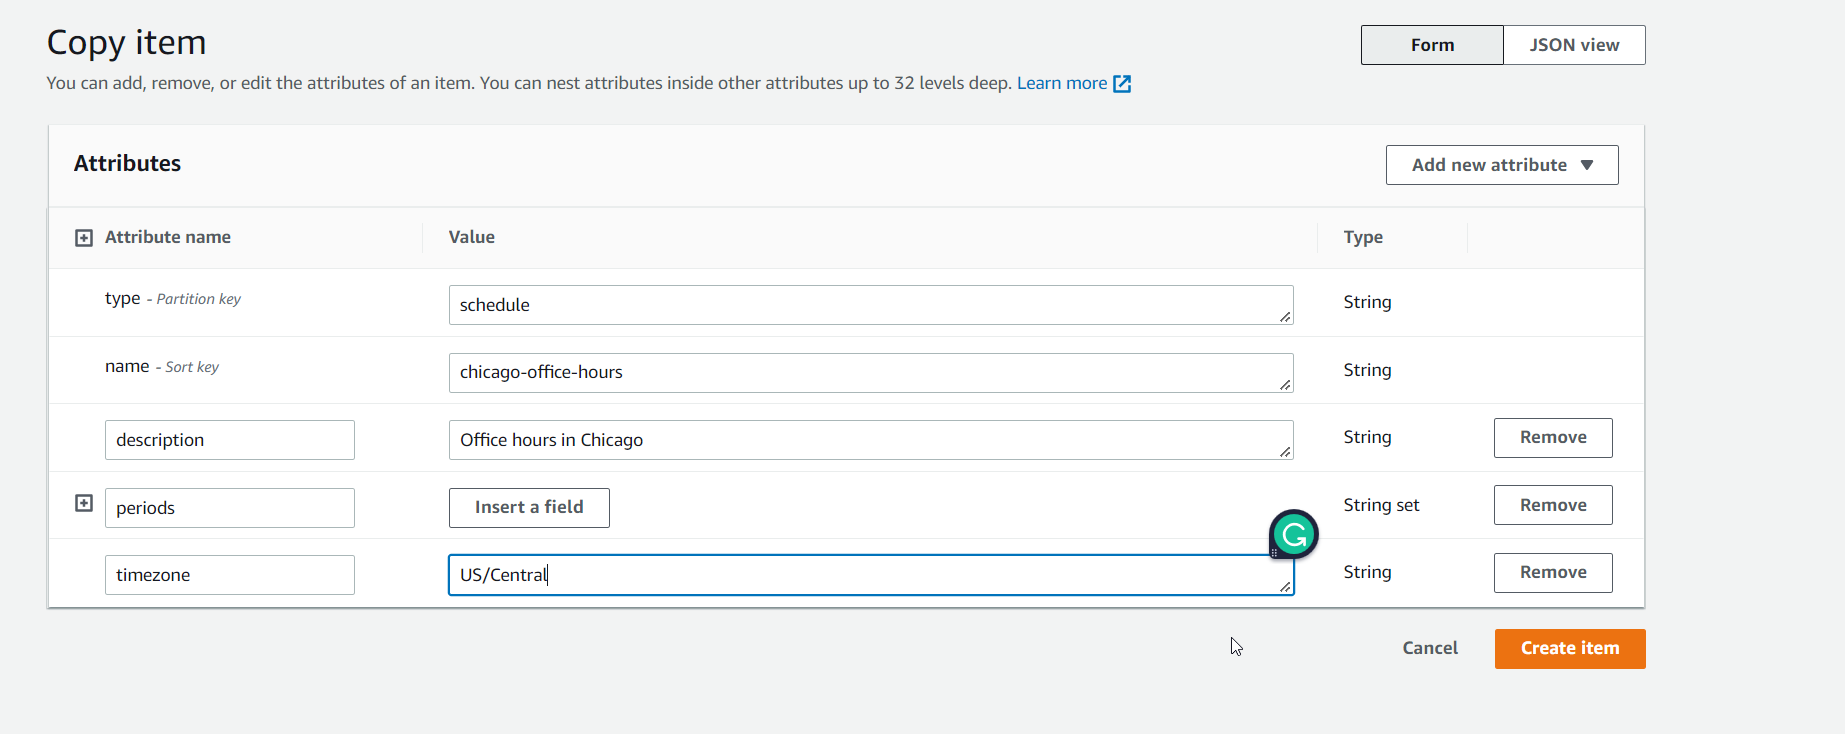
- You can see by default period is assigned to office hours.

- Now select the period and from the Action dropdown click Edit item.

- Change the endtime to 21:00.
- Click on Save changes.
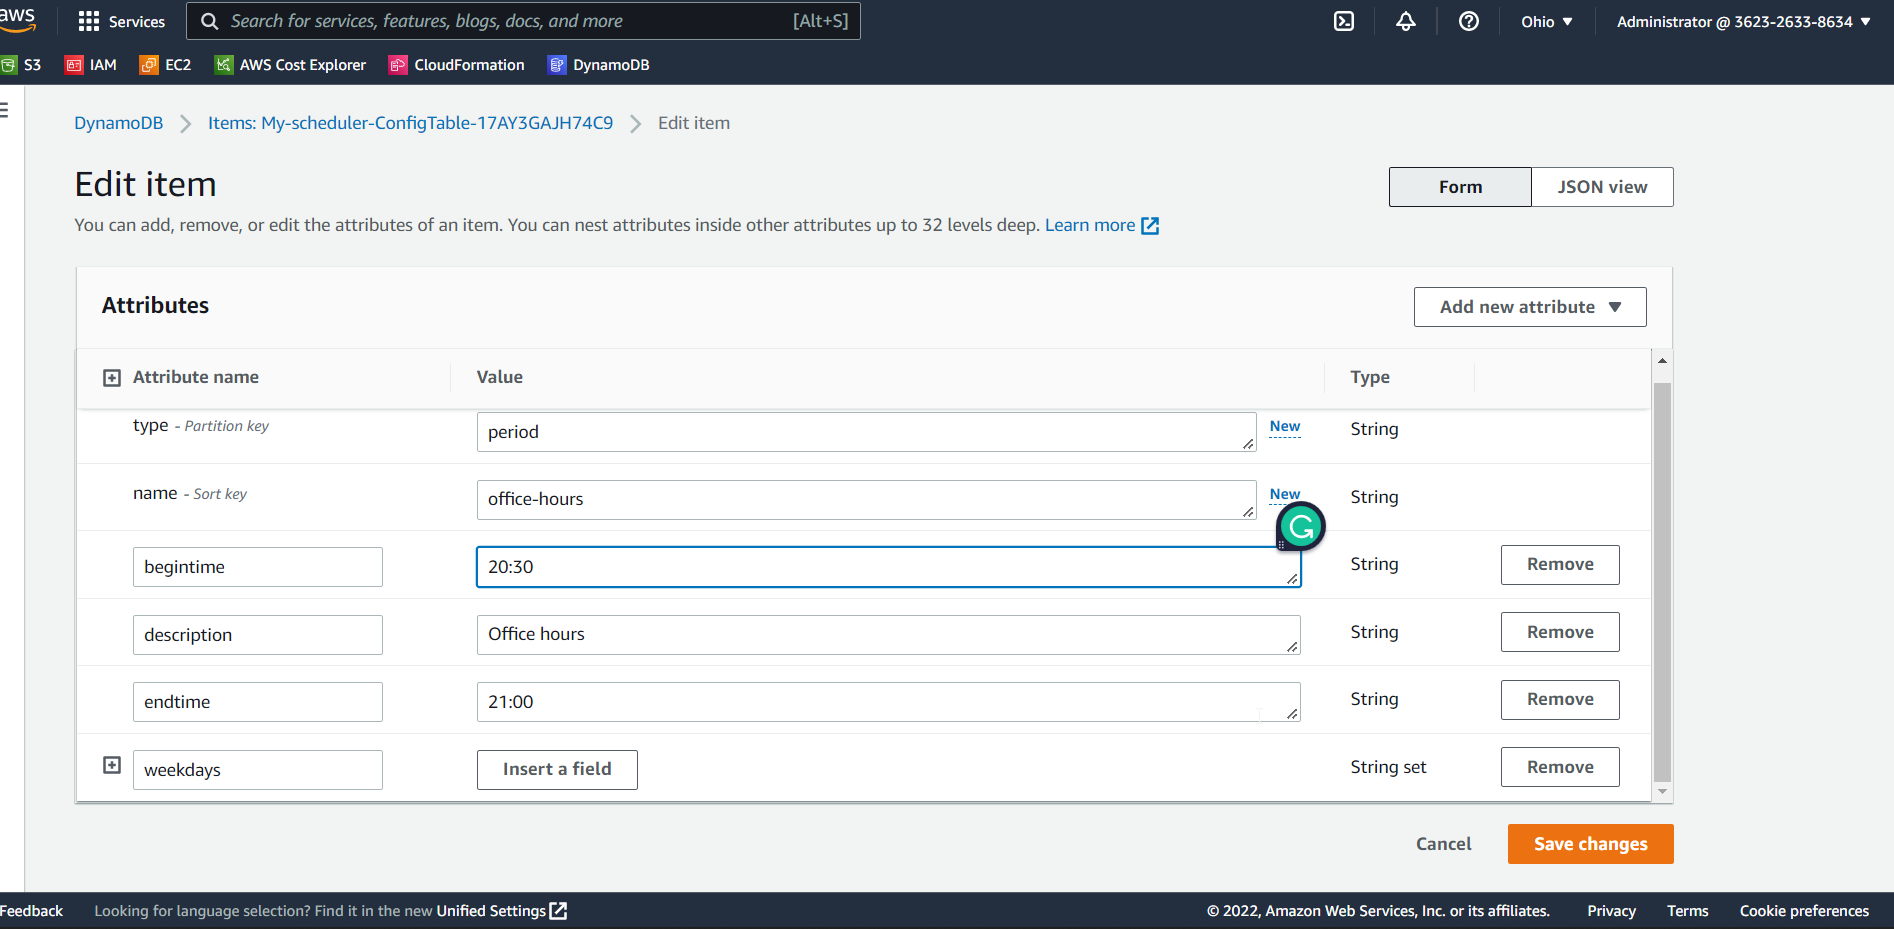
- Click on the Seattle-office-hours schedule.
- Navigate to EC2 using the top navigation bar search and click on instances.
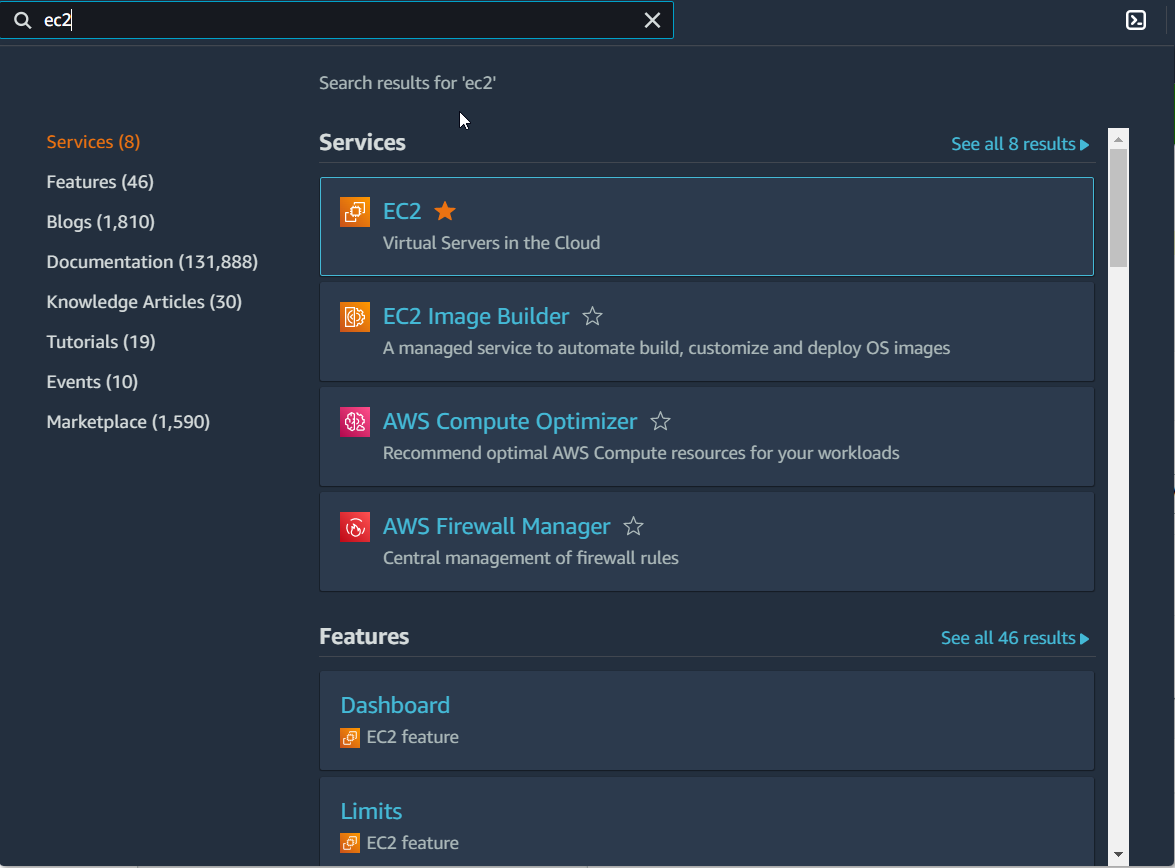
- Select any instance and click on Tags.

- Click on Manage tags and then click on Add new tag.
- Enter the key as Schedule (Instance Scheduler tag name) and value as chicago-office-hours.
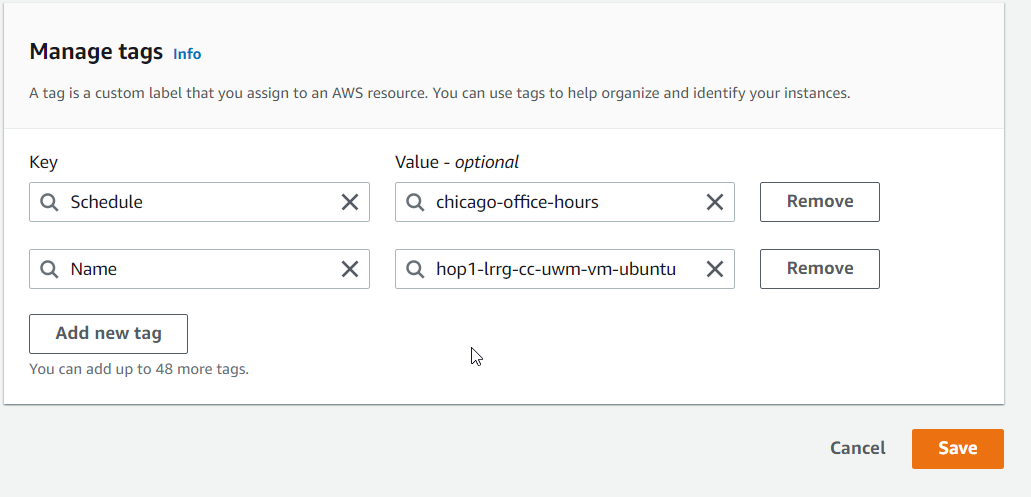
- Click on Save.
- After this you will observe that instances with this tag gets started/stopped in the specified hours.
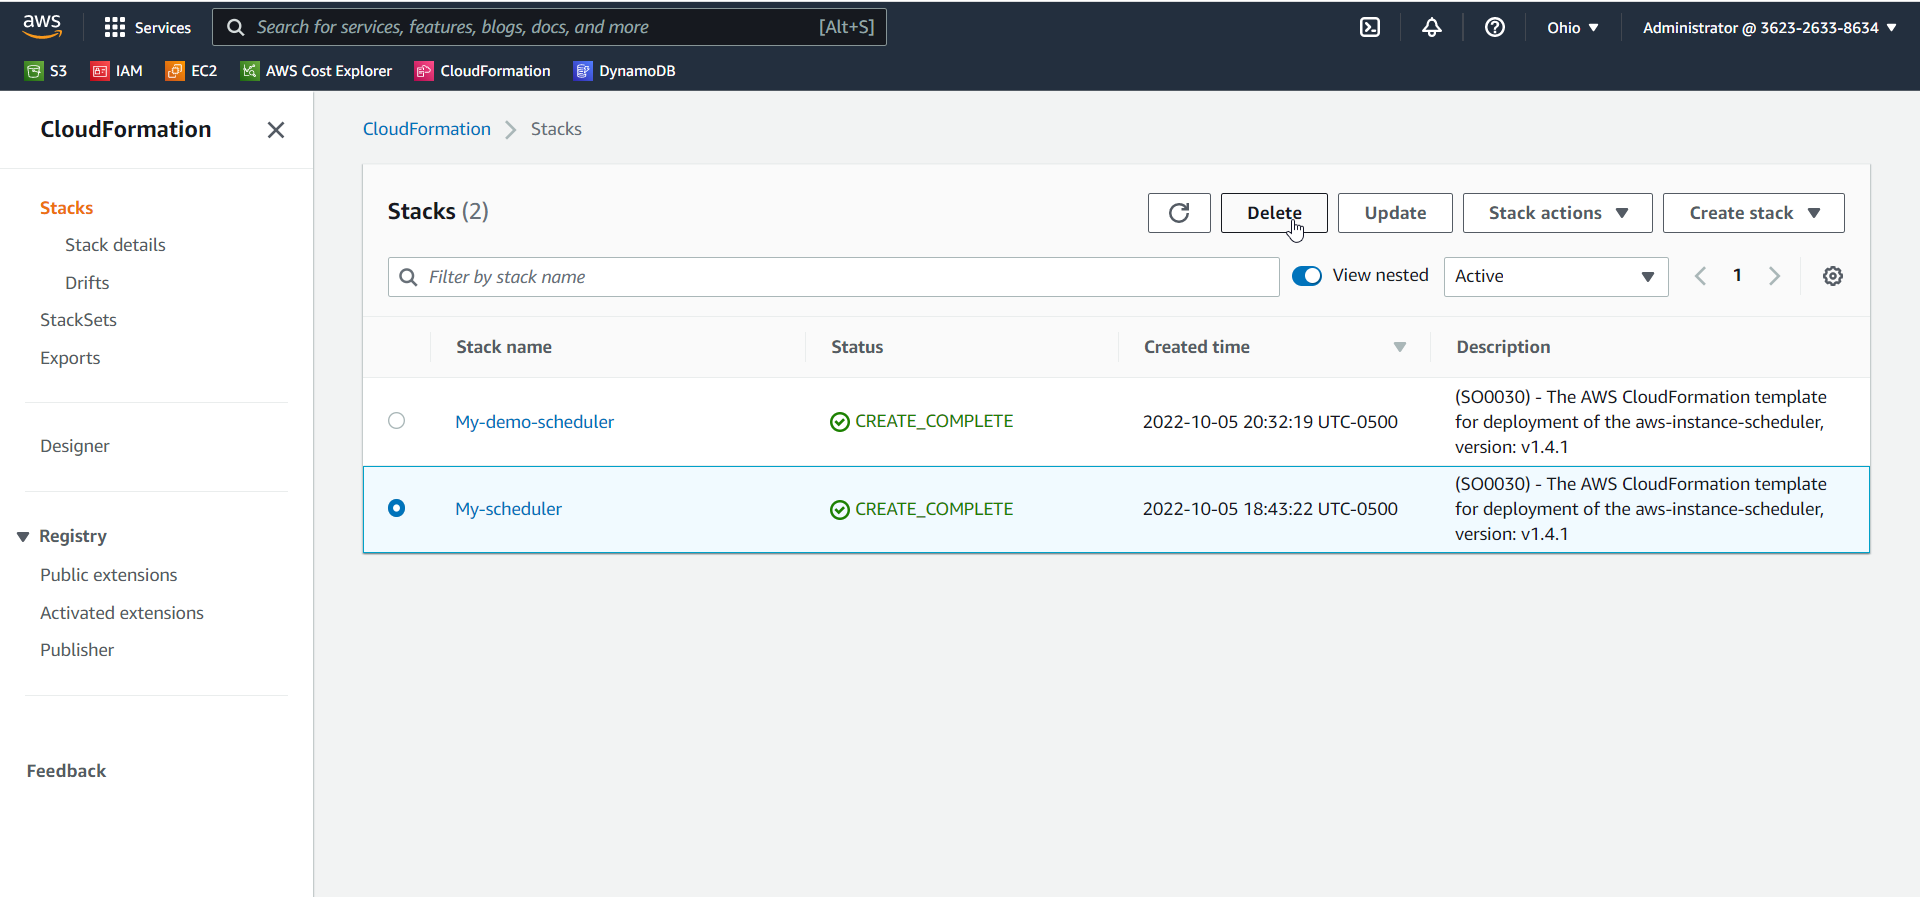
How to Delete the Task Scheduler?
- From the AWS console home, please do the following.
- In the search tab search for CloudFormation and click on that.
- You will get a list of stacks available select the stack and click on Delete.
AWS Instance Scheduler pricing
The expense of using AWS services to run Instance Scheduler on AWS is your responsibility. As of April 2021, using this solution in the US East (N. Virginia) Region at default settings will cost you about $9.90 per month in AWS Lambda fees, or less if you have Lambda free tier monthly usage credit. Regardless of how many Amazon EC2 instances you are running, this applies. Each schedule or scheduled service will have an additional monthly fee of $0.90 for the optional custom Amazon CloudWatch metric. For its Amazon DynamoDB tables, this solution by default employs Auto Scaling to offer enough read and write capacity.
The costs in the following table are based on the following assumptions:
- The solution is deployed in US East (N. Virginia) Region.
- The solution is managing both EC2 and RDS instances.
- The solution is managing instances in an additional account.
- The total number of executions per day is 1,440 runs (Lambda is scheduled to run every five minutes).
- The average run time for each Lambda is assumed as eight seconds (this depends upon the number of instances being scheduled).
- The memory selected for the AWS Lambda 128 MB.
| AWS service | Dimensions | Cost (per month) |
| AWS Lambda | 1,440 runs/24 hours 40 seconds per run (8 seconds for each Lambda) ($0.0000021/second/ run) | $7.25 |
| AWS CloudWatch Metrics (enabled) | 1 month per schedule or scheduled service | $0.90 |
| AWS DynamoDB | 1,080,000 (Write/ month) ($1.25 per million requests) | $1.25 |
| AWS DynamoDB | 1,080,000 (Read/ month) ($0.5 per million requests) | $0.50 |
| AWS DynamoDB | <1GB (First 25 GB is free) | $0.0 |
| Total | $9.90 |
References:
https://aws.amazon.com/solutions/implementations/instance-scheduler/