Back to Azure Virtual Machine Scale Sets
Here is an excellent tutorial with more details to create an Azure virtual machine Scale set:
Step 1:
Connect to Azure account:
The user should connect to his existing azure account using his valid credentials.
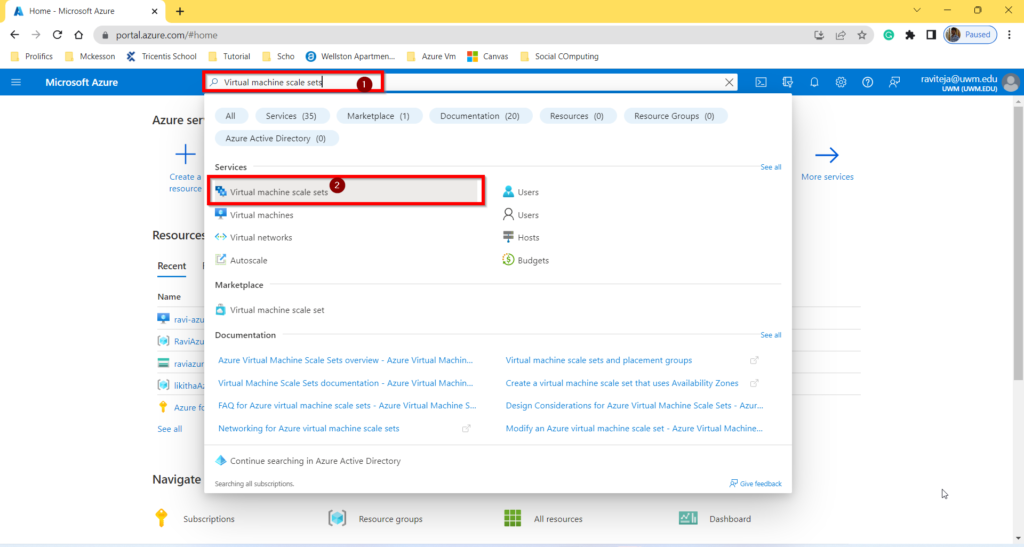
Step 2:
Search for the virtual machine scale sets using the search bar and select the Virtual machine scale sets options from the list.
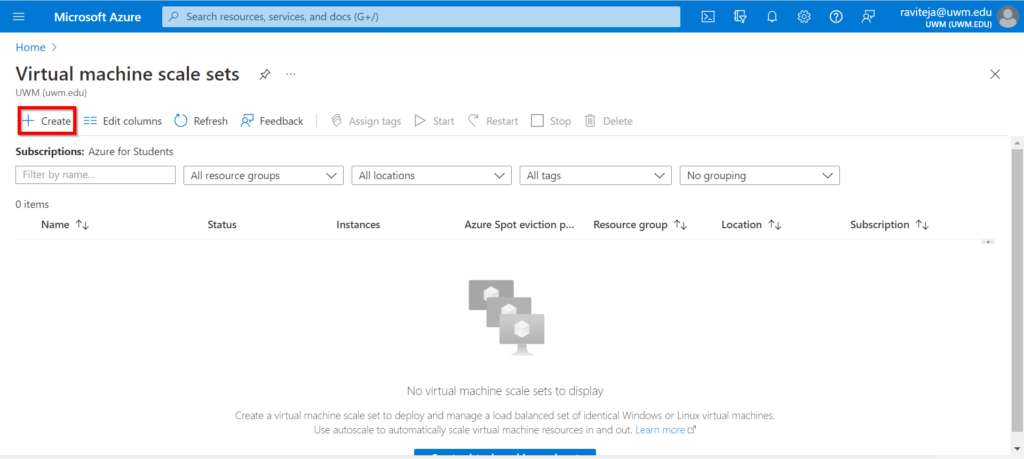
Step 3:
Click on Create button
Step 4:
Basics Tab:
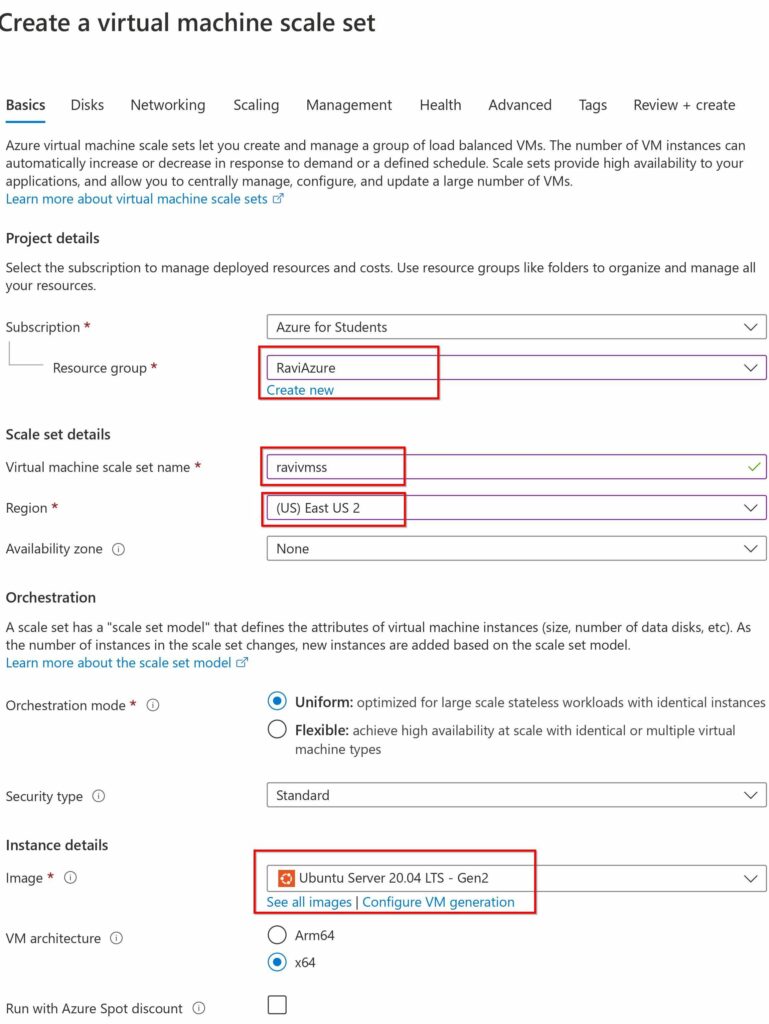
Resource group:
Choose from your current resource groups or start a new one. Azure resources that are connected together form a resource group. We can handle all the resources that are a part of a certain application and deployment environment as a single entity thanks to this grouping.
Virtual machine scale set name:
Provide the VM scale set with a name.
Region:
The Azure region where the VMSS should be established. The additional options and features are accessible depending on the region that you choose. You might have to choose a different location that supports availability zones if you are developing high availability systems and need availability zones. Since I am aware that the East US area allows availability zones, I have chosen it.
Image:
the VMs’ primary operating system of choice. You have Windows or Linux as two options.
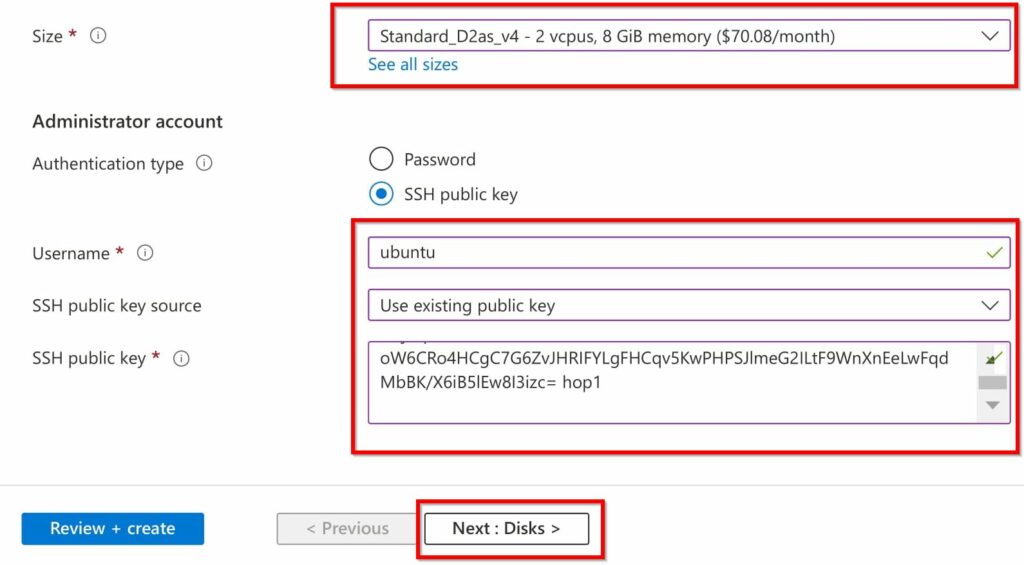
Size:
The VM’s physical size. It determines the amount of memory, processing capacity, and storage available. Depending on the size and operating system of the VM, an hourly fee is charged.
Administrator Account:
Choose the SSH public key. You can enter a name as your username. Select use the existing public key as the SSH public key source option. Open the.pub file that contains your SSH public key, copy all of its contents, and then paste it into the SSH public key. (To create an SSH public key click on this link. Creating an SSH Key)
Step 5:
Disks Tab:
Leave the default settings on the Disks tab.
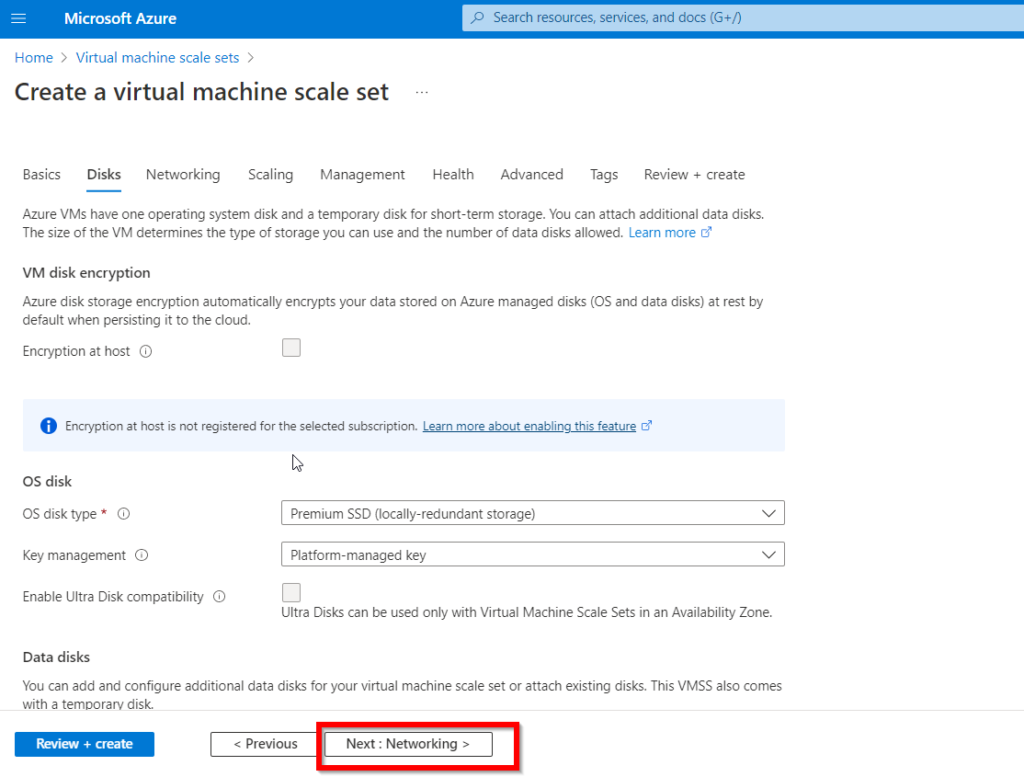
Step 6:
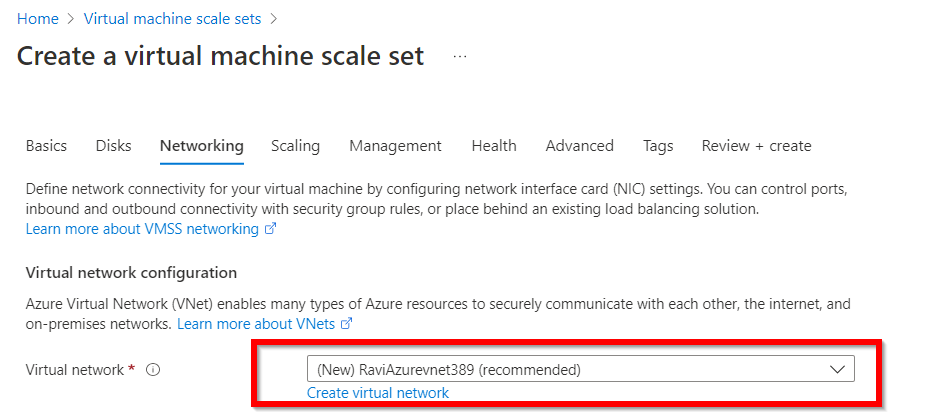
Networking tab:
On the networking tab Under the Virtual network configuration tab choose the existing Virtual network or create a new one.
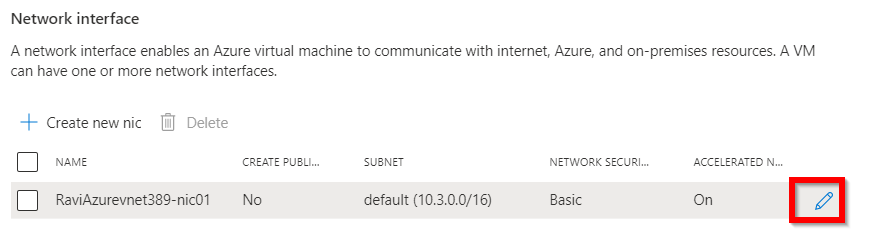
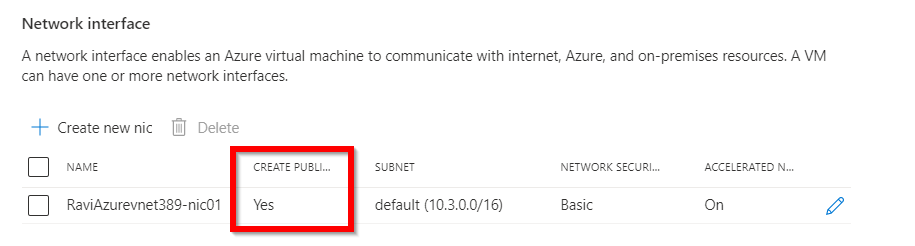
Network interface:
One or more Network interfaces may be present in a VM. This Network interface gives a VM the ability to connect with other VMs, servers on the internet, and servers on-site. For obvious security concerns, the virtual machines we build in Azure are by default inaccessible through the internet. You may bypass this by establishing an incoming port, though. As an illustration, suppose we wish to use RDP to view the VM online (Remote Desktop Protocol). The RDP incoming port has to be opened for this. You won’t be able to RDP into the VM if this port isn’t open. Under the category of Network interface, select the pencil icon.
This will navigate you to the following Edit network interface page. Enable the Public IP Address then click on the OK button.
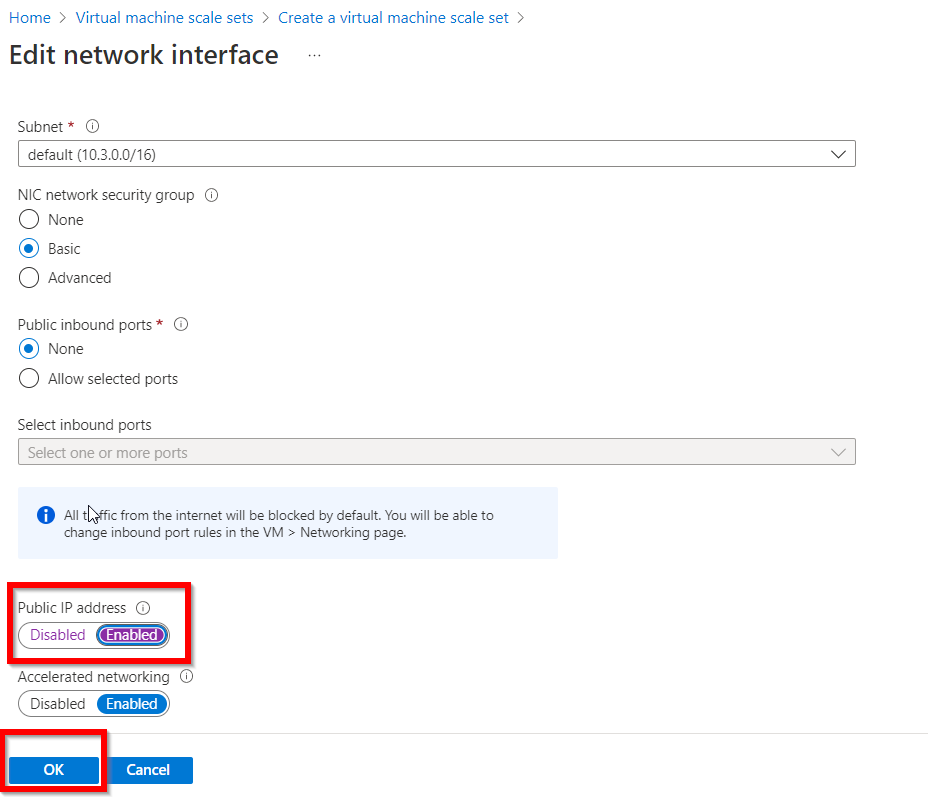
This will change the status of the CREATE PUBLIC Ip as below.
Step 7:
Scaling tab:
Initial instance count:
The number of identical VMs we want in our scales set is specified here. 1000 virtual machines can be created. Leave the remaining defaults alone.
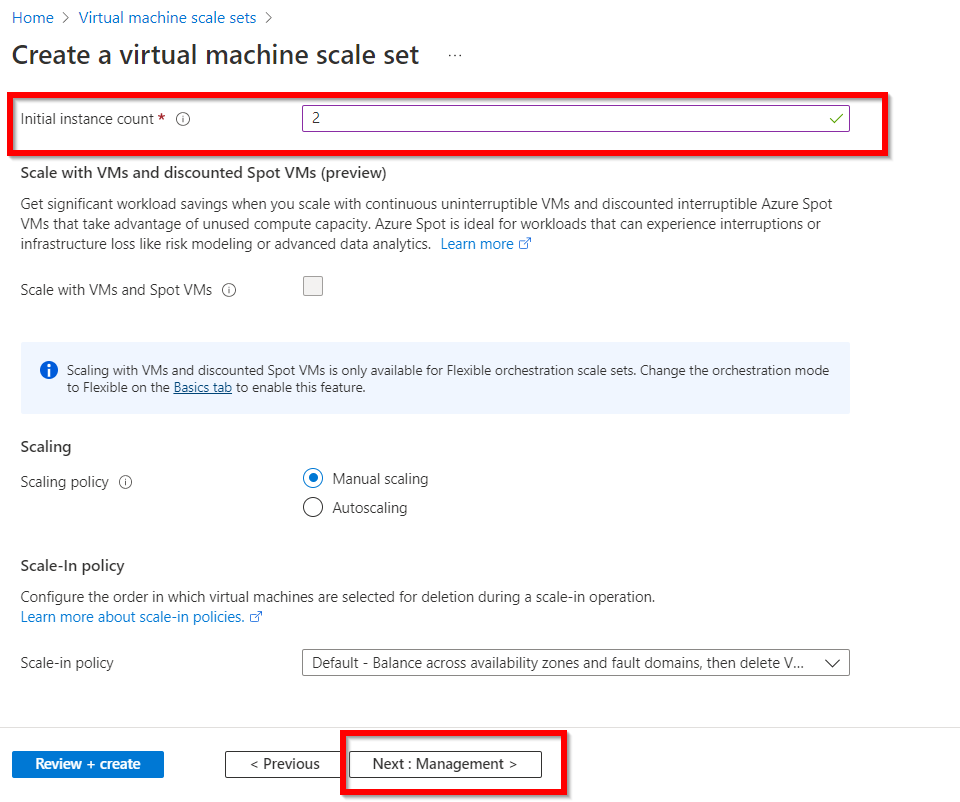
Step 8:
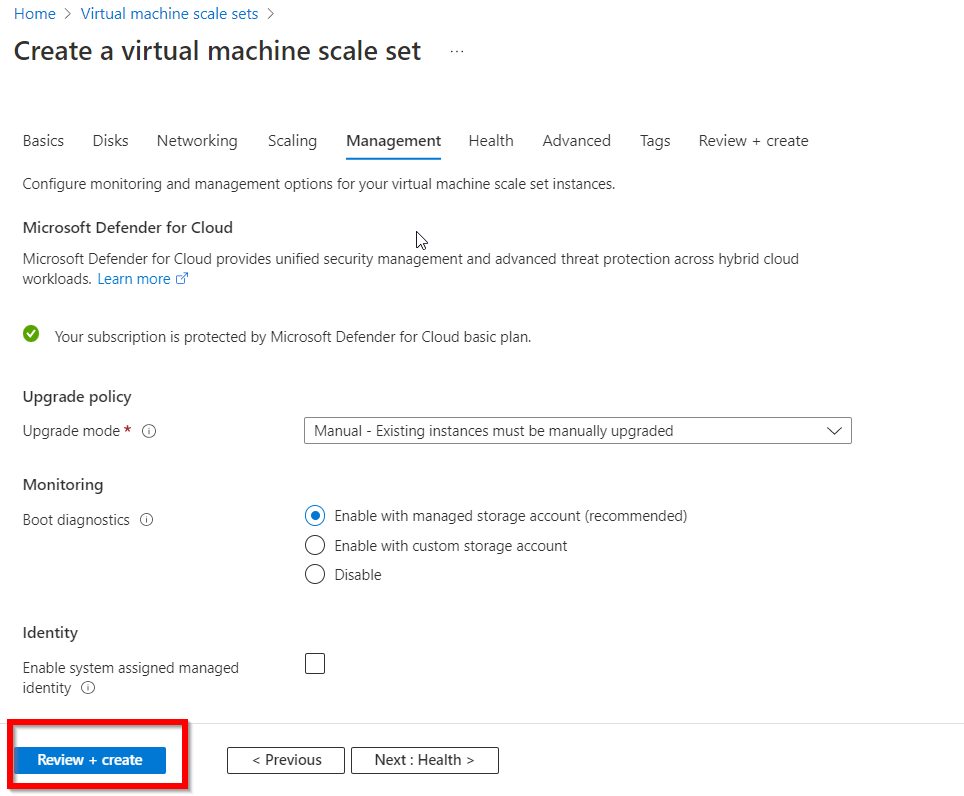
Management, Health, Advanced and Tags:
Leave all these tabs as a default and click on the Review + Create button
Step 9:
After selecting the Review +create button will get a validation passed notification after this click on Create button.
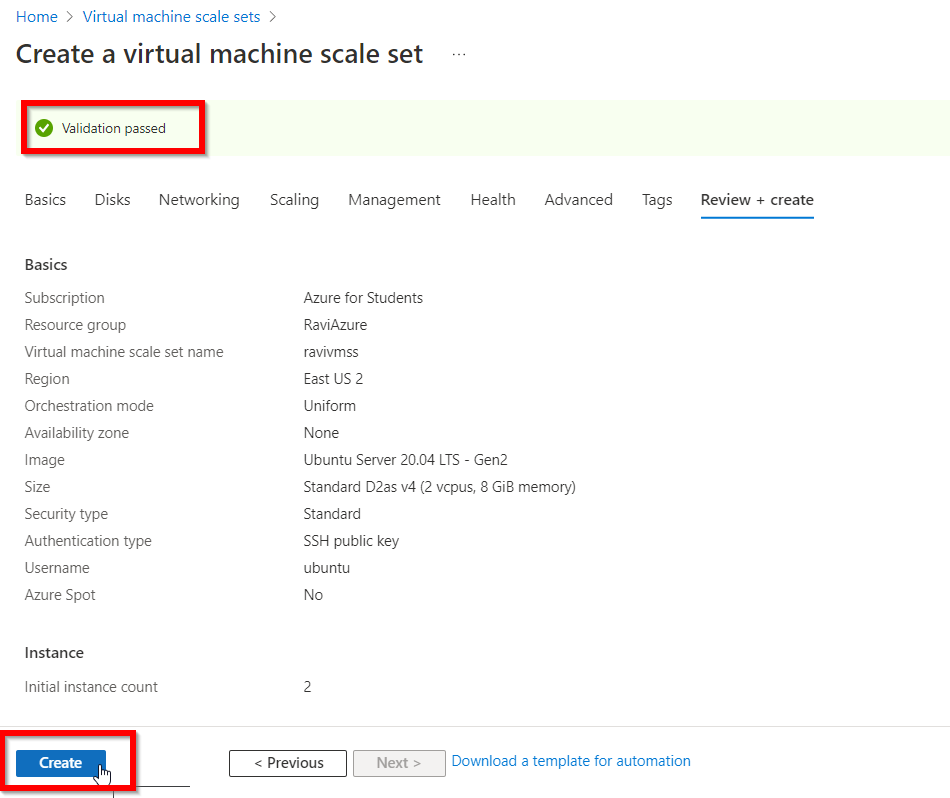
After selecting the create button system will start submitting the process.
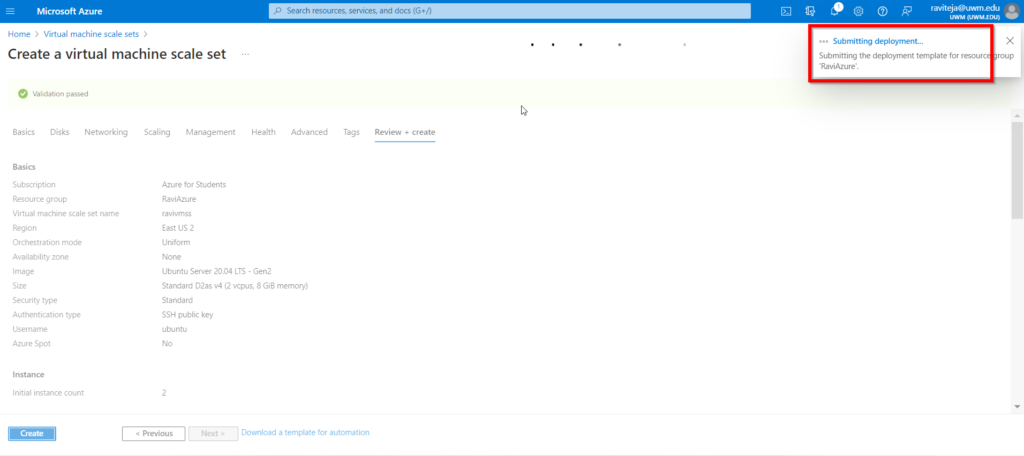
After the successful validation, it will deploy the VMSS.
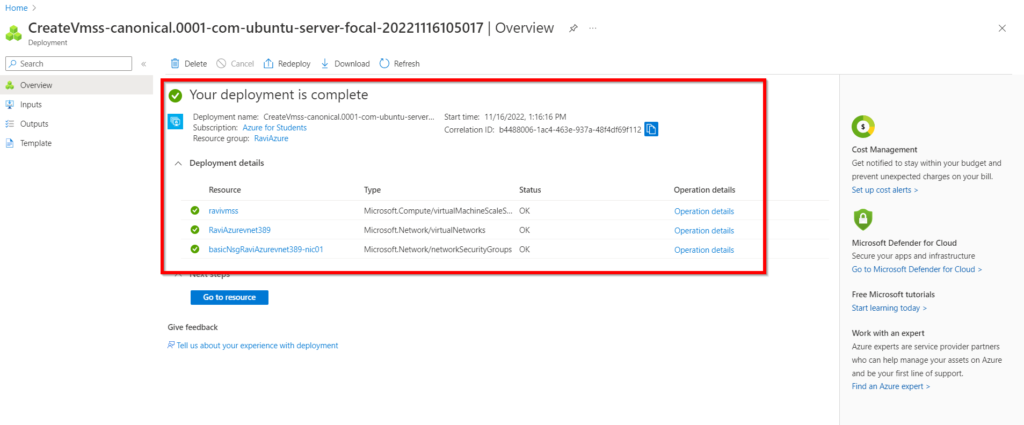
Step 10:
Search for the VMSS on the search bar and select the Virtual machine scale sets option.
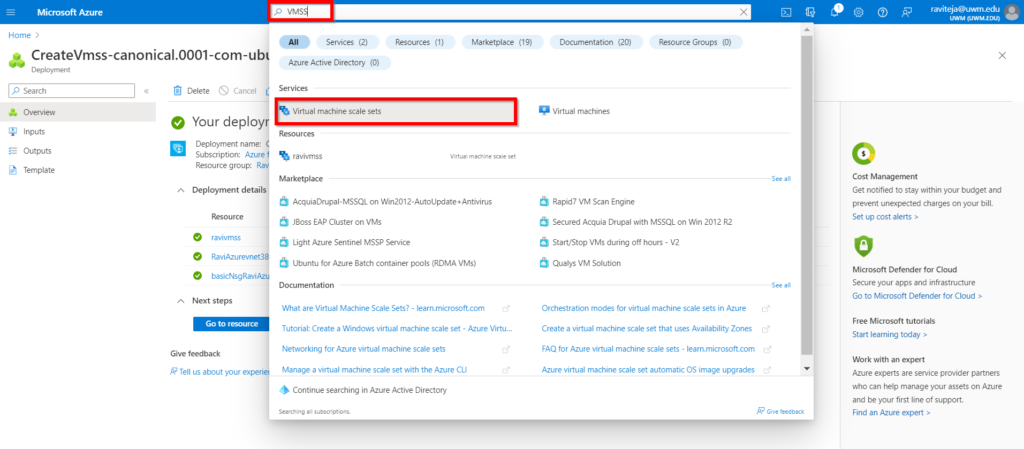
Here, you should see a Virtual machine scale set.
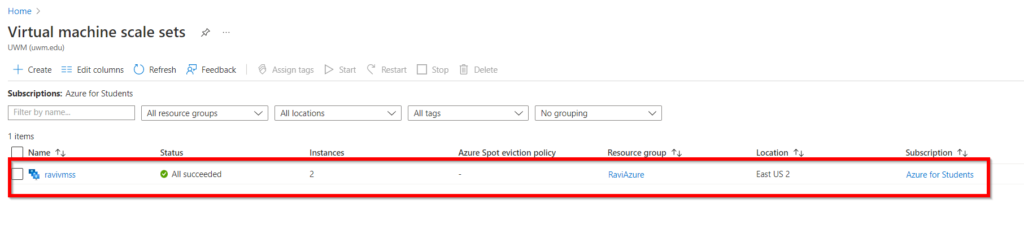
Click on the Name and select the Instances option under the Settings tab. You will see the 2 VMs in the scale set.

Conclusion:
This post showed us how to set up scale sets for Azure virtual machines in the Azure interface.