What is AWS Lambda?
AWS Lambda is a server-less, event-driven compute service that lets you run code for virtually any type of application or backend service without provisioning or managing servers. And now, we are going to use AWS Lambda to build the cloud-based service for a custom Alexa skill that runs your code only when it’s needed and scales automatically, so there is no need to provision or continuously run servers. After you upload the code for your Alexa skill to a Lambda function, Lambda does the rest, executing it in response to Alexa voice interactions and automatically managing the compute resources for you.
AWS Lambda supports code written in several languages, including Node.js, Java, and Python. For some languages, you can edit the code in the inline code editor in the AWS Lambda console. For basic testing, you can invoke your function manually by sending it JSON requests in the Lambda console.
Requirements-
- An Amazon Developer account. This is required to create and configure Alexa skills. You can create an amazon developer account by clicking on the link and a general sign-up process. (More instructions about it, at the end of the blog).
- An Amazon Web Services (AWS) account. This is required for hosting a skill on AWS Lambda. You should have had an AWS account by now, if you have worked on other cloud projects. If not, you can create one by clicking on the link and also a general sing-up process.
Creating AWS Lambda function-
Now let’s create an AWS lambda function. This will implement event handlers that define how a Skill would behave when the user triggers the event by speaking to an Alexa-enabled device. Types of Requests-
- LaunchRequest — It is sent when the user invokes the skill by saying its invocation name (Example- Alexa).
- IntentRequest — It is sent when the user interacts with the skill, i.e. when the user’s speech request is mapped to an intent (Example- What’s the weather?).
- SessionEndedRequest — It is sent when the session ends, it can be due to an error or when the user says “exit” or when the user doesn’t respond while the device is listening, or when the user says something that doesn’t match any defined intent (Example- Stop! or Silence).
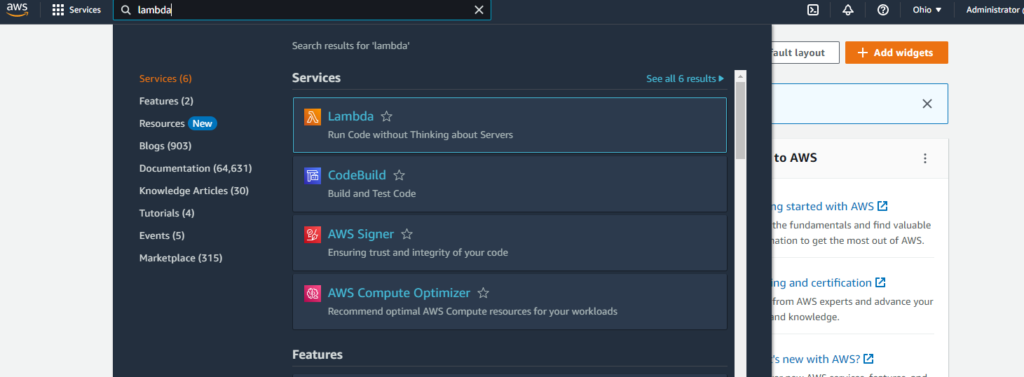
Now, let’s start the process of creating an AWS Lambda function. Once you open/create your AWS account, search “Lambda” in the search box. Once the search is displayed, select Lambda function. This will open the page for Lambda function, then click on “Create a function”.

Select the optimal region for your AWS Lambda function-
When you create an AWS Lambda function, you are prompted to select a region. In most cases, when you create or modify an AWS Lambda function used by your skill, you should use the commonly recommended region. Here, I’m choosing “US East (Ohio)” as my location since all my other resources that are hosted are in the same location, to reduce latency between Alexa and my skill service.

Now, Enter a function name, and then choose the runtime language that your function will run. Then choose the Execution role as you wish. Here’s an example of how I am choosing my options for the given fields-
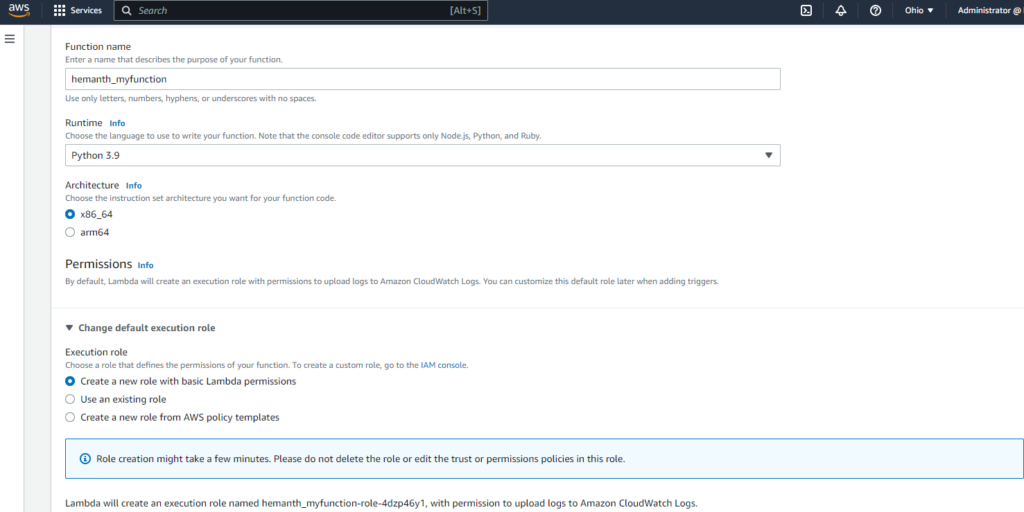
You can leave the advance settings as default and then select “Create Function”.

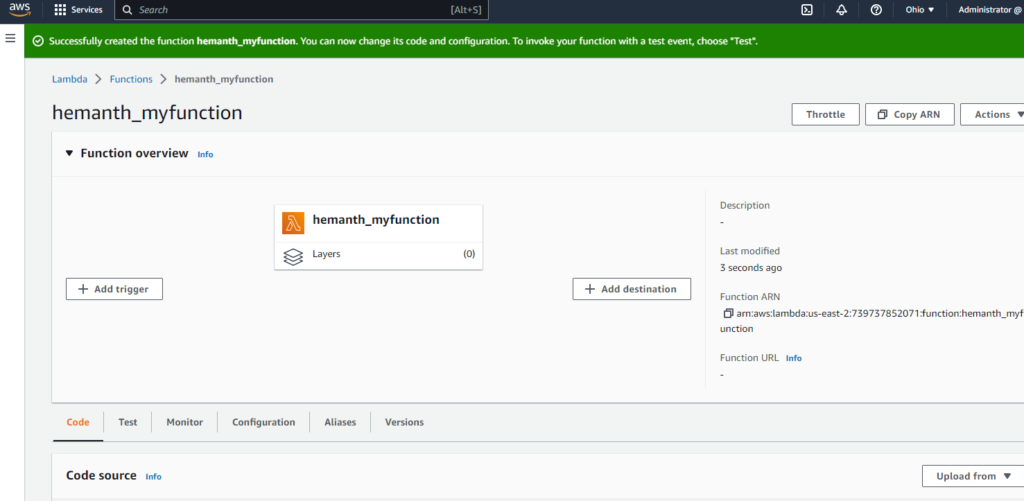
Once you have hit the “Create function” option, it will take a minute to finish, and then you should be able to your Lambda function overview screen, as below.
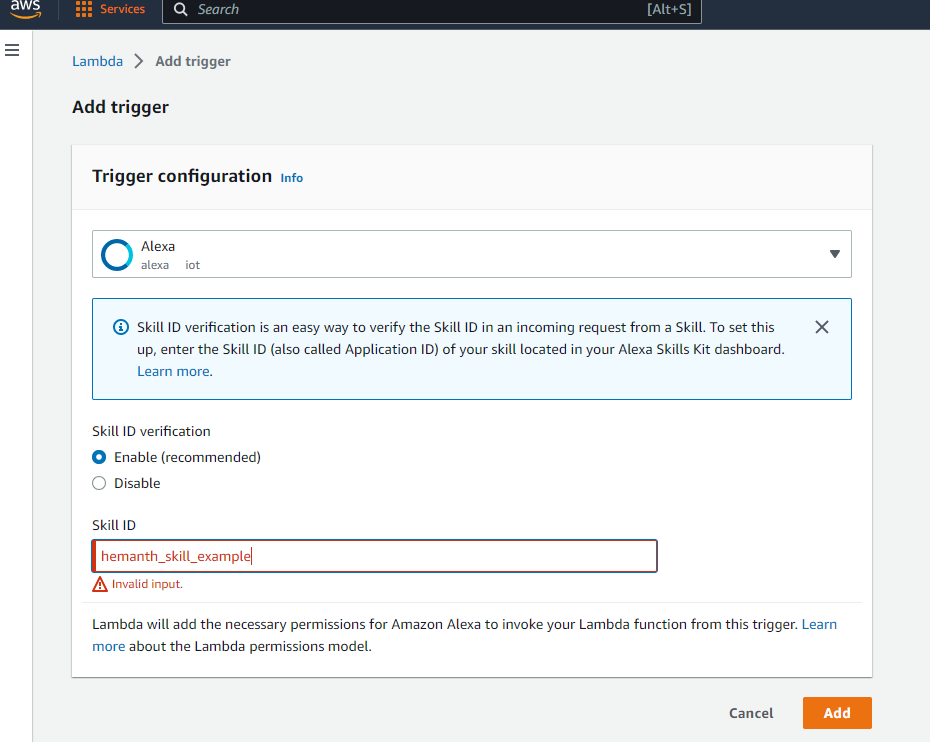
Adding a trigger-
Select “Add trigger” and then select the configuration as it suits your requirement, scroll down to the Configure triggers section and add your Skill ID (From the Amazon Developer console). Click the Add button to add the new trigger. Now, scroll to the top and save the changes in the function.
Code for your Lambda function-
You can scroll down and should be able to see the code source field. From here, you can do any of the following, depending on the runtime you selected:
- Write your code directly in the code editor in the Lambda console.
- Write your code offline and copy and paste it into the Lambda console editor.
- Write your code offline and upload it to the Lambda function in a zip or jar file.
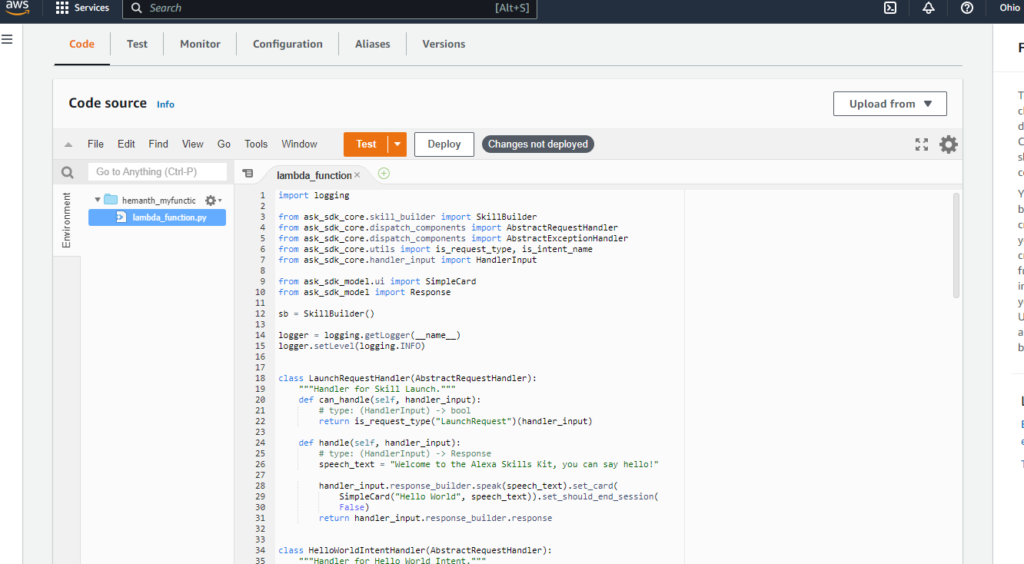
For this example, we will be using the 2nd option of copy and paste into the Lambda console editor, as we have worked on in our previous blog. The code should look like this once it is inserted-
Then, you can hit “Test”, which will open a new window called “Configure test event”. Once it is filled, select save to go ahead with the process.
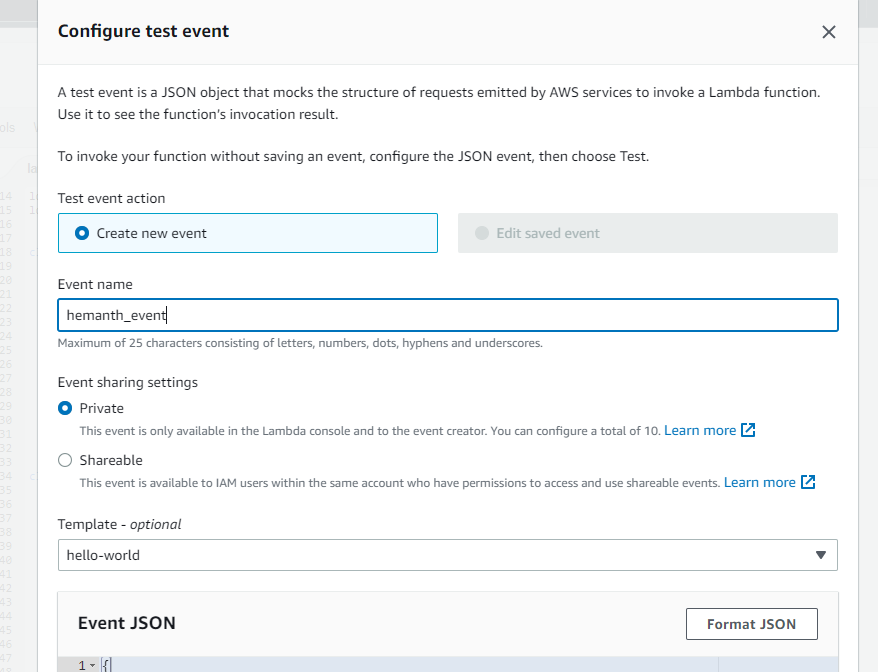
And, it should look like this-

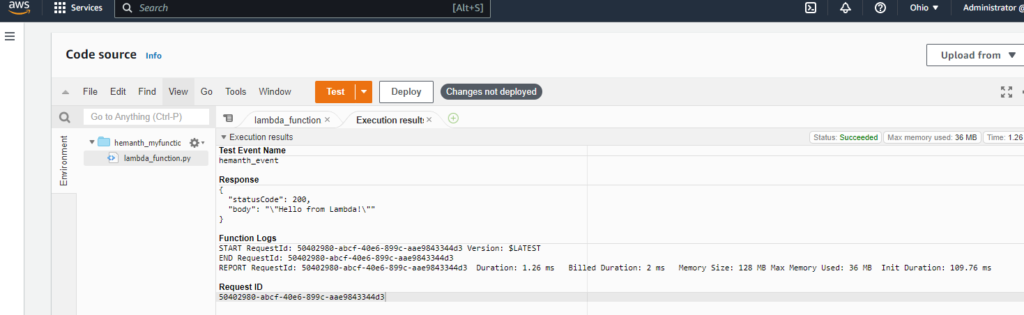
This will create and save the test event for your code. And once it is tested, you will be able to see the execution result as below-
How to set endpoints-
Once we are finished with our backend, we need to attach Amazon Alexa with AWS lambda, to do this we need the ARN of our lambda function (which can be found in the lambda function overview tab- to the right). From the Lambda console, copy the ARN — a unique identifier for the function.
Now, switch to the Alexa Skill dashboard(in Amazon developer account), in the Endpoint section, select the AWS Lambda ARN option and paste the copied lambda function ARN to the field Default Region. Hit the Save Endpoints button. By this, your back-end can receive endpoint calls from Alexa.
More about Amazon developer account-
In this blog, we will only be touching base with “How to get Alexa Skills work with AWS Lambda” and will not be able to cover working with Amazon developer account much, but feel free to try the developer account to see what other features it offers. A few steps to follow are:
Sign in to your Amazon Developer Console account and move to Alexa. For skill name, choose any name representing your skill. For the Skill model, select Custom. For Host, select Provision on your own. You can start your skill by using skill templates available or import one. For now, you can use Start from Scratch. Once your skill gets provisioned, start with the implementation process with “Invocations”, “Interaction models”, then, “Intents”. Once you go through these, you can go ahead with the process as described under, “Creating AWS Lambda function”.
Conclusion-
If you have reached this far, you did good. Now, you can create your custom Amazon Alexa Skills using AWS Lambda function which runs your code only when it’s needed and scales automatically, so there is no need to provision or continuously run servers. Doesn’t that make life easier developing skills/apps on cloud? And now you can use it to make your ideas into real-time Skills and once you feel good about it, you can also publish them to the Amazon Alexa Skills Store for your personal or public-user use.
Thank you for reading, Have a great time! 🙂